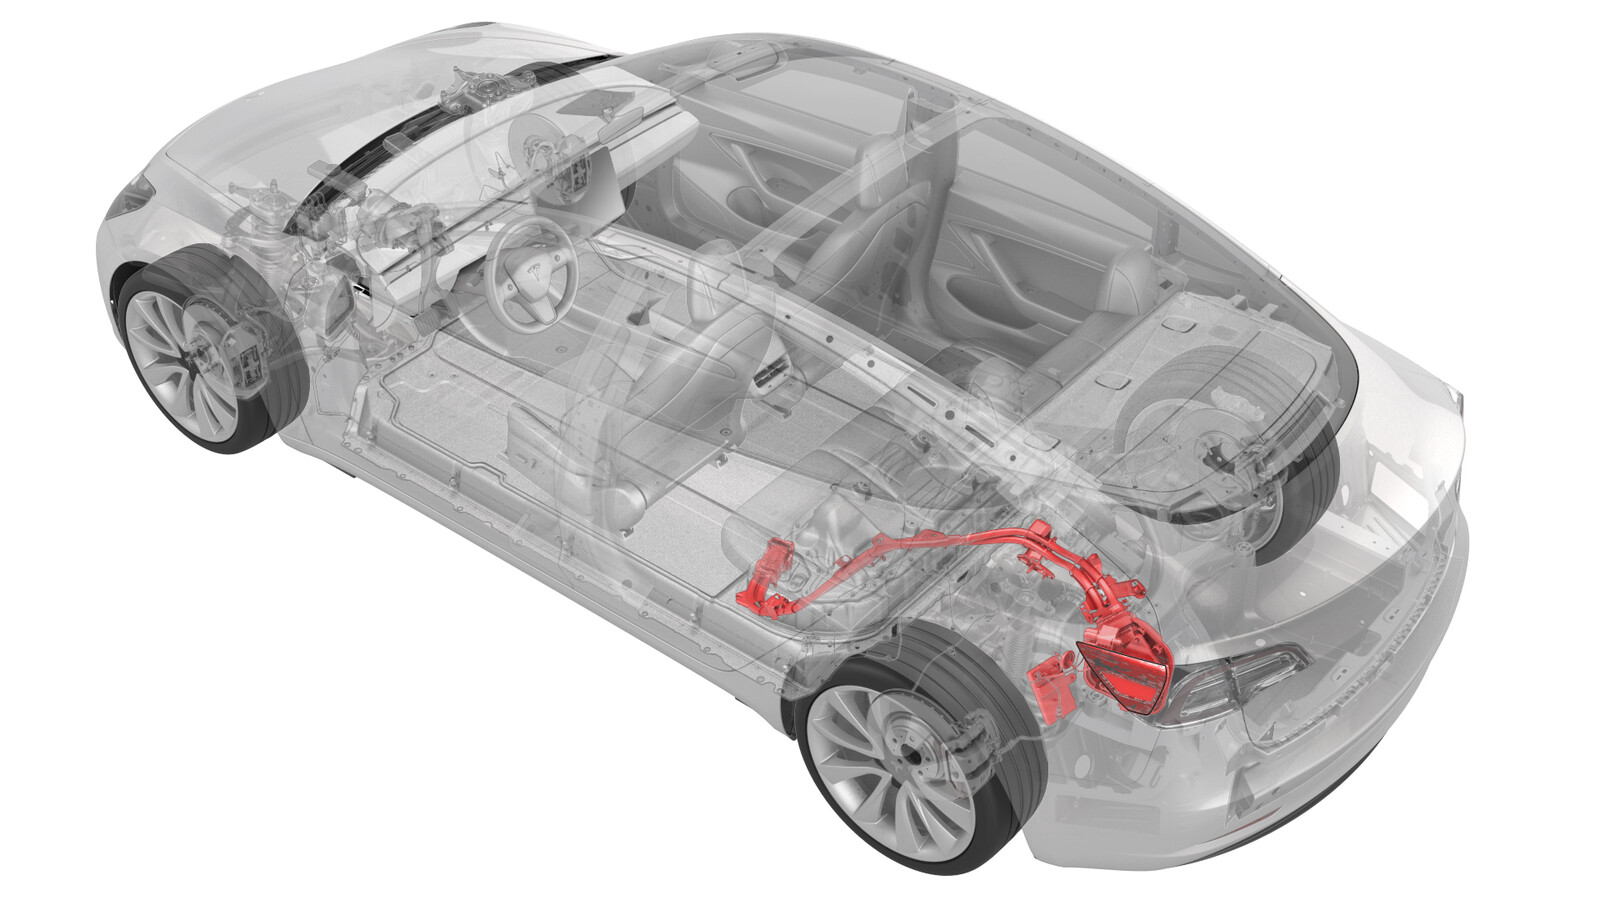
Puerto de carga y barra colectora a batería de alta tensión (monofásica) (Retroadaptación)
 Código de corrección
44013106 1.98
NOTA: Salvo que se indique lo contrario explícitamente en el procedimiento, el código de corrección anterior y el FRT reflejan todo el trabajo necesario para realizar este procedimiento, incluidos los procedimientos vinculados. No acumule códigos de corrección a menos que se le indique explícitamente que lo haga.
NOTA: Consulte Tiempos de tarifa plana (FRT) para obtener más información sobre los FRT y cómo se crean. Para enviar sus comentarios sobre los valores de FRT, escriba a ServiceManualFeedback@tesla.com.
NOTA: Consulte Protección personal para asegurarse de llevar el EPI adecuado al realizar el siguiente procedimiento. Consulte Precauciones ergonómicas para ver prácticas de trabajo seguras.
- 2023-05-24: Replaced the vehicle electrical isolation procedure with the charge port voltage check procedure.
Solo los técnicos que hayan completado todos los cursos de certificación requeridos pueden realizar este procedimiento. Tesla recomienda que los técnicos de proveedores de servicios externos realicen una formación equivalente antes de ejecutar este procedimiento. Para obtener más información sobre los requisitos de los técnicos de Tesla o detalles del temario para terceros, consulte Requisitos de certificación de alta tensión. Siempre que se manipule un cable, barra colectora o conexión de alta tensión, deben llevarse equipos de protección individual (EPI) y guantes aislantes para alta tensión con una clasificación nominal mínima de 0 (1000 V). En la nota técnica TN-15-92-003sobre los puntos de peligro de alta tensión
, encontrará más información sobre seguridad.
Quítese todos los artículos de joyería (relojes, pulseras, anillos, cadenas, pendientes, chapas, piercings, etc.) que lleve puestos y todos los objetos (llaves, monedas, bolígrafos, lápices, herramientas, tornillería, etc.) que lleve en los bolsillos antes de realizar cualquier procedimiento en el que se exponga a alta tensión.
Proper Personal Protective Equipment (PPE) is required to perform this procedure:
- High Voltage (HV) insulating gloves
- Leather glove protectors
- High voltage glove tester
- Safety glasses
- Electrical hazard rated safety shoes
A glove inflator is the only recommended way to test HV gloves. Both HV gloves must pass testing before beginning this procedure. If either glove does not pass the air check, discard the pair.
Make sure that the HV gloves are not expired. HV gloves can be used up to 12 months after the testing date printed on the glove, but only 6 months after first use even if the gloves are still within the 12-month period.
Retirar
- Open all doors and lower all windows.
- Move both front seats forward.
- Open the trunk and the charge port door.
- Perform the charge port voltage check procedure. See Comprobación de la tensión del puerto de carga.
- Remove the charge port to HV battery harness. See Charge Port and HV Harness Assembly (NACS) (Remove and Replace).
-
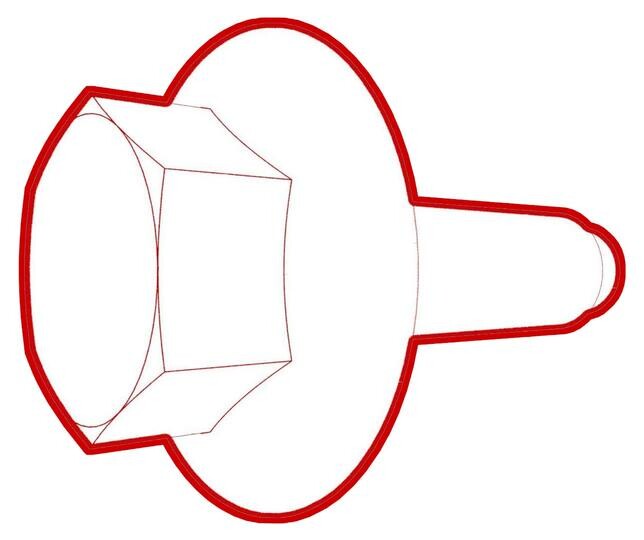
Remove the bolt that attaches the
charge port ECU to the body.
 5.5 Nm (4.1 lbs-ft)
 -
Slide the charge port ECU to the right
to release the tabs (x2) that attach the ECU to the body, and then remove the old ECU
from the vehicle.
- Remove the ancillary bay cover. See Cubierta - Compartimento auxiliar (Desinstalación y sustitución).
- Remove the old input assembly and charge port. See Conjunto de entrada de CC - Batería de alta tensión (tipo mazo de cables) (Desinstalación y sustitución).
Instalar
- Install the Busbar type DC input assembly, but do not connect 12V at this stage. See Conjunto de entrada de CC - Batería de alta tensión (tipo barra colectora) (Desinstalación y sustitución)
- Install the ancillary bay cover. See Cubierta - Compartimento auxiliar (Desinstalación y sustitución).
-
Slide the new Busbar type charge port
ECU onto the bracket that attaches the ECU to the body.
-
Install the bolt that attaches the
charge port ECU to the body.
 5.5 Nm (4.1 lbs-ft)
 -
Install the new Busbar type charge
port. See Charge Port (Busbar Type) (NACS) (Remove and Replace).
NotaThe above procedure uses existing ECU and charge port connectors in the main body harness. For this retrofit procedure, use the retrofit harness to connect the ECU and charge port electrical connections.
- Install the charge port to HV battery busbar. See Barras colectoras - Puerto de carga a batería de alta tensión (NACS) (desinstalación y sustitución).
- Reinstall the vehicle firmware. See Reinstalación de software - Pantalla táctil.
-
Verify the charging system is
operating correctly.
NotaUse the customer's charging equipment if available. Ensure all the charging adapters are present.
- Move both front seats to their original positions.
- Raise all windows and close all doors.