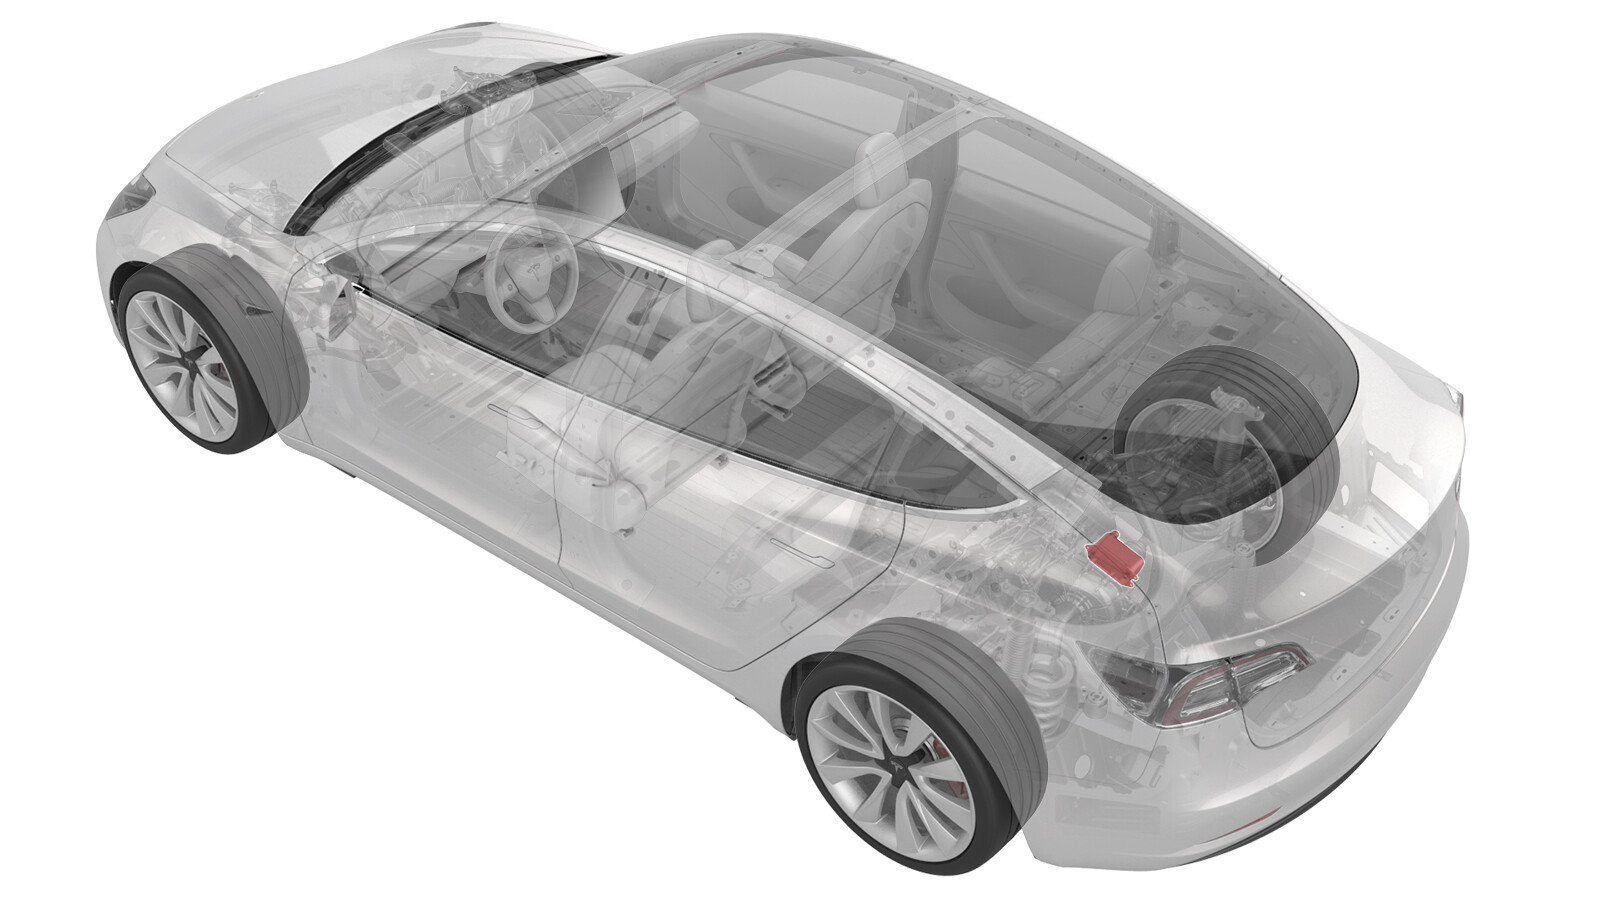
Intercambiador de calor - Unidad de tracción trasera (4DU) (desinstalación y sustitución)
 Código de corrección
40305232 0.66
NOTA: Salvo que se indique lo contrario explícitamente en el procedimiento, el código de corrección anterior y el FRT reflejan todo el trabajo necesario para realizar este procedimiento, incluidos los procedimientos vinculados. No acumule códigos de corrección a menos que se le indique explícitamente que lo haga.
NOTA: Consulte Tiempos de tarifa plana (FRT) para obtener más información sobre los FRT y cómo se crean. Para enviar sus comentarios sobre los valores de FRT, escriba a ServiceManualFeedback@tesla.com.
NOTA: Consulte Protección personal para asegurarse de llevar el EPI adecuado al realizar el siguiente procedimiento. Consulte Precauciones ergonómicas para ver prácticas de trabajo seguras.
- 2024-01-10: Corrected spellings of "exchanger".
Retirar
- Move the vehicle to a 2 post lift. See Elevación del vehículo - Elevador de 2 columnas.
- Enable Service Mode on the touchscreen. See Modo de servicio.
- Remove the rear underhood apron. See Faldón del vano del motor - Parte trasera (Desinstalación y sustitución).
- Remove the cabin intake duct. See Conducto - Superior - Entrada de la cabina (Desinstalación y sustitución).
- Disconnect LV power. See Alimentación de 12 V/baja tensión (Desconexión y conexión).
- Remove the mid aero shield panel. See Panel - Deflector aerodinámico - Trasero (Desinstalación y sustitución).
- Drain the gearbox fluid from the rear drive unit. See Líquido de la caja de cambios - Unidad de tracción trasera (4DU) (vaciado y llenado).
-
Position the coolant drain collector
underneath the RH rear of the HV battery.
-
Release the clip that attaches the
rear drive unit inverter to heat exchanger hose to the rear drive unit heat
exchanger.
-
Release the clip, disconnect the rear
drive unit inverter to heat exchanger hose from the rear drive unit heat exchanger,
immediately plug the heat exchanger fitting, allow the hose to drain, and then plug the
hose fitting.
-
Release the clip that attaches the rear drive unit outlet hose to the rear drive unit
heat exchanger.
-
Release the clip, disconnect the rear drive unit outlet hose from the rear drive unit
heat exchanger, and then immediately plug both fittings.
-
Remove the bolts (x2) that attach the rear drive unit heat exchanger to the rear
drive unit, and then remove the heat exchanger from the drive unit.
Instalar
-
Apply a light coat of KAF1 oil to the O-rings of the heat exchanger, and then wipe
away any excess oil.
-
Install the rear drive unit heat exchanger onto the rear drive unit, and then install
the bolts (x2) that attach the heat exchanger to the drive unit.
 5 Nm (3.7 lbs-ft) +30 deg
 -
Remove the plugs from the fittings, immediately connect the rear drive unit outlet
hose to the rear drive unit heat exchanger, fasten the clip, and then perform a
Push-Pull-Push check of the fitting.
-
Fasten the clip that attaches the rear drive unit outlet hose to the rear drive unit
heat exchanger.
-
Remove the plugs from the fittings,
immediately connect the rear drive unit inverter to heat exchanger hose to the rear
drive unit heat exchanger, fasten the clip, and then perform a Push-Pull-Push check of
the fitting.
-
Fasten the clip that attaches the rear
drive unit inverter to heat exchanger hose to the rear drive unit heat exchanger.
-
Remove the coolant drain collector from under the vehicle.
- Refill the rear drive unit with gearbox fluid. See Líquido de la caja de cambios - Unidad de tracción trasera (4DU) (vaciado y llenado).
- Install the mid aero shield panel. See Panel - Deflector aerodinámico - Trasero (Desinstalación y sustitución).
- Connect LV power. See Alimentación de 12 V/baja tensión (Desconexión y conexión).
-
On the touchscreen, touch the
.
NotaAlternatively, touch .
- Hold up on the turn signal stalk, and then press and hold the brake pedal at the same time for 10 seconds to authorize.
-
On the touchscreen, touch START to the left of “Start Coolant
Air Purge” and wait for the task to complete (10 minutes).
NotaAlternatively, touch START to the left of “Start Coolant Air Purge”, touch RUN TASK, wait for the task to complete (10 minutes), then touch X in the upper left corner.
-
Add coolant to the reservoir as
necessary, and install the reservoir cap.
- Install the cabin intake duct. See Conducto - Superior - Entrada de la cabina (Desinstalación y sustitución).
- Install the rear underhood apron. See Faldón del vano del motor - Parte trasera (Desinstalación y sustitución).
- Disable Service Mode. See Modo de servicio.
- Remove the vehicle from the 2 post lift. See Elevación del vehículo - Elevador de 2 columnas.