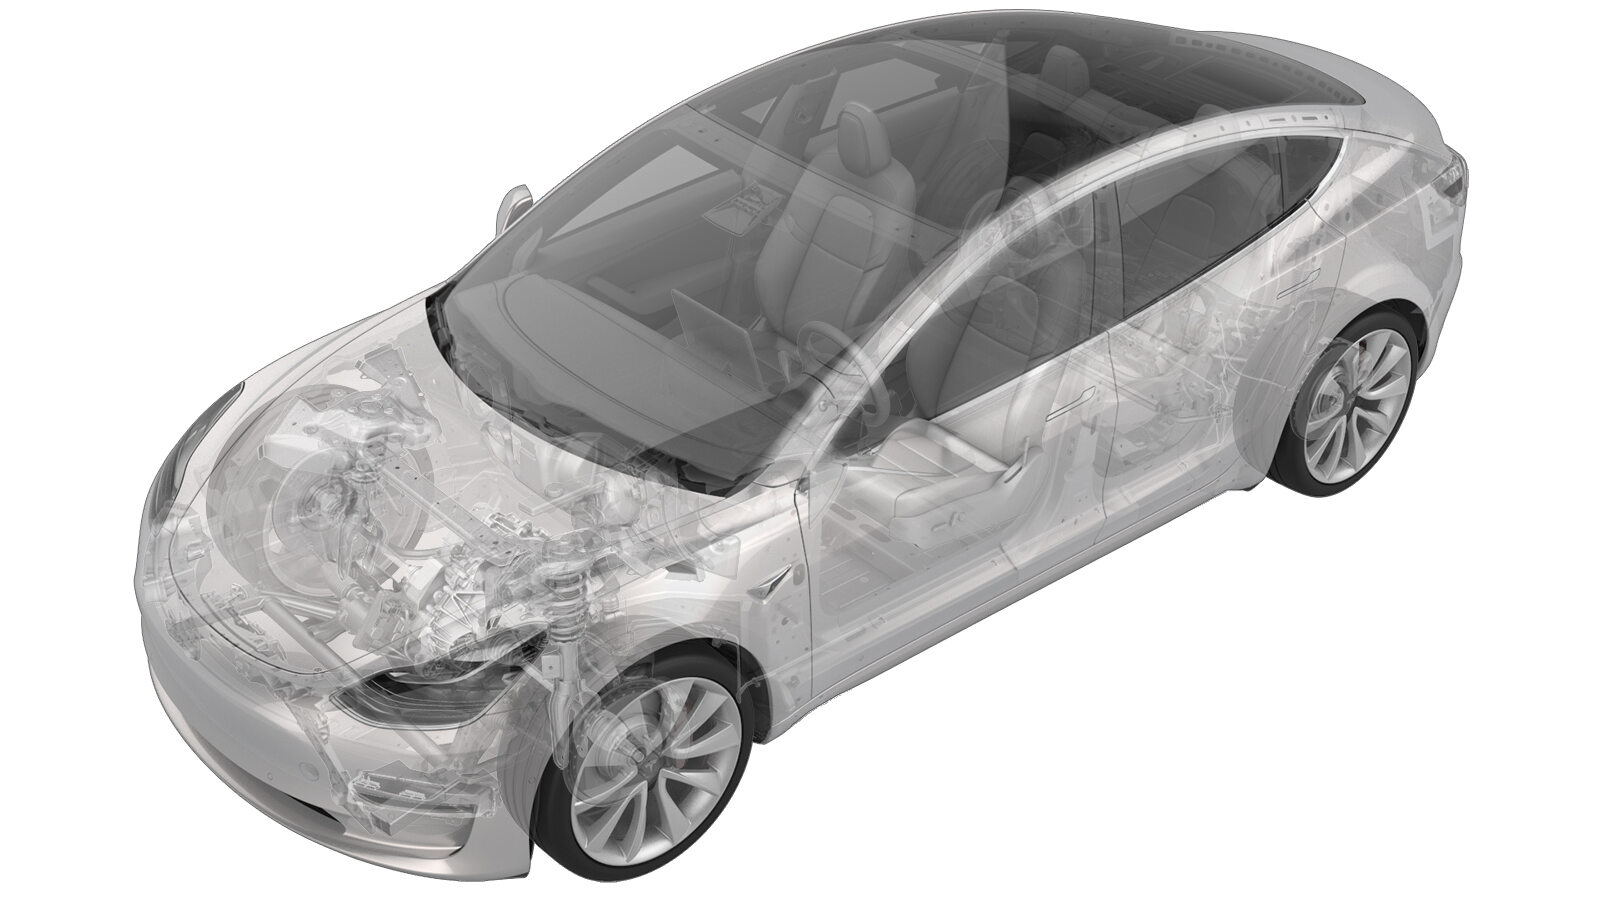
Actuador - Modo de bajada (bomba de calor) (Desinstalación y sustitución)
 Código de corrección
18102512
0.54
NOTA: Salvo que se indique lo contrario explícitamente en el procedimiento, el código de corrección anterior y el FRT reflejan todo el trabajo necesario para realizar este procedimiento, incluidos los procedimientos vinculados. No acumule códigos de corrección a menos que se le indique explícitamente que lo haga.
NOTA: Consulte Tiempos de tarifa plana (FRT) para obtener más información sobre los FRT y cómo se crean. Para enviar sus comentarios sobre los valores de FRT, escriba a ServiceManualFeedback@tesla.com.
NOTA: Consulte Protección personal para asegurarse de llevar el EPI adecuado al realizar el siguiente procedimiento.
NOTA: Consulte Precauciones ergonómicas para ver información sobre prácticas de trabajo seguras.
- 2023-10-16: Reorganized the procedure.
Retirar
- Remove the center console. See Consola central (2.0) (Desinstalación e instalación).
-
Release the instrument panel harness
clips (x2) and carpet clip from the RH cross car beam.
-
Remove the bolt that attaches the LH
cross car beam to the HVAC assembly.
TIpSe recomienda utilizar las siguientes herramientas:
- Llave dinamométrica de carraca de cabezal flexible/cabezal flexible
- Vaso de 10 mm de 12 puntas con cuello largo
-
Remove the bolt that attaches the RH
cross car beam bracket to the cross car beam.
TIpSe recomienda utilizar las siguientes herramientas:
- Llave de carraca/dinamométrica
- 13mm socket
- Extensión de 3 pulg.
-
Remove the nut that attaches the RH
cross car beam bracket to the body.
TIpSe recomienda utilizar las siguientes herramientas:
- Llave de carraca/dinamométrica
- 13mm socket
- Extensión de 3 pulg.
-
Remove the RH cross car beam bracket
from the vehicle.
-
Insert the inflatable air bag up to
the bottom of the lower mode actuator, then inflate it between the RH cross car beam
bracket and lower HVAC assembly.
-
Remove the bolts(x2) that attach the
lower mode actuator to the HVAC assembly.
NotaInsert the mini ratchet bit from behind the harness.TIpSe recomienda utilizar las siguientes herramientas:
- Broca Torx T20
-
Disconnect the lower mode actuator
electrical connector, and then remove the actuator from the HVAC assembly.
Instalar
- Position the lower mode actuator on the HVAC assembly; align the guide, and then push the lower mode actuator towards the left to install.
-
Connect the lower mode actuator electrical connector.
-
Install the bolts(x2) that attach the
lower mode actuator to the HVAC assembly.
 1.2 Nm (.9 lbs-ft)NotaInsert the mini ratchet bit from behind the harness.TIpSe recomienda utilizar las siguientes herramientas:
- Broca Torx T20
- Torque Wrench Hexagon - 1060071-00-A
-
Deflate airbag between RH cross car
beam bracket and lower HVAC assembly and remove
- Deflate and remove the inflatable air bag between the RH cross car beam bracket and lower HVAC assembly.
- Position the RH cross car beam bracket to the body.
-
Hand-tighten the bolt that attaches
the RH cross car beam bracket to the cross car beam.
-
Hand-tighten the bolt that attaches
the cross car beam to the HVAC assembly.
-
Hand-tighten bolt that attaches cross
car beam to the HVAC assembly.
-
Torque the nut that attached the RH
cross car beam bracket to the body.
 25 Nm (18.4 lbs-ft)TIpSe recomienda utilizar las siguientes herramientas:
- Llave de carraca/dinamométrica
- 13mm socket
- Extensión de 3 pulg.
-
Torque the bolt that attaches the RH
cross car beam bracket to the cross car beam.
 25 Nm (18.4 lbs-ft)TIpSe recomienda utilizar las siguientes herramientas:
- Llave de carraca/dinamométrica
- 13mm socket
- Extensión de 3 pulg.
-
Torque the bolt that attach the cross
car beam to the HVAC assembly.
 5.5 Nm (4.1 lbs-ft)TIpSe recomienda utilizar las siguientes herramientas:
- Llave dinamométrica de carraca de cabezal flexible/cabezal flexible
- Vaso de 10 mm de 12 puntas con cuello largo
-
Install the IP harness clips (x2) and
carpet clip to the RH cross car beam.
- Install the center console. See Consola central (2.0) (Desinstalación e instalación).