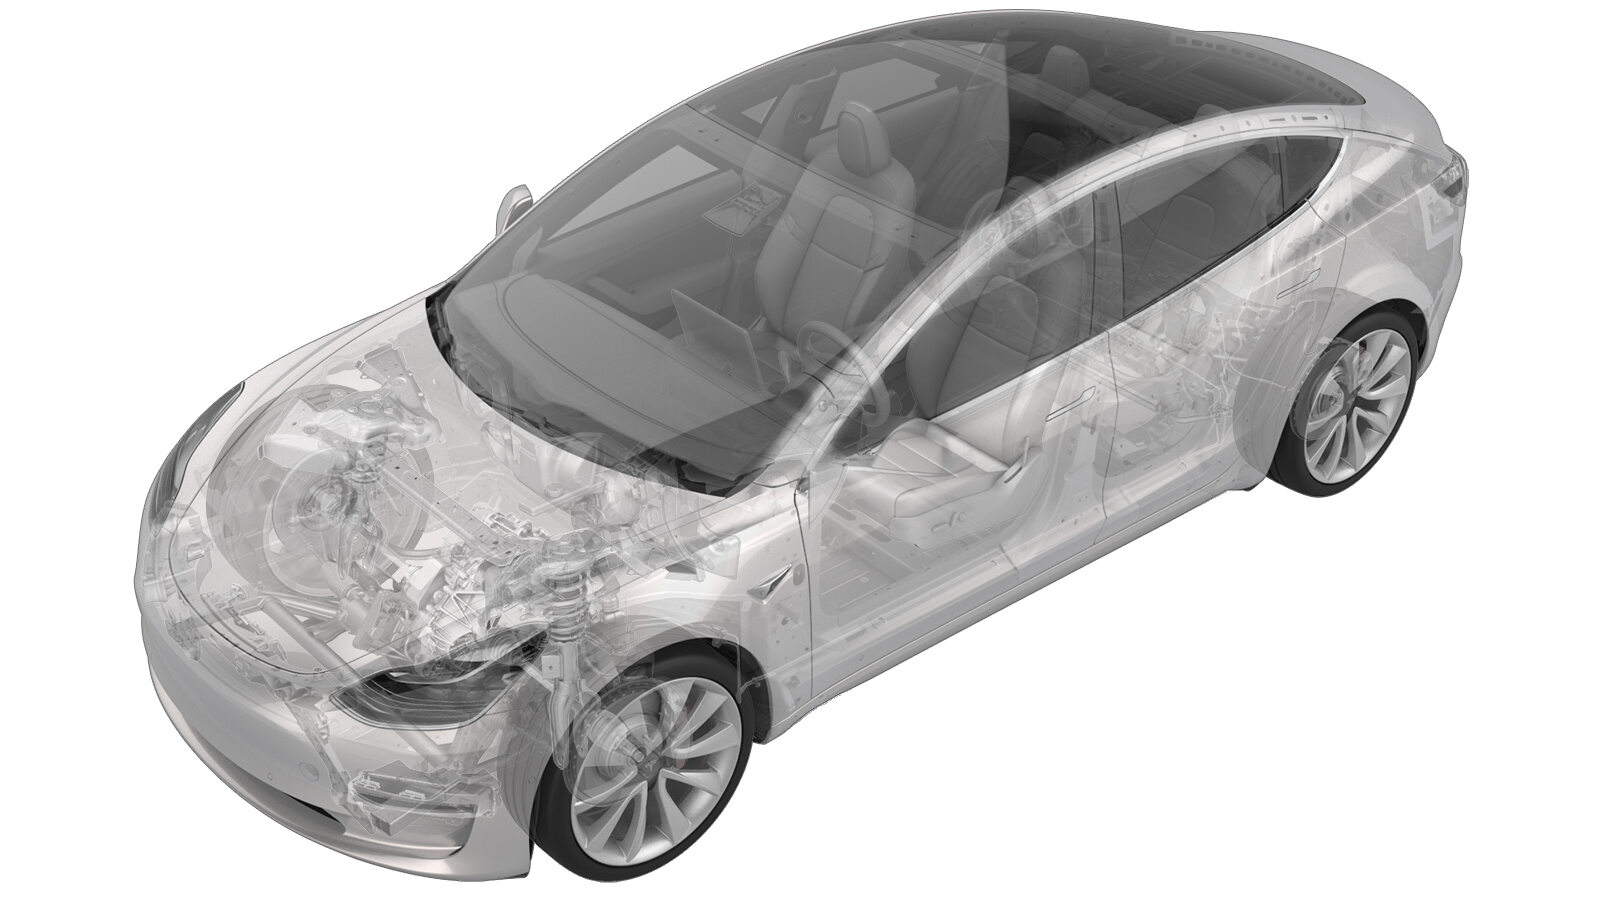
Actuador - Modo de subida (bomba de calor) (Desinstalación y sustitución)
 Código de corrección
18102612
0.48
NOTA: Salvo que se indique lo contrario explícitamente en el procedimiento, el código de corrección anterior y el FRT reflejan todo el trabajo necesario para realizar este procedimiento, incluidos los procedimientos vinculados. No acumule códigos de corrección a menos que se le indique explícitamente que lo haga.
NOTA: Consulte Tiempos de tarifa plana para obtener más información sobre los FRT y cómo se crean. Para enviar sus comentarios sobre los valores de FRT, escriba a ServiceManualFeedback@tesla.com.
NOTA: Consulte Protección personal para asegurarse de llevar el EPI adecuado al realizar el siguiente procedimiento.
NOTA: Consulte Precauciones ergonómicas para ver prácticas de trabajo seguras.
- 2023-10-16: Reorganized the procedure.
Retirar
- Remove the glove box. See Guantera - Con airbags de rodilla (bomba de calor) (Desinstalación y sustitución).
-
Disconnect RH upper duct thermistor
from RH air wave duct
Nota1x connector
- Remove the RH air wave duct. See Conducto - Ondas de aire - Lado derecho (LHD) (Desinstalación y sustitución).
-
Release the IP harness clip next to
the RH upper mode actuator.
-
Disconnect the upper mode actuator
connector.
-
Remove the bolts (x2) that attach the
upper mode actuator to the HVAC assembly.
TIpSe recomienda utilizar las siguientes herramientas:
- Vaso de 6 mm
- Extensión de 4 pulg.
- Llave dinamométrica de carraca de cabezal flexible/cabezal flexible
-
Remove the upper mode actuator from
the HVAC assembly.
Instalar
-
Position the upper mode actuator to
the HVAC assembly for installation.
NotaAlign the guide and push the upper mode actuator toward the HVAC assembly.
-
Install the bolts (x2) that attach the
upper mode actuator to the HVAC assembly.
 1.2 Nm (.9 lbs-ft)TIpSe recomienda utilizar las siguientes herramientas:
- Vaso de 6 mm
- Extensión de 4 pulg.
- Llave dinamométrica de carraca de cabezal flexible/cabezal flexible
-
Connect the upper mode actuator
connector.
-
Install the IP harness clip next to
the RH upper mode actuator.
- Remove the RH air wave duct. See Conducto - Ondas de aire - Lado derecho (LHD) (Desinstalación y sustitución).
-
Connect the RH upper duct thermistor
to the RH air wave duct.
Nota1x connector
- Install the glove box. See Guantera - Con airbags de rodilla (bomba de calor) (Desinstalación y sustitución).