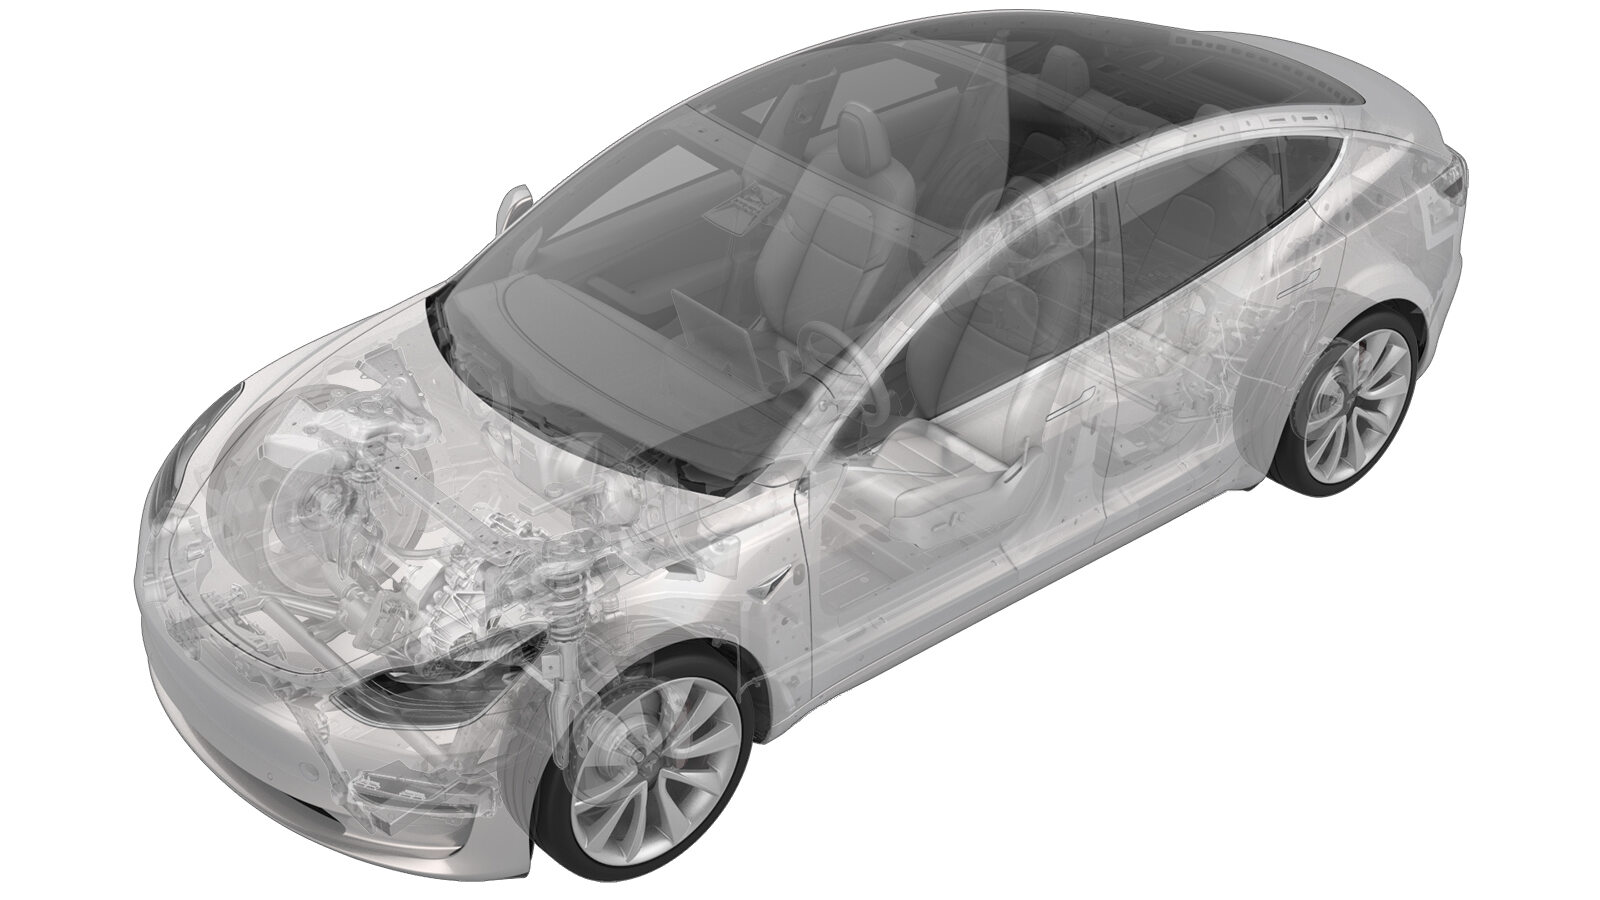
Mazo de cables - Filtro - Antena - Lado izquierdo (Desinstalación y sustitución)
 Código de corrección
17108302 0.36
NOTA: Salvo que se indique lo contrario explícitamente en el procedimiento, el código de corrección anterior y el FRT reflejan todo el trabajo necesario para realizar este procedimiento, incluidos los procedimientos vinculados. No acumule códigos de corrección a menos que se le indique explícitamente que lo haga.
NOTA: Consulte Tiempos de tarifa plana (FRT) para obtener más información sobre los FRT y cómo se crean. Para enviar sus comentarios sobre los valores de FRT, escriba a ServiceManualFeedback@tesla.com.
NOTA: Consulte Protección personal para asegurarse de llevar el EPI adecuado al realizar el siguiente procedimiento. Consulte Precauciones ergonómicas para ver prácticas de trabajo seguras.
Retirar
-
Open all the doors and fully lower all the windows.
NotaIf the vehicle is being powered down, latch the rear doors to prevent accidental closure.
- Move the LH and RH front seats fully forward.
- Remove the LH 2nd row seat side bolster. See Refuerzo - Lateral - Asiento - 2.ª fila - Lado izquierdo (Desinstalación y sustitución).
- Remove the LH side rail trim. See Guarnecido - Raíl lateral - Lado izquierdo (Desinstalación y sustitución).
- Remove the LH upper C-pillar trim. See Guarnecido - Pilar C - Superior - Lado izquierdo (Desinstalación y sustitución).
-
Release the clip and tabs (x4) that attach the LH rear C-pillar trim to the body, and then set the trim aside.
NotaPull the rear of the trim forward, and then upward to remove it.TIpSe recomienda utilizar las siguientes herramientas:
- Plastic trim tool
- Remove the RH 2nd row seat side bolster. See Refuerzo - Lateral - Asiento - 2.ª fila - Lado izquierdo (Desinstalación y sustitución).
- Remove the RH side rail trim. See Guarnecido - Raíl lateral - Lado izquierdo (Desinstalación y sustitución).
- Remove the RH upper C-pillar trim. See Guarnecido - Pilar C - Superior - Lado izquierdo (Desinstalación y sustitución).
-
Release the clip and tabs (x4) that attach the RH rear C-pillar trim to the body, and then set the trim aside.
NotaPull the rear of the trim forward, and then upward to remove it.TIpSe recomienda utilizar las siguientes herramientas:
- Plastic trim tool
- Remove the package tray trim. See Guarnecido - Bandeja de paquetes (Desinstalación y sustitución).
-
Disconnect the LH antenna filter harness connector from the LH C-pillar ground.
TIpSe recomienda utilizar las siguientes herramientas:
- Ganzúa en miniatura de mango blando, punta de 90 grados, 6 pulg.
-
Remove the LH antenna filter harness from the backlight glass.
NotaPeel the tape back found at each end of harness housing seal.TIpSe recomienda utilizar las siguientes herramientas:
- Plastic trim tool
-
Disconnect the LH antenna filter harness connector from the heater grid, and then remove the harness from the vehicle.
PRECAUCIÓNGently disconnect the harness. Do not damage the heater grid.TIpSe recomienda utilizar las siguientes herramientas:
- Ganzúa en miniatura de mango blando, punta de 90 grados, 6 pulg.
Instalar
-
Position the LH antenna filter harness on the vehicle, and then connect the harness connector to the heater grid.
-
Connect the LH antenna filter harness connector to the LH C-pillar ground.
-
Install the LH antenna filter harness on the backlight glass.
NotaApply a small piece of tape at each end of the seal clip.TIpSe recomienda utilizar las siguientes herramientas:
- Felt tape
- Scissors
- Install the package tray trim. See Guarnecido - Bandeja de paquetes (Desinstalación y sustitución).
-
Install the clip and tabs (x4) that attach the LH rear C-pillar trim to the body.
NotaSlide the back tabs into package tray, and then push the front tabs toward the rear.
- Install the LH upper C-pillar trim. See Guarnecido - Pilar C - Superior - Lado izquierdo (Desinstalación y sustitución).
- Install the LH side rail trim. See Guarnecido - Raíl lateral - Lado izquierdo (Desinstalación y sustitución).
- Install the LH 2nd row seat side bolster. See Refuerzo - Lateral - Asiento - 2.ª fila - Lado izquierdo (Desinstalación y sustitución).
- Raise the LH 2nd row seat.
- Repeat step 5 through step 9 for the RH side of the vehicle.
- Move the LH and RH front seats to the original positions.
- Raise all the windows and close all the doors.