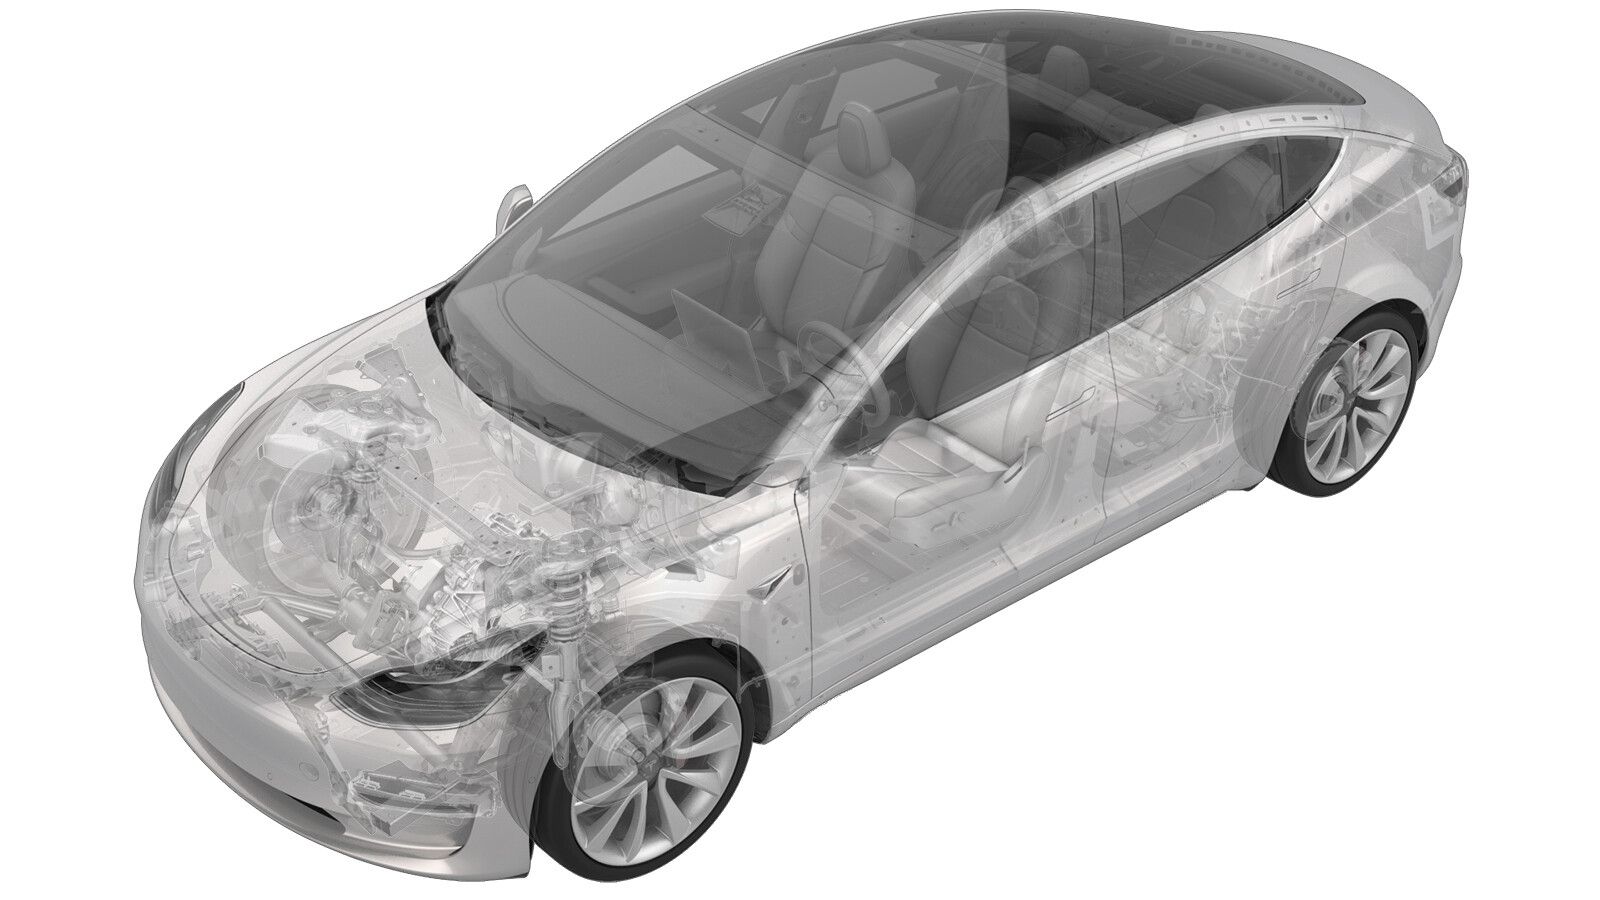
Manguera - Superbotella a suministro de refrigerante del tren de transmisión (Desinstalación y sustitución)
 Código de corrección
18300172 1.02
NOTA: Salvo que se indique lo contrario explícitamente en el procedimiento, el código de corrección anterior y el FRT reflejan todo el trabajo necesario para realizar este procedimiento, incluidos los procedimientos vinculados. No acumule códigos de corrección a menos que se le indique explícitamente que lo haga.
NOTA: Consulte Tiempos de tarifa plana (FRT) para obtener más información sobre los FRT y cómo se crean. Para enviar sus comentarios sobre los valores de FRT, escriba a ServiceManualFeedback@tesla.com.
NOTA: Consulte Protección personal para asegurarse de llevar el EPI adecuado al realizar el siguiente procedimiento. Consulte Precauciones ergonómicas para ver prácticas de trabajo seguras.
Retirar
- Move the vehicle to a 2 post lift. See Elevación del vehículo - Elevador de 2 columnas.
- Remove the 2nd row lower seat cushion. See Cojín del asiento - Parte inferior - 2.ª fila (Desinstalación y sustitución).
- Remove the underhood storage unit. See Unidad de almacenamiento del vano del motor (Desinstalación y sustitución).
- Disconnect 12V power. See Alimentación de 12 V/baja tensión (Desconexión y conexión).
- Remove the 12V battery. See Batería de 12 V/baja tensión (Desinstalación y sustitución).
- Remove the outer HVAC plenum duct. See Cámara - Entrada - HVAC (Desinstalación y sustitución).
- Remove the front aero shield panel. See Panel - Deflector aerodinámico - Delantero (Desinstalación y sustitución).
-
Release the clips along the bottom
edge of the RH wheel arch liner.
-
Install a bungee strap to pull the RH
front wheel arch liner away from the HV battery and expose the coolant hoses.
- Position a coolant drain under the front RH corner of the HV battery.
-
Release the clip and disconnect the
Superbottle to powertrain coolant supply hose from the rear powertrain supply hose at
the RH side of the vehicle, and then immediately plug the male and female
fittings.
-
Release the clips (x2) that attach the
Superbottle to powertrain coolant supply hose to the body.
- Remove coolant drain container out from under the vehicle, lower the vehicle, and move a coolant catcher to under the front of the vehicle.
-
Release the clips (x2) that attach the
Superbottle to powertrain coolant supply hose to the battery beam.
-
Disconnect the electrical harness from
the Superbottle to powertrain coolant supply hose temperature sensor connector.
-
Release the clip, disconnect the
Superbottle to powertrain coolant supply hose from the Superbottle, and remove the hose
from the vehicle.
NotaThe clip is on the top of the fitting.
Figura 1. View is looking up under the Superbottle
Instalar
-
Connect the Superbottle to powertrain
coolant supply hose to the Superbottle, fasten the clip, and perform a Push-Pull-Push
test of the connection.
Figura 2. View is looking up under the Superbottle -
Connect the electrical harness to the
Superbottle to powertrain coolant supply hose temperature sensor connector.
-
Fasten the clips (x2) that attach the
Superbottle to powertrain coolant supply hose to the battery beam.
- Remove the coolant catcher from under the vehicle, raise the vehicle, and move the coolant drain collector to under the RH front of the HV battery.
-
Fasten the clips (x2) that attach the
Superbottle to powertrain coolant supply hose to the body.
-
Remove the plugs from both fittings,
immediately connect the Superbottle to powertrain coolant supply hose to the rear
powertrain supply hose, fasten the clip, and perform a Push-Pull-Push test of the
connection.
- Move the coolant drain collector out from under the vehicle.
-
Remove the bungee cord from the
vehicle, and then move the RH front wheel arch liner back into position.
-
Fasten the clips along the bottom edge
of the RH wheel arch liner.
- Install the front aero shield panel. See Panel - Deflector aerodinámico - Delantero (Desinstalación y sustitución).
- Install the 12V battery. See Batería de 12 V/baja tensión (Desinstalación y sustitución).
- Connect 12V power. See Alimentación de 12 V/baja tensión (Desconexión y conexión).
- Perform a cooling system vacuum refill. See Sistema de refrigeración (Llenado por vacío).
- Install the outer HVAC plenum duct. See Cámara - Entrada - HVAC (Desinstalación y sustitución).
- Install the underhood storage unit. See Unidad de almacenamiento del vano del motor (Desinstalación y sustitución).
- Install the 2nd row lower seat cushion. See Cojín del asiento - Parte inferior - 2.ª fila (Desinstalación y sustitución).
- Remove the vehicle from the 2 post lift. See Elevación del vehículo - Elevador de 2 columnas.