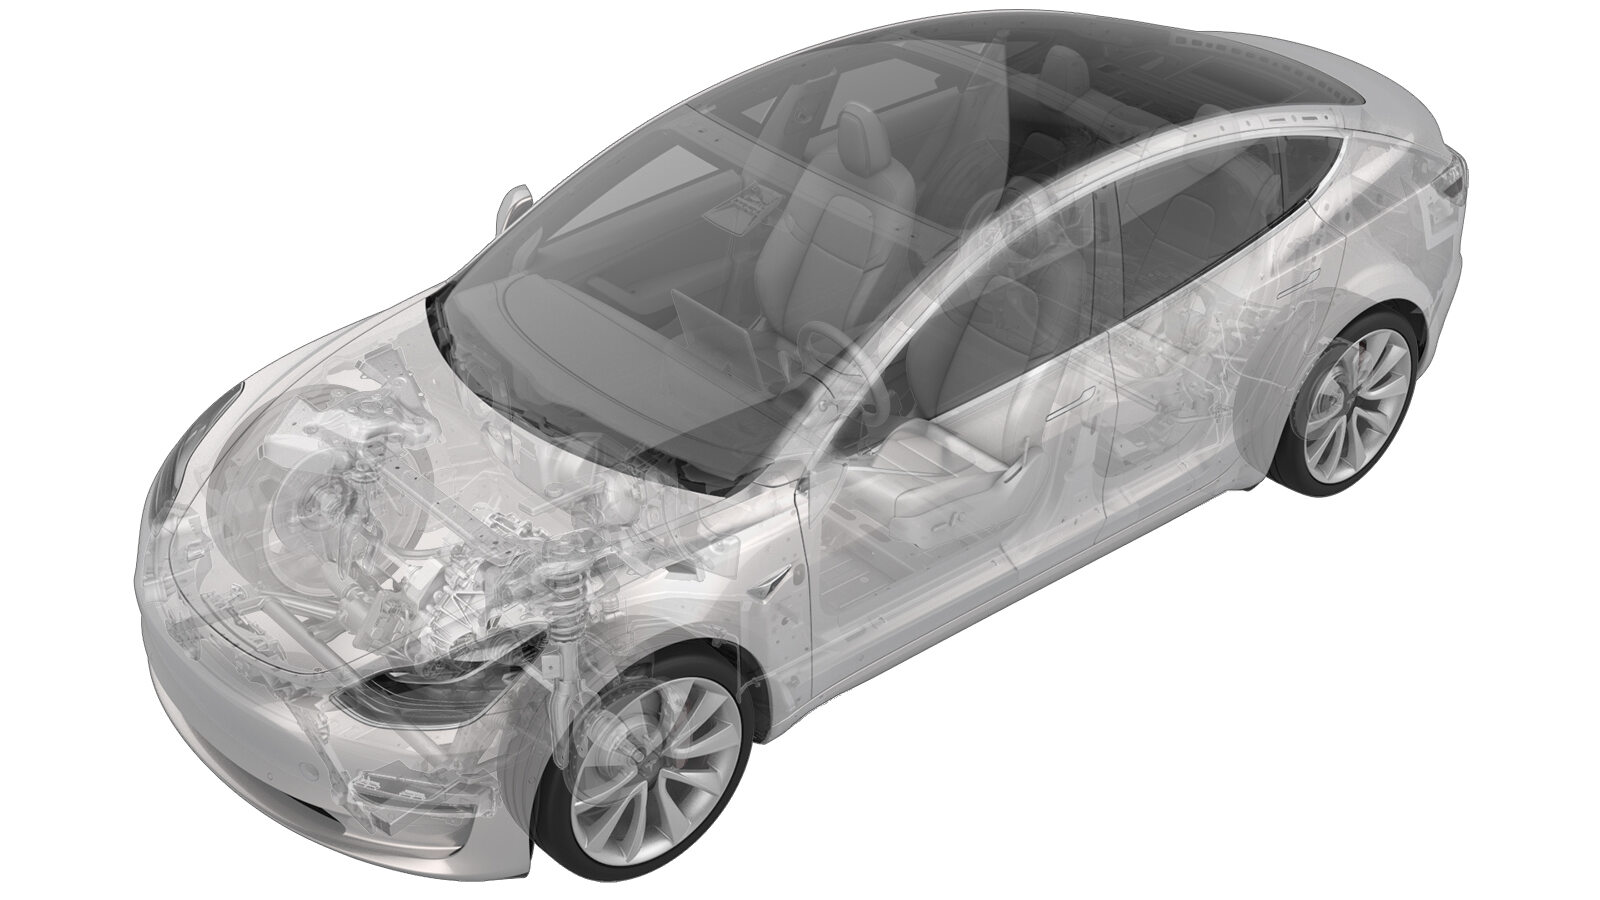
Protección - Controlador de la carrocería - Parte delantera (bomba de calor) (Desinstalación y sustitución)
 Código de corrección
17152122
0.18
NOTA: Salvo que se indique lo contrario explícitamente en el procedimiento, el código de corrección anterior y el FRT reflejan todo el trabajo necesario para realizar este procedimiento, incluidos los procedimientos vinculados. No acumule códigos de corrección a menos que se le indique explícitamente que lo haga.
NOTA: Consulte Tiempos de tarifa plana (FRT) para obtener más información sobre los FRT y cómo se crean. Para enviar sus comentarios sobre los valores de FRT, escriba a ServiceManualFeedback@tesla.com.
NOTA: Consulte Protección personal para asegurarse de llevar el EPI adecuado al realizar el siguiente procedimiento.
NOTA: Consulte Precauciones ergonómicas para ver información sobre prácticas de trabajo seguras.
Retirar
-
Open LH front door
-
Lower LH front window
-
Open hood
NotaPress "Open" button on touchscreen to release latch, Lift lid manually
-
Remove rear apron
Nota12x clips, Only store rear apron visible face upwards
-
Power off vehicle from center
display
NotaVia Controls > Safety > Power Off, Select Power Off button at warning dialogue box
-
Disconnect 12V negative terminal
Nota1x nut, 10mm, 6 Nm, Ensure vehicle is in park, climate control system is off, and vehicle is not charging before disconnecting 12V
-
Disconnect first responder loop
Nota1x connector, Release locking tab
-
Remove vent tube hose from LH side of
12V battery
Nota1x tube adapter
-
Release terminal cover and remove
positive terminal
Nota2x clips, 1x nut, 10mm, 6 Nm, Do not fully remove positive terminal nut
-
Remove 12V battery upper tie down
strap to AC compressor bracket
Nota1x bolt, 10mm, 5 Nm, Lift battery tie down strap up and remove it from rear tie down hook strap
-
Remove battery upper tie down strap
NotaLift battery tie down strap up and remove it from the rear tie down hook strap
-
Remove 12V battery from vehicle
-
Remove rear battery tie down
strap
NotaRotate forward to disengage
-
Disconnect thermal sub-harness from
front controller
Nota1x connector, Depress locking tab and rotate to release
-
Remove bolts securing front controller
shield assembly and remove from vehicle
Nota2x bolts, 10mm, 8.5 Nm
Instalar
-
Install front controller shield to the
front controller
Nota2x bolts, 10mm, 8.5 Nm
-
Connect thermal sub-harness to front
controller
Nota1x connector, Rotate fully to secure locking tab
-
Install rear battery tie down
strap
NotaInsert assembly into bracket and rotate to 90 degrees
-
Install 12V battery into vehicle
-
Position battery tie down strap onto
battery
NotaHook upper tie down strap into rear tie down hook strap and position for installation
-
Install bolt securing upper tie down
strap to AC compressor bracket
Nota1x bolt, 10mm, 5 Nm
-
Install vent tube hose in 12V
battery
-
Install positive terminal and terminal
cover
Nota1x nut, 10mm, 6 Nm, 2x clips
-
Connect first responder loop
Nota1x connector, Engage locking tab, Connect FRL before connecting 12V to avoid damage to car computer
-
Connect 12V negative terminal
Nota1x nut, 10mm, 6 Nm
-
Install rear apron
Nota12x clips
-
Close hood
-
Raise LH front window
-
Close LH front door