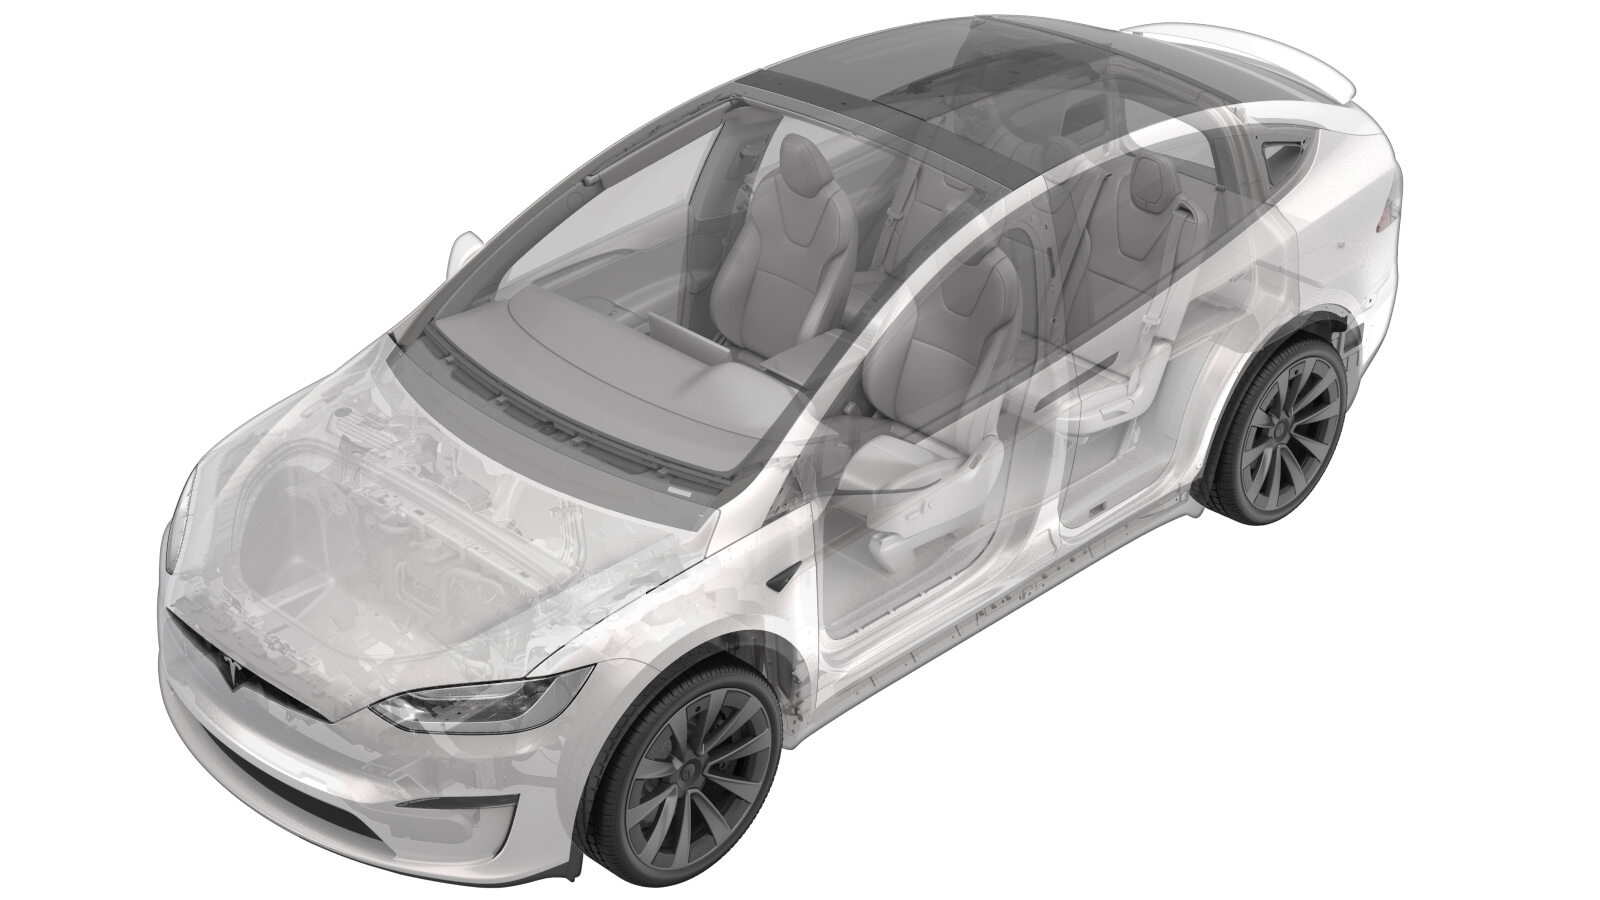
Ordenador del vehículo (HW4) (Desinstalación e instalación)
 Código de corrección
21151031 0.65
NOTA: Salvo que se indique lo contrario explícitamente en el procedimiento, el código de corrección anterior y el FRT reflejan todo el trabajo necesario para realizar este procedimiento, incluidos los procedimientos vinculados. No acumule códigos de corrección a menos que se le indique explícitamente que lo haga.
NOTA: Consulte Tiempos de tarifa plana (FRT) para obtener más información sobre los FRT y cómo se crean. Para enviar sus comentarios sobre los valores de FRT, escriba a ServiceManualFeedback@tesla.com.
NOTA: Consulte Protección personal para asegurarse de llevar el EPI adecuado al realizar el siguiente procedimiento.
NOTA: Consulte Precauciones ergonómicas para ver información sobre prácticas de trabajo seguras.
- Open the LH front door.
- Lower both front windows.
- Open the RH front door.
- Move the RH front seat backward.
- Disconnect LV power. See Alimentación de baja tensión (Desconexión y conexión).
- Remove the underhood storage unit. See Unidad de almacenamiento del vano del motor (Desinstalación e instalación).
-
Remove RH front floor mat
-
Remove RH footwell cover
Nota3x magnets, 1x connector, 4x datums
-
Remove RH console side carpet
Nota11x clips, 2x datums
-
Remove RH front door sill trim
panel
Nota8x clips, 3x datums
-
Remove RH IP end cap
Nota3x clips
-
Remove RH mid A-pillar trim
Nota2x clips, 3x datums, Release clips from upper A-pillar and IP sub assembly, Lift mid A-pillar trim out of lower A-pillar trim
-
Remove RH lower A-pillar trim
Nota1x bolt, T25, 5 Nm, 2x clips, 1x datum
-
Fold RH front cabin carpet aside for
access
-
Release harness from RH footrest
panel
Nota1x clip
-
Release RH footrest panel
Nota2x bolts, 10mm, 5 Nm, 2x nut, 10mm, 5 Nm
-
Remove RH footrest panel
NotaFold RH primary support carpet up, Rotate RH footrest panel out of vehicle
-
Release connector to connectivity
module
Nota1x connector, Move release lock rearward before removal
-
Release connectors at RH side of
entertainment motherboard
Nota6x connectors, Release locks on connectors before removal
-
Release connectors at RH side of
Autopilot motherboard
Nota3x connectors, Release locks on connectors before removal
-
Release connections at LH side of
entertainment motherboard
Nota7x connectors, Release locks on connectors before removal
-
Release connections at LH side of
Autopilot motherboard
Nota5x connectors, Release locks on connectors before removal
-
Install coolant hose clamps to coldplate
hoses
Nota2x hoses, Place coolant absorbent mats or rags around the car computer
-
Release coolant hoses from car computer
coldplate assembly
Nota2x spring locks, Install coolant plugs at both hoses and car computer
-
Remove car computer from vehicle
Nota2x bolts, 10mm, 7 Nm, 2x nut, 10mm, 8 Nm, Remove any residual coolant from vehicle
-
Install car computer to vehicle
Nota2x bolts, 10mm, 7Nm, 1x nut, 10mm, 8Nm
-
Secure coolant hoses to car computer
coldplate assembly
Nota2x spring locks, Place coolant absorbent mats or rags around the car computer, Remove coolant plugs while leaving coolant clamps engaged, Ensure spring locks engage and perform pull-push-pull test on each hose coupling
-
Remove coolant hose clamps
Nota2x hoses, Remove absorbent material, Clean residual fluid, Inspect for leaks
-
Install connections at LH side of
Autopilot motherboard
Nota5x connectors, Secure locks on connectors after install
-
Install connections at LH side of
entertainment motherboard
Nota7x connectors, Secure locks on connectors after install
-
Install connectors at RH side of
Autopilot motherboard
Nota3x connectors
-
Install connectors at RH side of
entertainment motherboard
Nota6x connectors, Secure locks on connectors after install
-
Install connector to connectivity
module
Nota1x connector, Slide lock underneath connector
- Connect LV power. See Alimentación de baja tensión (Desconexión y conexión).
- Perform a cooling system partial refill and bleed. See Sistema de refrigeración (llenado parcial y purga).
-
Install RH footrest panel
NotaRotate RH footrest panel onto vehicle, Fold RH primary support carpet down
-
Secure RH footrest panel
Nota2x bolts, 10mm, 5 Nm, 2x nut, 10mm, 5 Nm
-
Secure harness to RH footrest
panel
Nota1x clip
-
Fold RH main carpet back into
place
-
Install RH footwell cover
Nota3x magnets, 4x datums, 1x connector
-
Install RH lower A-pillar trim
Nota1x bolt, T25, 5 Nm, 2x clips, 1x datum
-
Install RH mid A-pillar trim
Nota2x clips, 3x datums, Verify weather seal is seated properly
-
Install RH IP end cap
Nota3x clips
-
Install RH front door sill trim
panel
Nota8x clips, 3x datums
-
Install RH console side carpet
Nota11x clips, 2x datums
-
Install RH front floor mat
- Move the RH front seat to its original position.
-
Calibrate the RH falcon wing door.
- Raise the RH front window.
- Close the RH front door.
- Install the underhood storage unit. See Unidad de almacenamiento del vano del motor (Desinstalación e instalación).
-
Install the rear underhood apron.
- Close the hood.
-
Calibrate the LH falcon wing door.
- Raise the LH front window.
- Close the LH front door.