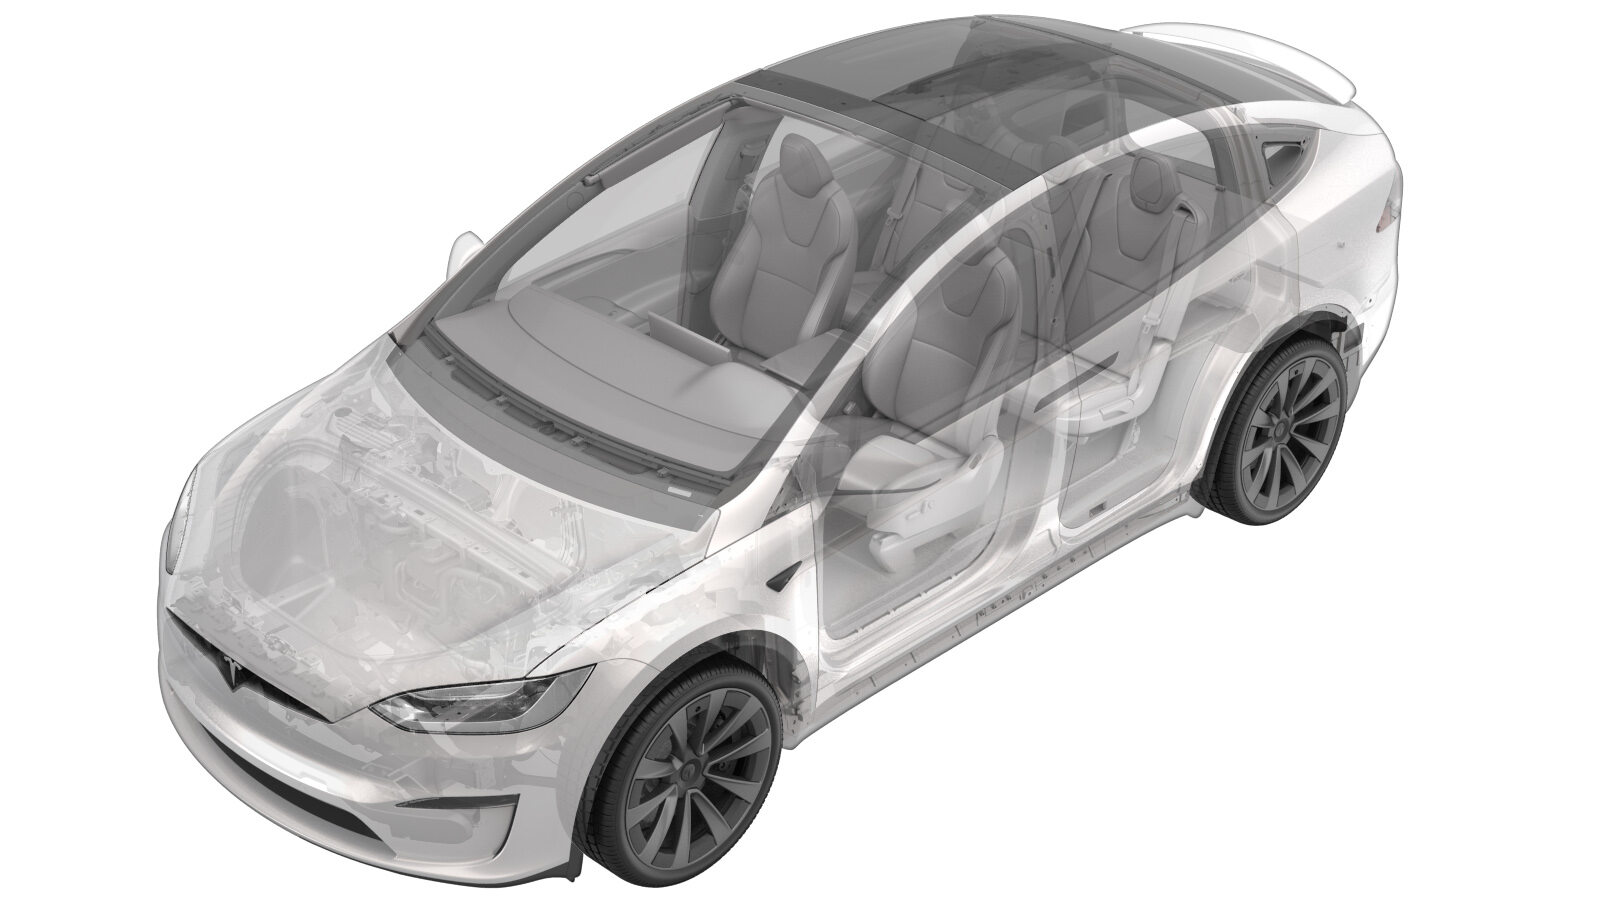
Faros - Ajuste (global) (método de pared)
 Código de corrección
17400160 0.18
NOTA: Salvo que se indique lo contrario explícitamente en el procedimiento, el código de corrección anterior y el FRT reflejan todo el trabajo necesario para realizar este procedimiento, incluidos los procedimientos vinculados. No acumule códigos de corrección a menos que se le indique explícitamente que lo haga.
NOTA: Consulte Tiempos de tarifa plana para obtener más información sobre los FRT y cómo se crean. Para enviar sus comentarios sobre los valores de FRT, escriba a ServiceManualFeedback@tesla.com.
NOTA: Consulte Protección personal para asegurarse de que lleva puesto el EPI adecuado al realizar el siguiente procedimiento.
NOTA: Salvo que se indique lo contrario explícitamente en el procedimiento, el código de corrección anterior y el FRT reflejan todo el trabajo necesario para realizar este procedimiento, incluidos los procedimientos vinculados. No acumule códigos de corrección a menos que se le indique explícitamente que lo haga.
NOTA: Consulte Tiempos de tarifa plana (FRT) para obtener más información sobre los FRT y cómo se crean. Para enviar sus comentarios sobre los valores de FRT, escriba a ServiceManualFeedback@tesla.com.
NOTA: Consulte Protección personal para asegurarse de llevar el EPI adecuado al realizar el siguiente procedimiento.
NOTA: Consulte Precauciones ergonómicas para ver información sobre prácticas de trabajo seguras.
- 2024-06-13: Completely revised procedure.
- 2024-04-01: Updated measurements and units.
Adjustment
-
Apply tape to a wall at 81 cm (31.8
in) from the floor.
-
Apply tape to the floor at ~ 7.6 m (25
ft) from the wall.
-
Park the vehicle on a flat level
surface perpendicular to the wall and align the front fascia with the tape on the
floor.
NotaChoose a dark work area with low ambient lighting for best results. Make sure that tire pressure is set to specification.
-
Measure the distance from both front wheels to the wall.
NotaIf equal, this ensures vehicle is perpendicular to wall. If not equal, re-position the vehicle accordingly. Maximum difference between left and right is 3 mm.
-
Find the target's center line by projecting a laser perpendicular to the wall onto
the center point of the vehicle. Mark the center position with a piece of tape,
vertically on the wall.
-
Mark the vertical reference points: measure 79.5 cm (31.2 in) left and right from the
center line and apply tape on each side, vertically to the wall.
-
Set vehicle ride height to "Low"
through the touchscreen.
NotaTouch .
-
Set air suspension into "Jack Mode"
through the touchscreen.
NotaTouch .
-
Enter the headlight adjustment mode through the touchscreen.
NotaTouch .
- Switch on the headlights.
- Completely cover the RH headlight with a fender cover or shop towel.
-
On the vehicle touchscreen, touch
Left.
-
On the steering wheel, use the left
scroll wheel to adjust the beam.
NotaAdjust LH headlight so that the RH part of the beam sits between the vertical reference marks and crosses the middle of the horizontal mark.
- Remove the cover from the RH headlight, and then completely cover the LH headlight.
-
On the vehicle touchscreen, touch
Right.
-
On the steering wheel, use the left scroll wheel to adjust the beam.
NotaAdjust the RH headlight so that the LH part of the beam is below the horizontal marking and the RH part of the beam is on the RH side of the RH vertical mark.
- Exit the headlight adjustment mode through the touchscreen.
- Deactivate Jack Mode.