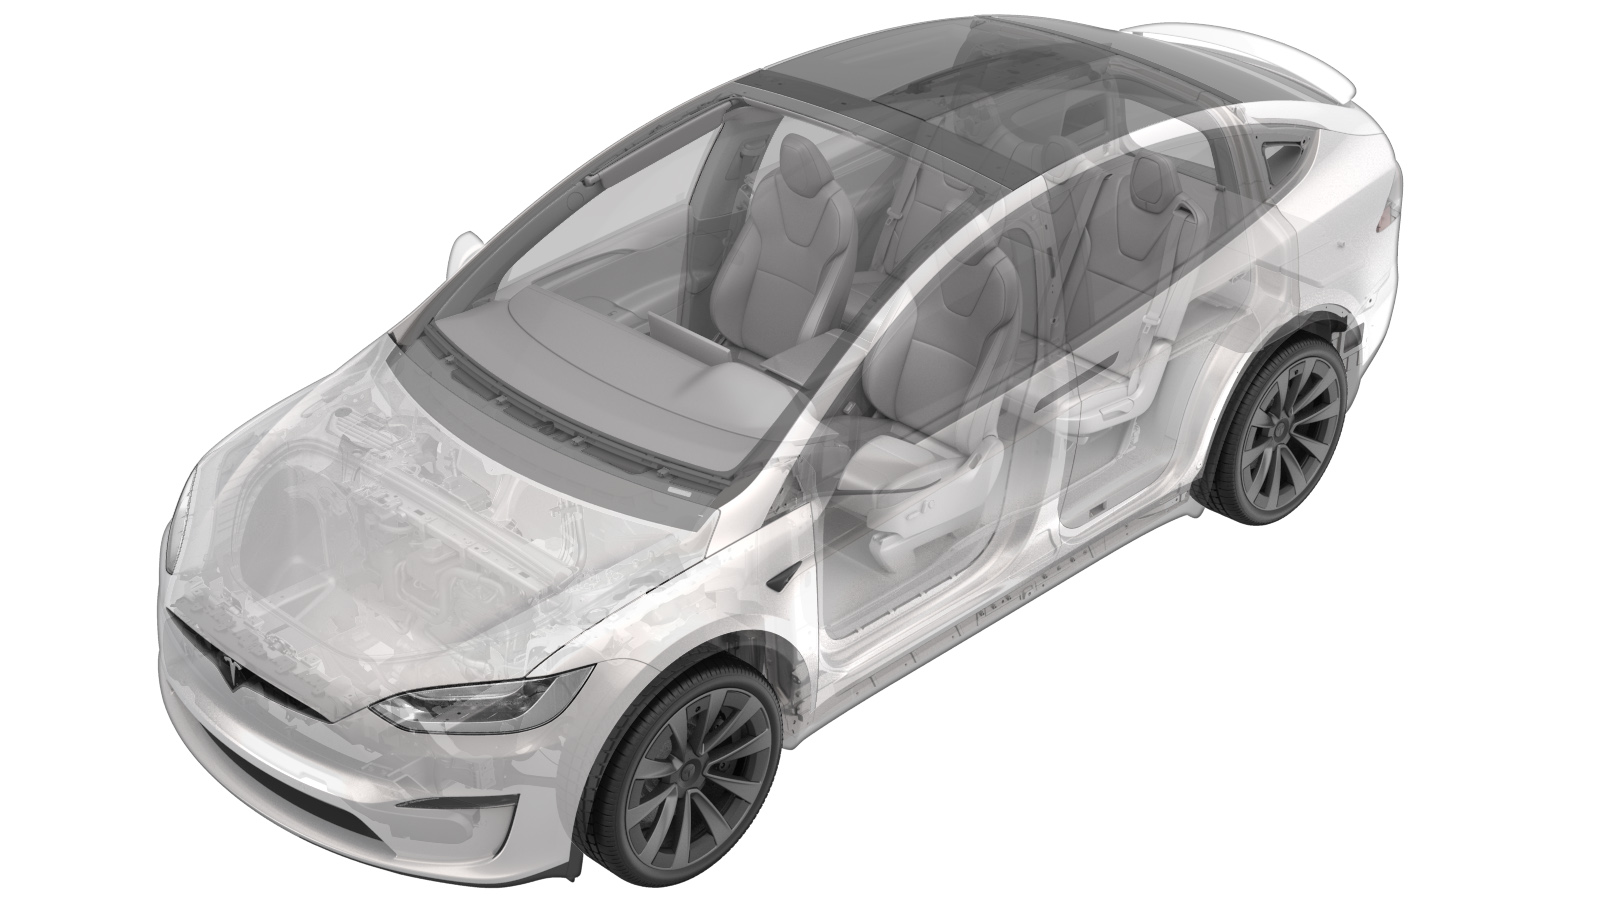
Harness - Ancillary - Front - LH (Remove and Replace)
 Código de corrección
17107702
17107802
0.42
NOTA: Salvo que se indique lo contrario explícitamente en el procedimiento, el código de corrección anterior y el FRT reflejan todo el trabajo necesario para realizar este procedimiento, incluidos los procedimientos vinculados. No acumule códigos de corrección a menos que se le indique explícitamente que lo haga.
NOTA: Consulte Tiempos de tarifa plana (FRT) para obtener más información sobre los FRT y cómo se crean. Para enviar sus comentarios sobre los valores de FRT, escriba a ServiceManualFeedback@tesla.com.
NOTA: Consulte Protección personal para asegurarse de llevar el EPI adecuado al realizar el siguiente procedimiento.
NOTA: Consulte Precauciones ergonómicas para ver información sobre prácticas de trabajo seguras.
- 2025-03-24: Released new procedure.
- Open the LH front door.
- Lower the LH front window.
-
Raise and support the vehicle.
-
Open the hood.
-
Remove the rear underhood apron.
-
Remove the RH underhood apron.
-
Remove the LH underhood apron.
-
Remove the front underhood apron.
-
Remove the underhood storage unit access
panel.
-
Remove the underhood storage unit
carpet.
-
Remove the underhood storage unit from
the vehicle.
-
Disconnect active noise cancellation
harness connector from frunk harness
Nota1x connector, Release locking tab, 1x harness clip, Release clip securing active noise cancellation harness connector onto body
-
Remove the LH front wheel center
cap.
-
Loosen LH front wheel
Nota5x nuts, 21mm, 175 Nm
-
Raise vehicle partially and lower onto
locks
NotaSet vehicle to comfortable working height, Make sure there's an audible click of the locks on both sides before lowering, otherwise vehicle may tilt to the side
-
Remove the LH front wheel.
-
Release clips securing active noise
cancellation harness onto bracket
Nota2x harness clip
-
Disconnect active noise cancellation
harness connector from sensor and remove harness from vehicle
Nota1x connect, Release locking tab
-
Connect active noise cancellation
harness onto sensor
Nota1x connect, Secure locking tab
-
Position active noise cancellation
harness into place
NotaEnsure the harness is routed above the lower links and below the tie rod and halfshaft
-
Install clips securing active noise
cancellation harness onto bracket
Nota2x harness clip
-
Install the LH front wheel.
-
Lower vehicle until tires are touching
ground
NotaRaise lift off locks, then hold lock release lever to keep locks free while vehicle is lowered
-
Torque the LH front wheel lug
nuts.
-
Install the LH front wheel center
cap.
-
Connect active noise cancellation
harness connector to frunk harness
Nota1x connector, Secure locking tab, 1x harness clip, Install clip securing active noise cancellation harness connector onto body
-
Install the underhood storage
unit.
-
Install the underhood storage unit
carpet.
-
Install the underhood storage unit
access panel.
-
Install the front underhood apron.
-
Install the LH underhood apron.
-
Install the RH underhood apron.
-
Install the rear underhood apron.
- Close the hood.
-
Lower and remove the vehicle from the
lift.
- Raise the LH front window.
- Close the LH front door.