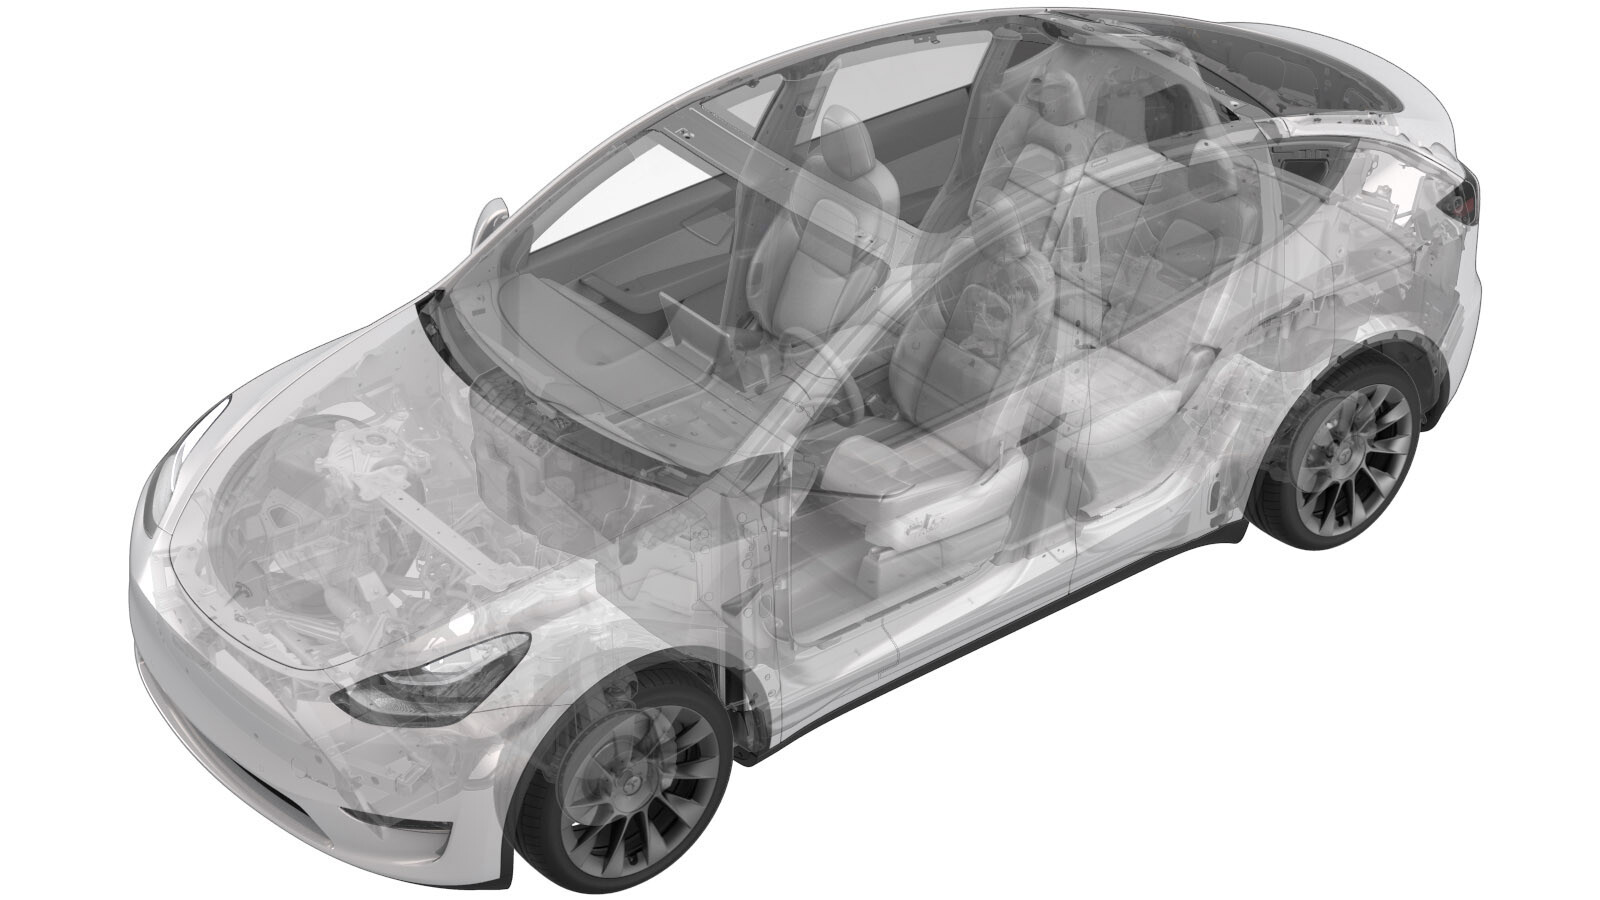
Samleskinne – reservesikring – høyspenningsbatteri (strukturell pakke) (fjerne og skifte ut)
 Korrigeringskode
16307302 2.40
MERK: Hvis ikke noe annet er uttrykkelig oppgitt i prosedyren, gjenspeiler korrigeringskoden og FRT ovenfor, alt arbeidet som kreves for å gjennomføre denne prosedyren, inkludert de tilknyttede prosedyrene. Ikke stable korrigeringskoder med mindre du bli uttrykkelig bedt om det.
MERK: Se Flat rate-tider for å lære mer om FRT-er og hvordan de lages. Hvis du vil gi tilbakemelding om FRT-verdier, kan du sende en e-post til ServiceManualFeedback@tesla.com.
MERK: Se Personlig beskyttelse for å forsikre deg om at du bruker riktig PVU når du gjennomfører prosedyren nedenfor. Se Forholdsregler for ergonomi for trygge og sunne arbeidspraksiser.
- Open all the doors and lower all the windows.
-
Place vehicle in service mode with touchscreen
MerkHold Tesla T icon at top of center display for four seconds and then type "service" into dialog box
- Remove the ancillary bay cover. See Hette – tilleggsbrønn (Strukturell pakke) (fjerne og skifte ut).
- Fjern den pyrotekniske batterifrakoblingen. Se Pyroteknisk batterifrakobling (Strukturell pakke) (fjerne og montere).
-
Disconnect HV controller connectors
Merk7x connectors, Lift hinge upwards to release levered connection
-
Release harness clips from HVC hinge tray and route harness away
Merk3x clips
-
Remove bolts securing HV controller hinge tray to HV battery
Merk2x bolts, 8mm, 2 Nm
-
Remove HV controller and tray from ancillary bay
-
Remove 63A fuse cover
Merk2x securing tabs
-
Disconnect HVIL connector from HV heatpump harness
Merk1x connector
-
Remove 63A fuse from ancillary bay
Merk2x nuts, 8mm, 2.5 Nm, Discard after removal
-
Remove inner 63A fuse from ancillary bay
Merk2x nuts, 8mm, 2.5 Nm, Discard after removal
-
Remove ancillary bay harness from plastic bobbin stud
-
Remove bolts securing PCS to HV battery
Merk6x bolts, 8mm, 6 Nm, Ensure ONLY the 8mm fasteners are removed, Do not remove the T30 fasteners
-
Remove ancillary bay harness from negative DC link
Merk1x nut, 8mm, 1.5 Nm, Discard nut after removal
-
Release ancillary bay harness from tray between PCS and bobbin
Merk1x clip
-
Remove nut securing auxiliary fuse jumper busbar
Merk1x nut, 8mm, 2.5 Nm, Discard after removal, Slightly shift PCS to gain access to nut, Discard nut after removal
-
Remove auxiliary fuse jumper busbar
-
Install auxiliary fuse jumper busbar
-
Install nut securing auxiliary fuse jumper busbar
Merk1x nut, 8mm, 2.5 Nm, Install new nut, Shift PCS back into original position
-
Install bolts securing PCS to HV battery
Merk6x bolts, 8mm, 6 Nm
-
Secure ancillary bay harness onto tray between PCS and bobbin
Merk1x clip
-
Install ancillary bay harness to negative DC link
Merk1x nut, 8mm, 1.5 Nm, Install new nut
-
Install ancillary bay harness from plastic bobbin stud
-
Install inner 63A fuse into ancillary bay
Merk2x nuts, 8mm, 2.5 Nm, Install new nuts
-
Install 63A fuse into ancillary bay
Merk2x nuts, 8mm, 2.5 Nm, Install new nuts
-
Place holder- Perform Hioki measurement at the joint from 63A fuse to terminal
Merk1x HV joint, 105µΩ or less, Perform zero adjust to Hioki meter prior to testing
-
Place holder- Perform Hioki measurement at the joint of 63A fuse to auxiliary jumper busbar
Merk1x HV joint, 105µΩ or less, Perform zero adjust to Hioki meter prior to testing
-
Place holder- Perform Hioki measurement at the joint of inner 63A fuse to flag nut
Merk1x HV joint, 105µΩ or less, Perform zero adjust to Hioki meter prior to testing
-
Place holder- Perform Hioki measurement at the joint of inner 63A fuse to auxiliary jumper busbar
Merk1x HV joint, 105µΩ or less, Perform zero adjust to Hioki meter prior to testing
-
Connect HVIL connector onto tray
Merk1x connector
-
Install 63A fuse cover
Merk2x securing tabs
-
Position HV controller and tray into ancillary bay
-
Install bolts securing HV controller hinge tray to HV battery
Merk2x bolts, 8mm, 2 Nm
- Mål spenningen over monteringspunktene for den pyrotekniske batterifrakoblingen, og monter deretter den pyrotekniske batterifrakoblingen. Se Pyroteknisk batterifrakobling (Strukturell pakke) (fjerne og montere).
- Install the ancillary bay cover. See Hette – tilleggsbrønn (Strukturell pakke) (fjerne og skifte ut).
-
Exit Service Mode through UI
MerkControls > Service Mode > Exit Service Mode
- Raise all the windows
-
Close all the doors
MerkIf 12V is powered up, Unlatch rear doors before closing