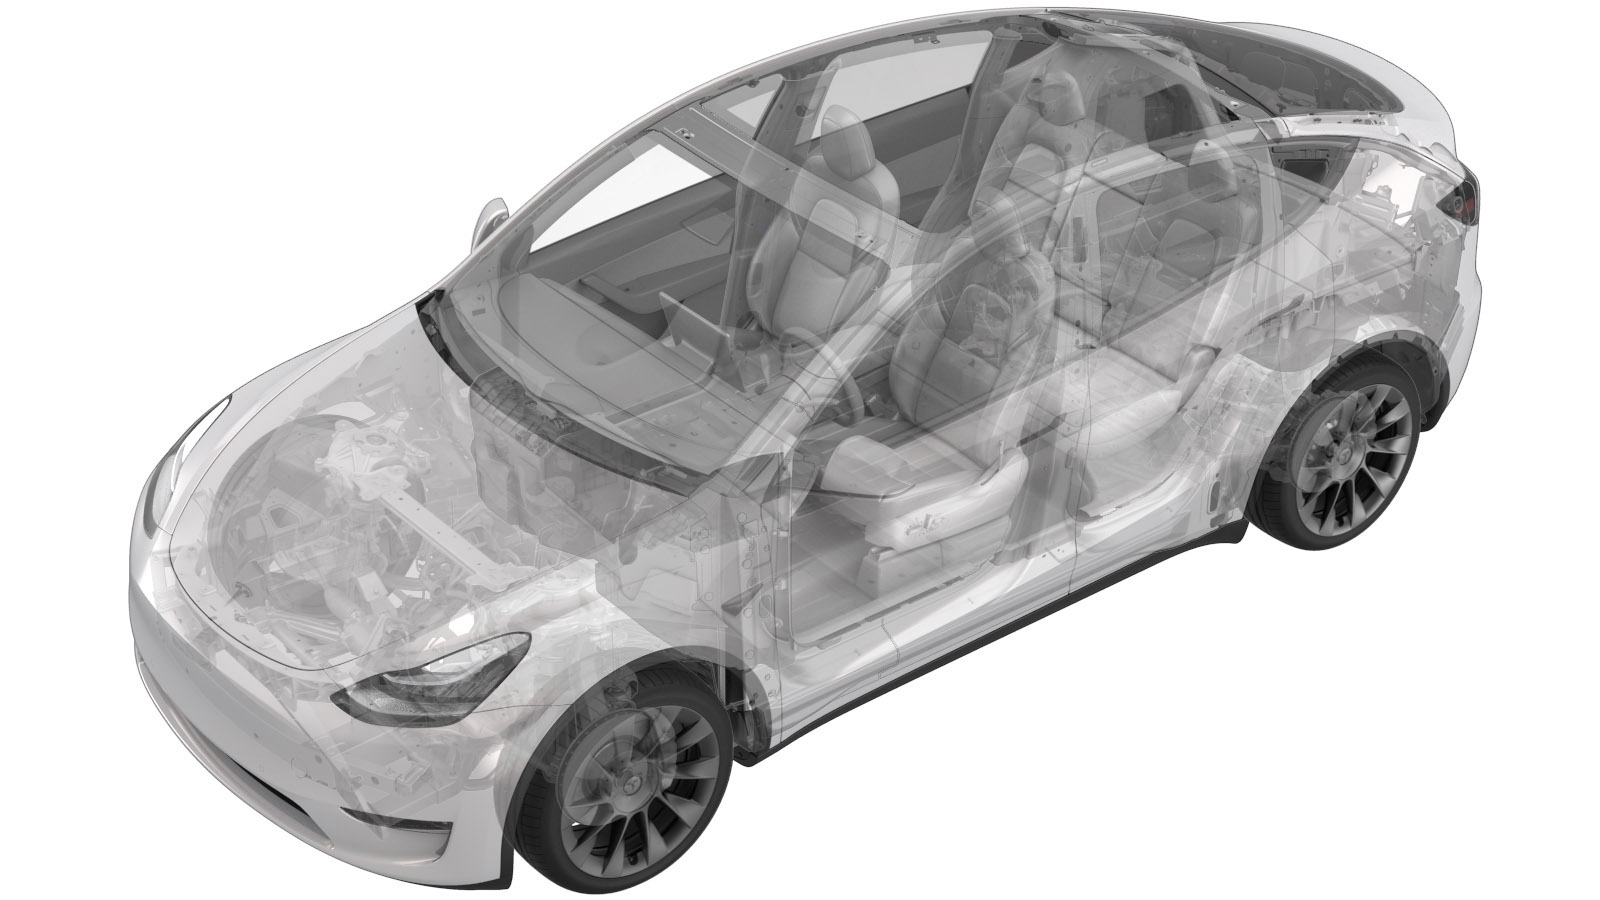
Shunt – høyspenningsbatteri (Uten strukturell pakke)(fjerne og skifte ut)
 16303602 1.14
MERK: Hvis ikke noe annet er uttrykkelig oppgitt i prosedyren, gjenspeiler korrigeringskoden og FRT ovenfor, alt arbeidet som kreves for å gjennomføre denne prosedyren, inkludert de tilknyttede prosedyrene. Ikke stable korrigeringskoder med mindre du bli uttrykkelig bedt om det.
MERK: Se Flat rate-tider for å lære mer om FRT-er og hvordan de lages. Hvis du vil gi tilbakemelding om FRT-verdier, kan du sende en e-post til ServiceManualFeedback@tesla.com.
MERK: Se Personlig beskyttelse for å forsikre deg om at du bruker riktig PVU når du gjennomfører prosedyren nedenfor. Se Forholdsregler for ergonomi for trygge og sunne arbeidspraksiser.
- 2025-10-22: Updated the routine for different shunt types.
Det er kun teknikere som har fullført alle nødvendige sertifiseringskurs som har tillatelse til å utføre denne prosedyren. Tesla anbefaler at teknikere fra eksterne serviceleverandører gjennomgår tilsvarende opplæring før de utfører denne prosedyren. Se sertifiseringskrav for høyspenning for mer informasjon om Teslas krav til teknikere eller beskrivelser av emnet for tredjeparter. Egnet personlig verneutstyr (PVU) og isolerende høyspenningshansker med minimumsklassifisering 0 (1000V) skal brukes til enhver tid ved håndtering av høyspenningskabler, samleskinner eller fittinger. Se teknisk notat TN-15-92-003, High Voltage Awareness Care Points
, for mer sikkerhetsinformasjon.
Dreiemomentspesifikasjoner
| Beskrivelse | Dreiemomentverdi | Anbefalte verktøy | Bruke på nytt / skifte ut | Merknader |
|---|---|---|---|---|
| Bolt som fester shuntkontakten til tilleggsbrønnen |
 9 Nm (6.6 lbs-ft) |
|
Erstatt |
Fjerne
- Remove the RH 2nd row seat back. See Seterygg– andre rad – høyre (fjerne og skifte ut).
- Remove the LH 2nd row seat back. See Seterygg – andre rad – venstre (fjerne og skifte ut).
- Remove the rear underhood apron. See Deksel under panser – bak (fjerne og skifte ut).
- Disconnect 12V power. See 12 V-/lavspenningsstrøm (koble fra og koble til).
- Perform the vehicle electrical isolation procedure. See Deaktiveringsprosedyre for bilens høyspenning.
- Remove the ancillary bay cover. See Deksel – tilleggsbrønn (fjerne og skifte ut).
- Remove the pyrotechnic battery disconnect. See Frakobling av pyroteknisk batteri (fjerne og skifte ut).
- Remove the shunt insulator. See Isolator – shunt – høyspenningsbatteri (fjerne og skifte ut).
-
Remove and discard the bolt that attaches the shunt assembly to the ancillary bay.
TIpBruk av følgende verktøy anbefales:
- Isolerte verktøy:
- 13 mm nøkkel
- 2 i forlengelse
- Isolerte verktøy:
-
Remove the shunt from the vehicle.
Montere
- Perform a zero adjust of the Hioki resistance meter in preparation to measure resistances later in this procedure. See Motstandsmåler (nulljustering).
-
Write down new shunt bar resistance and part number as printed on the new shunt.
MerkThe resistance is in the range of 20000 to 30000 nano Ohms. For example, "R:25819nΩ" is a resistance of 25819 nano Ohms, so record "25819".MerkSkip this step if installing the original shunt.
- Use an IPA wipe to clean the HV mating surfaces of the shunt, busbar, and the pyrotechnic battery disconnect.
-
Install the shunt to the busbar, and then install and hand-tighten a new bolt to attach the shunt to the busbar.
- Mål spenningen over monteringspunktene for den pyrotekniske batterifrakoblingen, og monter deretter den pyrotekniske batterifrakoblingen. Se Frakobling av pyroteknisk batteri (fjerne og skifte ut).
-
Torque the bolt that attaches the shunt assembly to the ancillary bay.
 9 Nm (6.6 lbs-ft)TIpBruk av følgende verktøy anbefales:
- Isolerte verktøy:
- 13 mm nøkkel
- 2 i forlengelse
- Isolerte verktøy:
- Install the shunt insulator. See Isolator – shunt – høyspenningsbatteri (fjerne og skifte ut).
-
Use the Hioki resistance meter to measure the resistance of the HV joint between the shunt and the adjacent busbar.
MerkThe maximum acceptable resistance is 0.045 mΩ (45 μΩ). If the resistance is above this value, escalate a Toolbox session, as appropriate.
- Install the ancillary bay cover. See Deksel – tilleggsbrønn (fjerne og skifte ut).
- Install the LH 2nd row seat back. See Seterygg – andre rad – venstre (fjerne og skifte ut).
- Install the RH 2nd row seat back. See Seterygg– andre rad – høyre (fjerne og skifte ut).
- Install the 2nd row lower seat cushion. See Setepute – nedre – andre rad (fjerne og skifte ut).
- Connect 12V power. See 12 V-/lavspenningsstrøm (koble fra og koble til).
- Skip step 15 through step 19 if installing the original shunt.
- Connect an LV maintainer. See Lavspenningsbevarer (koble til og fra).
- Connect the laptop with Toolbox 3 to the vehicle.
-
Select and operation, enter the shunt bar resistance value previously recorded in step 2, and select corresponding shunt type based on the Part number. Click Run and allow the routine to complete.
MerkThe unit of the input resistance value is nΩ.MerkShunt types includes Vishay whose part number looks like 2084224-XX-X and Cyntec whose part number looks like 1078835-XX-X or 1588177-XX-X.
- Disconnect the laptop from the vehicle.
- Disconnect an LV maintainer. See Lavspenningsbevarer (koble til og fra).
- Install the rear underhood apron. See Deksel under panser – bak (fjerne og skifte ut).