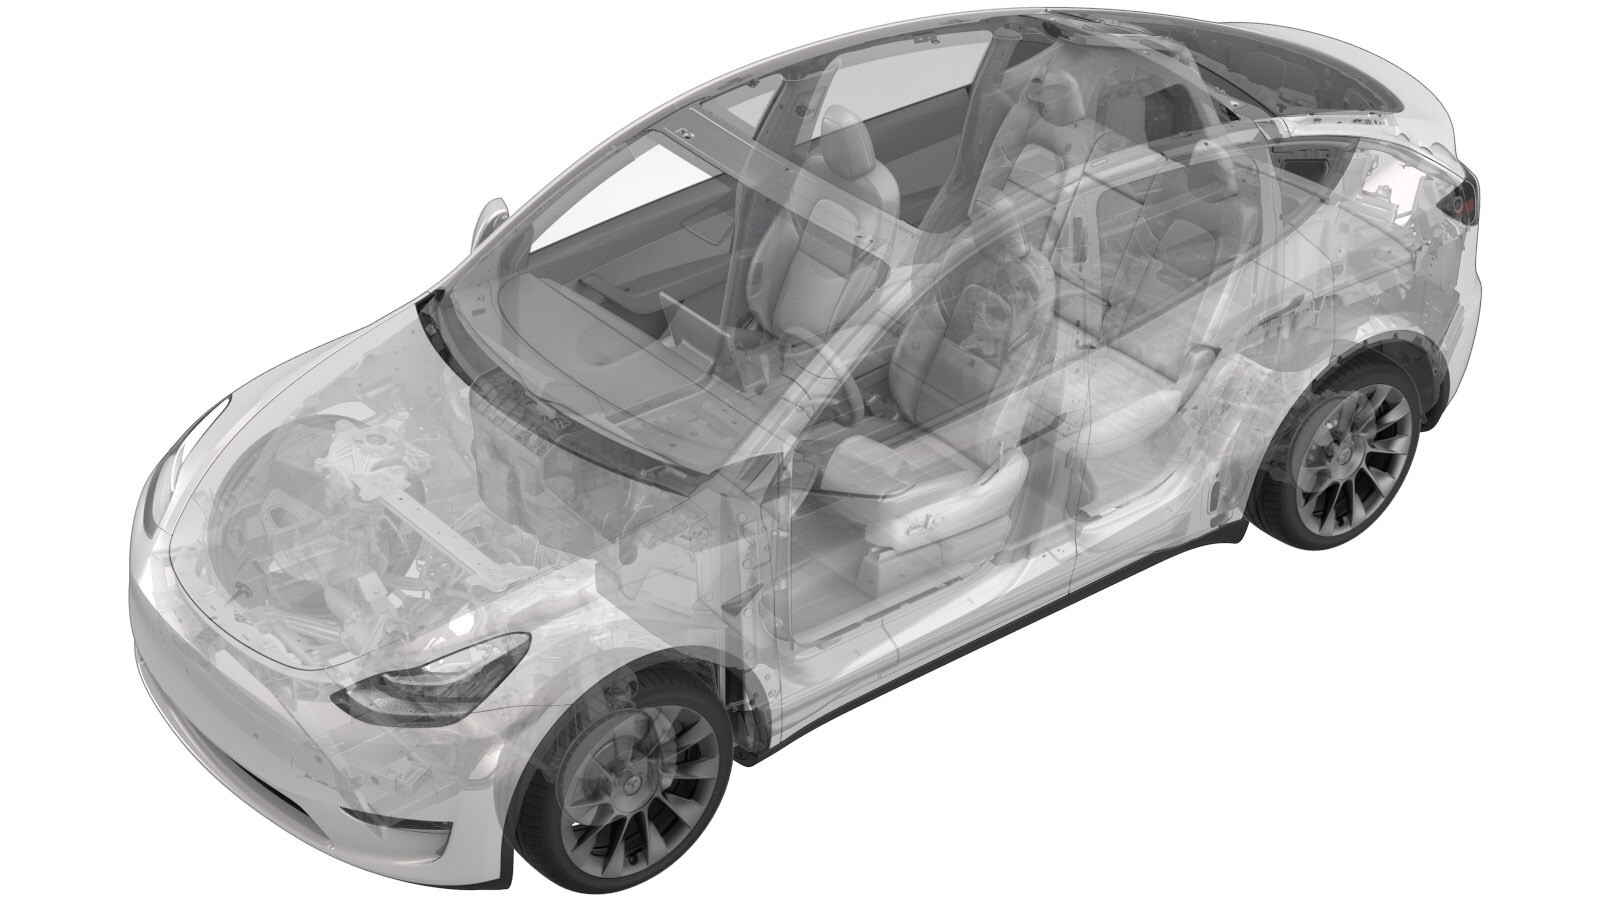
Innerskjerm – foran – venstre (Strukturell pakke) (fjerne og skifte ut)
 Korrigeringskode
12010912 0.36
MERK: Hvis ikke noe annet er uttrykkelig oppgitt i prosedyren, gjenspeiler korrigeringskoden og FRT ovenfor, alt arbeidet som kreves for å gjennomføre denne prosedyren, inkludert de tilknyttede prosedyrene. Ikke stable korrigeringskoder med mindre du bli uttrykkelig bedt om det.
MERK: Se Flat rate-tider for å lære mer om FRT-er og hvordan de lages. Hvis du vil gi tilbakemelding om FRT-verdier, kan du sende en e-post til ServiceManualFeedback@tesla.com.
MERK: Se Personlig beskyttelse for å forsikre deg om at du bruker riktig PVU når du gjennomfører prosedyren nedenfor. Se Forholdsregler for ergonomi for trygge og sunne arbeidspraksiser.
Fjerne
- Raise and support the vehicle. See Heve bil – løftebukk med 2 stolper.
- Remove the LH front wheel. See Hjulenhet (fjerne og skifte ut).
- Raise the vehicle to a comfortable working height.
-
Remove the rocker bolt and aero shield bolts (x2) that attach the LH front wheel arch liner to the HV battery.
TIpUse of the following tool(s) is recommended:
- 10 mm socket
- Lower the vehicle partially.
- Remove the LH front fender garnish. See Pynteelement – skjerm – foran – venstre (fjerne og skifte ut).
-
Remove the push clips (x10 and metal clips (x5) that attach the LH front wheel arch liner to the vehicle.
MerkMetal clips are located behind the rotor.TIpUse a prytool to get cutters under the metal clip.
-
Release the LH front wheel arch liner from the studs (x5), and then remove the liner from the vehicle.
Montere
-
Position the LH front wheel arch liner into the vehicle and onto the studs (x5), and then tuck the liner behind the front aero shield.
-
Install the push clips (x10) and metal clips (x5) that attach the LH front wheel arch liner to the vehicle.
MerkUse a socket to press the metal clip into the liner evenly.
- Install the LH front fender garnish. See Pynteelement – skjerm – foran – venstre (fjerne og skifte ut).
-
Apply Loctite 222 to the aero shield bolts (x2), and then install the aero shield bolts (x2) and rocker bolt that attach the LH front wheel arch liner to the HV battery.
 12 Nm (8.8 lbs-ft)
 6 Nm (4.4 lbs-ft)MerkTorque the rocker bolt to 12 Nm and the aero shield bolts (x2) to 6 Nm.TIpUse of the following tool(s) is recommended:
- 10 mm socket
- Install the LH front wheel. See Hjulenhet (fjerne og skifte ut).
- Remove the vehicle from the lift.