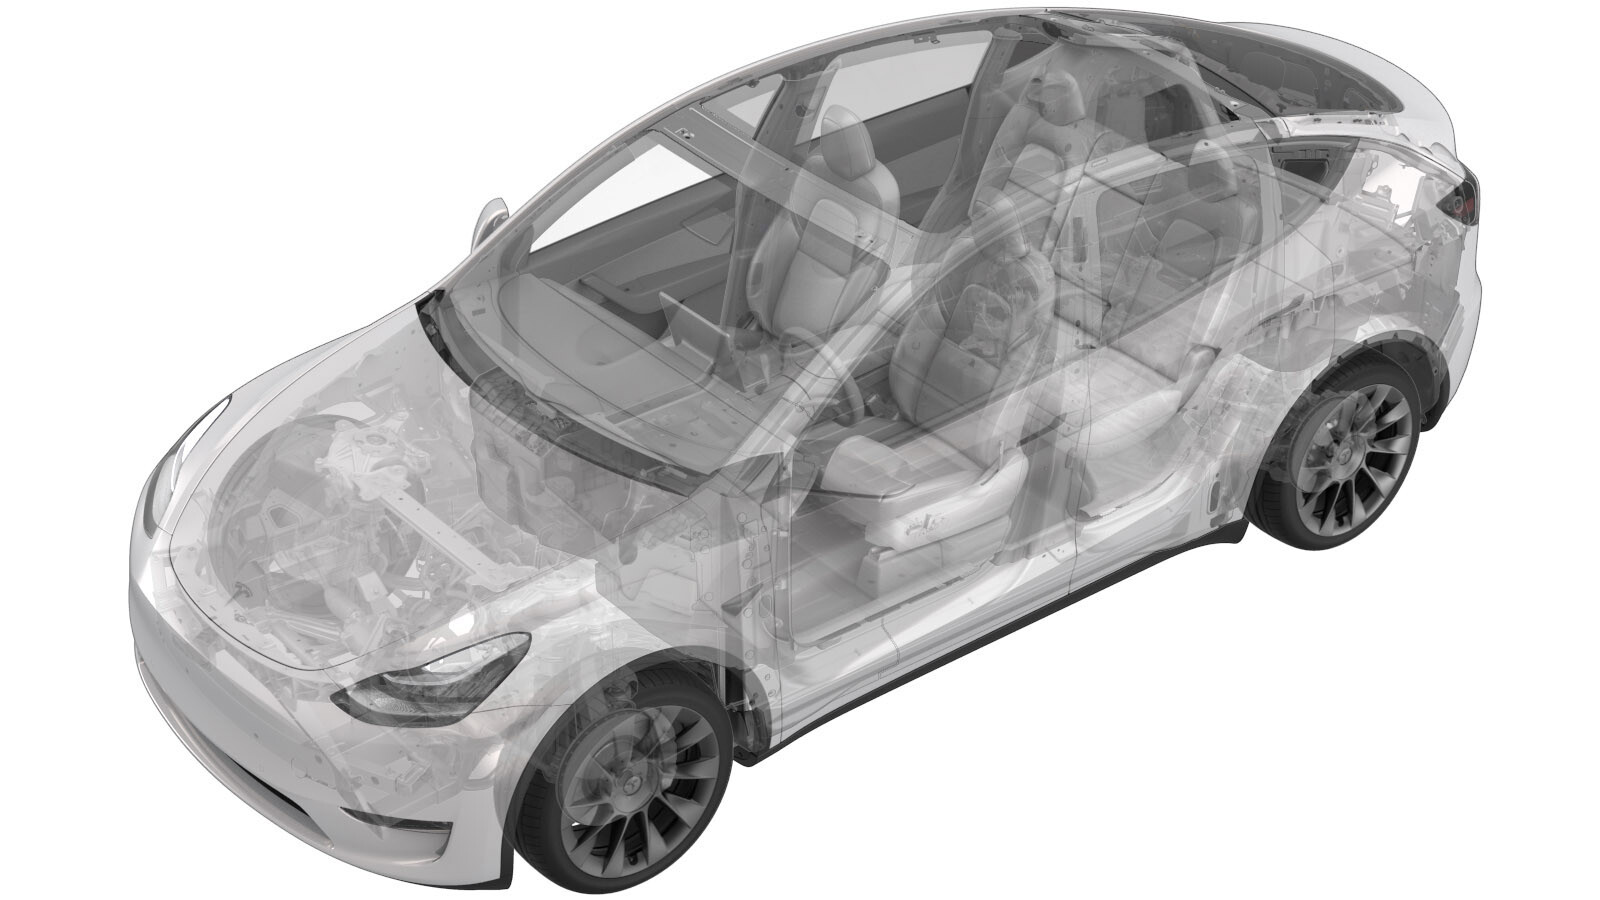
Kontakt – positiv – høyspenningsbatteri (Strukturell pakke) (fjerne og skifte ut)
 Korrigeringskode
16302112 1.98
MERK: Hvis ikke noe annet er uttrykkelig oppgitt i prosedyren, gjenspeiler korrigeringskoden og FRT ovenfor, alt arbeidet som kreves for å gjennomføre denne prosedyren, inkludert de tilknyttede prosedyrene. Ikke stable korrigeringskoder med mindre du bli uttrykkelig bedt om det.
MERK: Se Flat rate-tider for å lære mer om FRT-er og hvordan de lages. Hvis du vil gi tilbakemelding om FRT-verdier, kan du sende en e-post til ServiceManualFeedback@tesla.com.
MERK: Se Personlig beskyttelse for å forsikre deg om at du bruker riktig PVU når du gjennomfører prosedyren nedenfor. Se Forholdsregler for ergonomi for trygge og sunne arbeidspraksiser.
Fjerne
- Open all the doors and lower all the windows.
- Place the vehicle into Service Mode. See Servicemodus.
- Remove the ancillary bay cover. See Hette – tilleggsbrønn (Strukturell pakke) (fjerne og skifte ut).
- Fjern den pyrotekniske batterifrakoblingen. Se Pyroteknisk batterifrakobling (Strukturell pakke) (fjerne og montere).
-
Disconnect the HV battery positive
contactor connectors (x2).
-
Release the clip that attaches the
negative harness to the tray.
-
Remove and discard the bolts (x2) that
attach the positive contactor to the busbars.
 5 Nm (3.7 lbs-ft) + 60 degreesTIpBruk av følgende verktøy anbefales:
- 13 mm nøkkel
-
Remove the bolts (x3) that attach the
positive contactor to the assembly tray.
 6 Nm (4.4 lbs-ft)TIpBruk av følgende verktøy anbefales:
- 8 mm nøkkel
-
Remove the HV battery positive
contactor from the ancillary bay.
Montere
-
Position the HV battery positive
contactor into the ancillary bay.
-
Install the bolts (x3) that attach the
positive contactor to the assembly tray.
 6 Nm (4.4 lbs-ft)MerkHand start bolts to verify the contactor is centered.TIpBruk av følgende verktøy anbefales:
- 8 mm nøkkel
-
Install new bolts (x2) that attach the positive contactor to the busbars.
 5 Nm (3.7 lbs-ft) + 60 degreesTIpBruk av følgende verktøy anbefales:
- 13 mm nøkkel
-
Use a Hioki resistance meter to
measure the resistance at the HV joint between the newly-installed positive contactor
and the positive DC link busbar.
MerkThe acceptable resistance is between 0.004 mΩ (4 μΩ) and 0.050 mΩ (50 μΩ). If the resistance is greater than 0.050 mΩ (50 μΩ), there is too much resistance in the High Voltage joint. Remove the fastener, clean areas with isopropyl alcohol, install fastener back and test again. If the resistance is less than 0.004 mΩ (4 μΩ), reposition the probes and measure again.
-
Use a Hioki resistance meter to
measure the resistance at the HV joint between the newly-installed positive contactor
and the positive terminal flex busbar.
MerkThe acceptable resistance is between 0.004 mΩ (4 μΩ) and 0.050 mΩ (50 μΩ). If the resistance is greater than 0.050 mΩ (50 μΩ), there is too much resistance in the High Voltage joint. Remove the fastener, clean areas with isopropyl alcohol, install fastener back and test again. If the resistance is less than 0.004 mΩ (4 μΩ), reposition the probes and measure again.
-
Install the clip that attaches the
negative harness to the tray.
-
Connect the positive contactor
connectors (x2).
- Mål spenningen over monteringspunktene for den pyrotekniske batterifrakoblingen, og monter deretter den pyrotekniske batterifrakoblingen. Se Pyroteknisk batterifrakobling (Strukturell pakke) (fjerne og montere).
- Install the ancillary bay cover. See Hette – tilleggsbrønn (Strukturell pakke) (fjerne og skifte ut).
- Exit Service Mode. See Servicemodus.
- Raise all the windows and close all the doors.