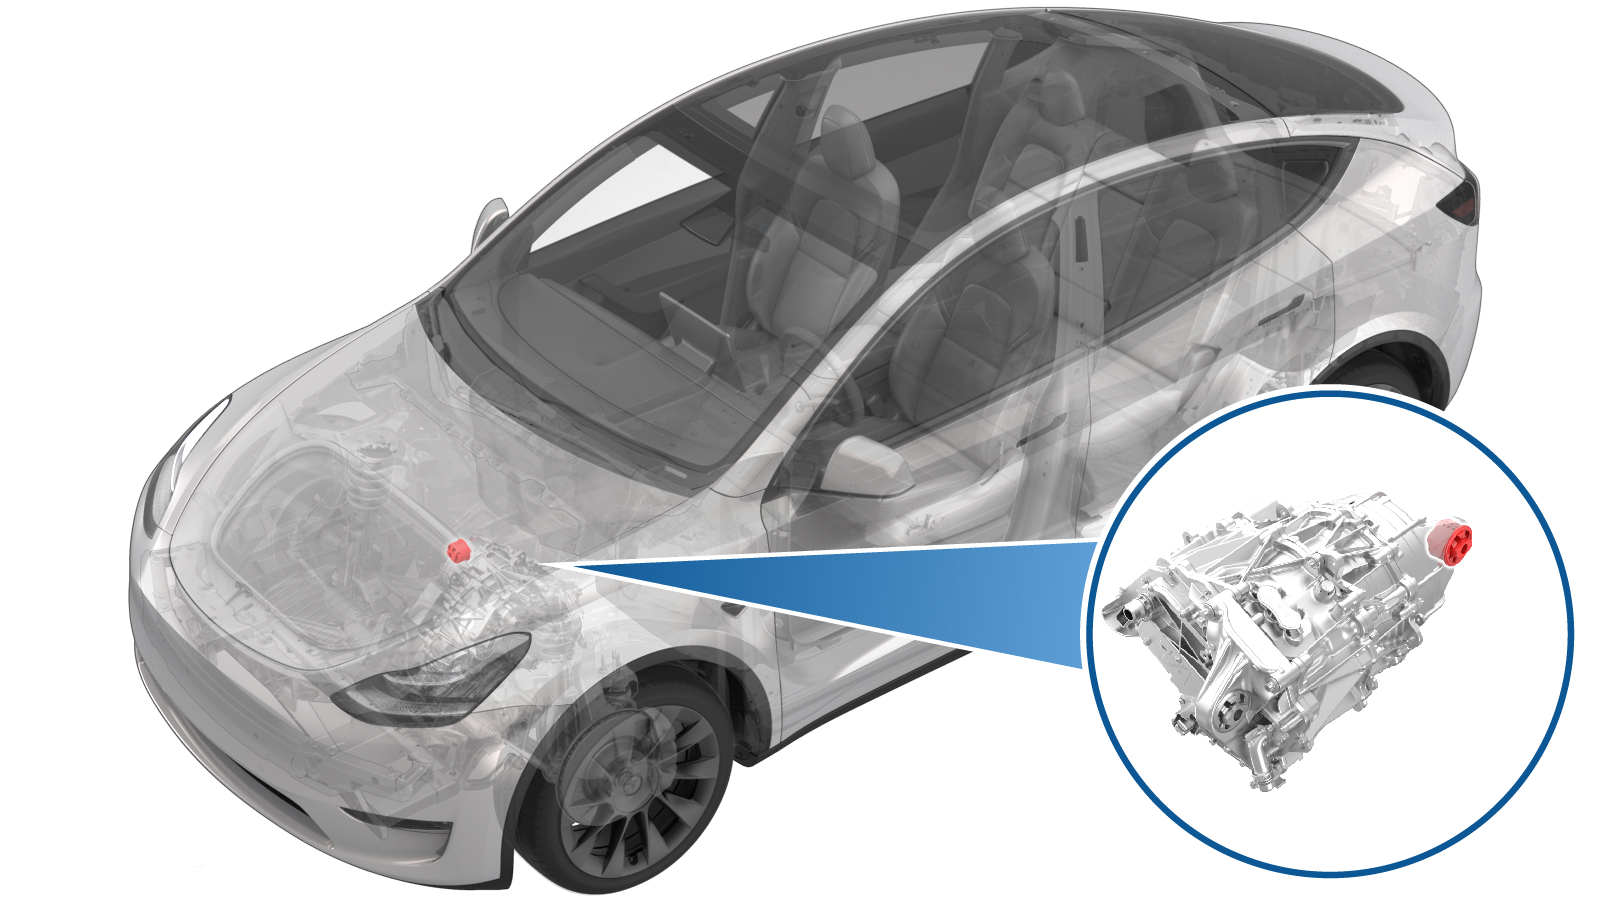
Bøssing – fremre drivenhet – høyre (fjerne og skifte ut)
 Korrigeringskode
39011102 2.70
MERK: Hvis ikke noe annet er uttrykkelig oppgitt i prosedyren, gjenspeiler korrigeringskoden og FRT ovenfor, alt arbeidet som kreves for å gjennomføre denne prosedyren, inkludert de tilknyttede prosedyrene. Ikke stable korrigeringskoder med mindre du bli uttrykkelig bedt om det.
MERK: Se Flat rate-tider for å lære mer om FRT-er og hvordan de lages. Hvis du vil gi tilbakemelding om FRT-verdier, kan du sende en e-post til ServiceManualFeedback@tesla.com.
MERK: Se Personlig beskyttelse for å forsikre deg om at du bruker riktig PVU når du gjennomfører prosedyren nedenfor. Se Forholdsregler for ergonomi for trygge og sunne arbeidspraksiser.
- 2025-04-04: Added step to refer to the suspension alignment tables to define whether an alignment check is required and, if so, what type of alignment check is required.
Fjerne
- Remove the front subframe assembly from the vehicle. See Underramme – foran (dobbel motor) (fjerne og montere).
-
Install the bushing tool on the RH
front drive unit bushing.
MerkUse cups "K", "B", and "I" when assembling the special tool, as shown.
Figur 1. Other assemblies hidden for clarity -
Turn the bearing-side bushing tool nut
with a wrench while holding the opposite nut in place.
ADVARSELApply torque only to the bearing-side bushing tool nut.
Figur 2. Apply torque only to the nut highlighted red -
When the bushing has been pushed out
of the front drive unit, separate the bushing tool, and then remove the bushing.
Montere
-
Sett opp bøssingverktøyet for å presse det inn i den nye bøssingen.
MerkUse cups "L", "J", and "C" when assembling the special tool, as shown.MerkMake sure the rubber tab is visible at the top of cup "J".
Figur 3. Cups "L", "J", and "C" used to install the bushing Figur 4. Rubber tab visible at the top of cup "J" -
Turn the bearing-side bushing tool nut
with a wrench until the bushing flange makes contact with the front drive unit.
ADVARSELApply torque only to the bearing-side bushing tool nut.MerkWhile installing the bushing, make sure the rubber tab remains visible at the top of cup "J".
Figur 5. Apply torque only to the nut highlighted red - Løsne bøssingverktøyet, og fjern det fra drivenheten.
-
Make sure the bushing alignment lug is
oriented to 12 o'clock.
Figur 6. Other assemblies hidden for clarity - Install the front subframe assembly on the vehicle. See Underramme – foran (dobbel motor) (fjerne og montere).
- Se tabellene for innrettingskrav for å avgjøre om en EPAS-innrettingskontroll (EC) eller kontroll av firehjulsinnstilling (AC) er nødvendig. Hvis nødvendig skal korrigeringskode for innrettingskontrollen/-justeringen legges til som en egen aktivitet for SV. Se Innrettingskrav – fjæring.