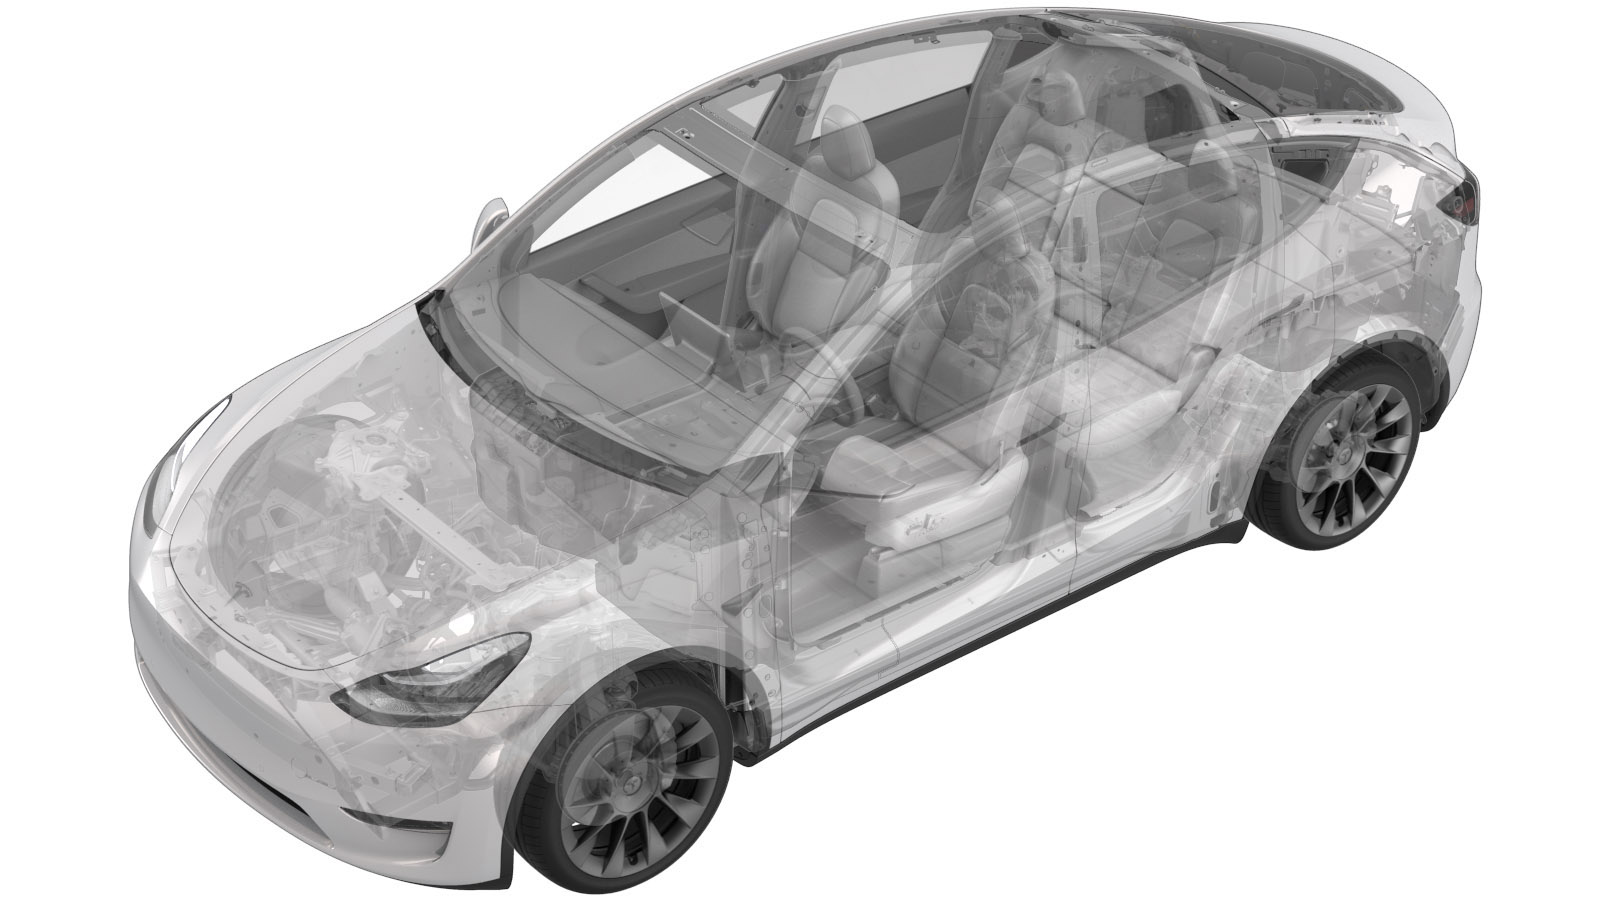
Ball Joint - Rear - Upper - Rear Knuckle - LH (Remove and Replace)
 Korrigeringskode
31031812
0.48
MERK: Hvis ikke noe annet er uttrykkelig oppgitt i prosedyren, gjenspeiler korrigeringskoden og FRT ovenfor, alt arbeidet som kreves for å gjennomføre denne prosedyren, inkludert de tilknyttede prosedyrene. Ikke stable korrigeringskoder med mindre du bli uttrykkelig bedt om det.
MERK: Se Flat rate-tider for å lære mer om FRT-er og hvordan de lages. Hvis du vil gi tilbakemelding om FRT-verdier, kan du sende en e-post til ServiceManualFeedback@tesla.com.
MERK: Se Personlig beskyttelse for å forsikre deg om at du bruker riktig PVU når du gjennomfører prosedyren nedenfor.
MERK: Se Forholdsregler for ergonomi for trygge og sunne arbeidspraksiser.
- 2025-12-9: Added information for updated tools.
- 2025-10-09: Added caution for tool usage.
- 2025-08-13: Added part numbers for required chemicals.
- 2025-06-04: Added references to sub-procedures.
- 2025-02-20: Added note to use region specific Loctite.
- 1044454-00-B - RR SUS CABJ
- 2130203-00-A or 2130203-00-B - CABJ Bushings R&R Tool Kit M3/MY
- 1025334-00-A - Loctite 680 (North America)
- 2164041-00-A - Loctite 638 (EMEA)
- Remove the LH rear wheel. See Hjulenhet (fjerne og skifte ut)
-
Inspect LH Rear Upper Knuckle Ball Joint for red markings.
MerkIf the red markings are present on opposite sides (180 degrees), do not replace the Knuckle Ball Joint. The knuckle assembly must be replaced. See Spindel – oppheng – bak – venstre (fjerne og skifte ut).
-
Release LH rear upper aft link from knuckle
Merk1x bolt, 1x nut, 21mm, 134 Nm
-
Remove the Rear Upper Knuckle Ball joint using revision 2130203-00-A of the CABJ Bushings R&R Tool Kit M3/MY.
MerkGo to the next step when using revision 2130203-00-B.
-
Remove the Rear Upper Knuckle Ball joint using revision 2130203-00-B of the CABJ Bushings R&R Tool Kit M3/MY.
- Put on protection gloves
-
Clean LH Rear knuckle
MerkClean surface area where Rear Upper Knuckle Ball Joint is installed into the knuckle from any debris and oxidation, allow 1 minute dry time
-
Degrease LH Rear Upper Knuckle Ball Joint
MerkClean contact area of Rear Upper Knuckle Ball Joint and allow 1 minute dry time
-
Apply Loctite on LH Rear Upper Knuckle Ball Joint
MerkUse the region specific Loctite. For EMEA: Loctite 638. For North America: Loctite 680MerkTake care not to apply loctite on the rubber sealsADVARSELAllow 30 minutes curing time for Loctite. Continue this procedure, but do not drive the vehicle during the 30 minute curing time.
-
Position new LH Rear Upper Knuckle Ball Joint to knuckle
MerkEnsure ball joint is sitting concentric to the bore, installation is performed from the rear side of the knuckle and ball joint has only 1 orientation of the installation, discard Nitrile Gloves
-
Install the Rear Upper Knuckle Ball joint using revision 2130203-00-A of the CABJ Bushings R&R Tool Kit M3/MY.
MerkGo to the next step when using revision 2130203-00-B.
-
Install the Rear Upper Knuckle Ball joint using revision 2130203-00-B of the CABJ Bushings R&R Tool Kit M3/MY.
-
Clean any excessive Loctite from LH Rear Upper Knuckle
MerkAllow 1 minute dry time
-
Mark the LH Rear Upper Knuckle Ball Joint with red paint pen.
MerkMachined surface should be near flush with ball joint. Markings must be on opposite sides (180 degrees).
-
Position LH rear upper aft link to knuckle
Merk1x bolt, 1x nut, 21mm, 134 Nm, Torque at later step
-
Torque bolt securing LH rear upper aft link to knuckle
Merk1x bolt, 21mm, 134 Nm, Mark with paint pen
- Install the LH rear wheel. See Hjulenhet (fjerne og skifte ut)
- Se tabellene for innrettingskrav for å avgjøre om en EPAS-innrettingskontroll (EC) eller kontroll av firehjulsinnstilling (AC) er nødvendig. Hvis nødvendig skal korrigeringskode for innrettingskontrollen/-justeringen legges til som en egen aktivitet for SV. Se Innrettingskrav – fjæring.