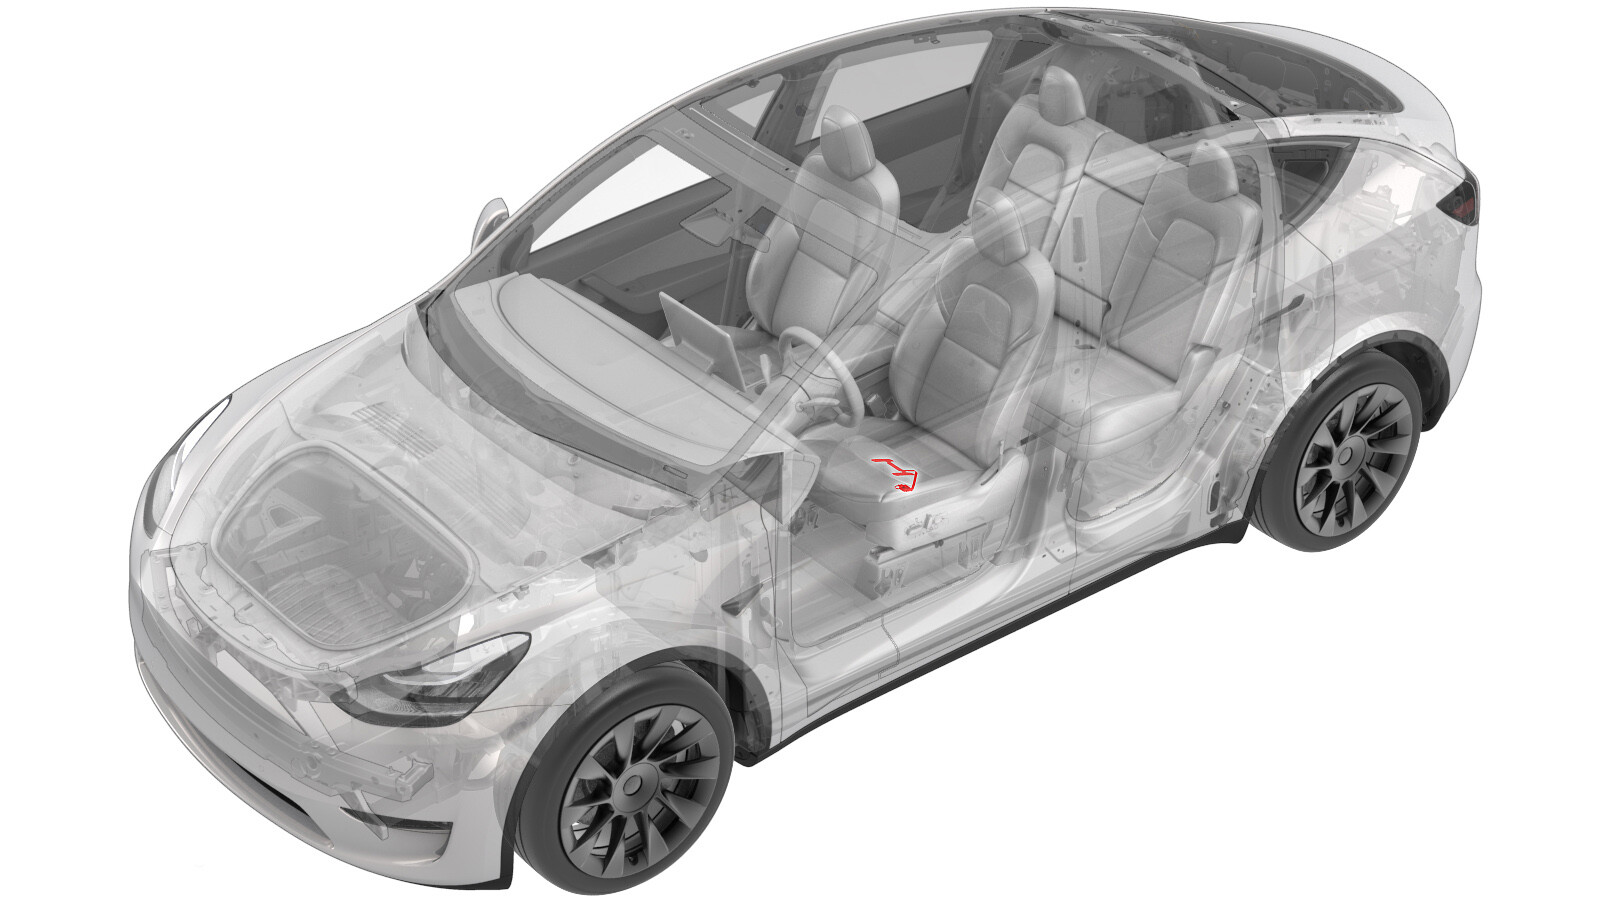
Sensor – resistiv passasjer – forsete – høyre (fjerne og skifte ut)
 Korrigeringskode
20202202 0.84
MERK: Hvis ikke noe annet er uttrykkelig oppgitt i prosedyren, gjenspeiler korrigeringskoden og FRT ovenfor, alt arbeidet som kreves for å gjennomføre denne prosedyren, inkludert de tilknyttede prosedyrene. Ikke stable korrigeringskoder med mindre du bli uttrykkelig bedt om det.
MERK: Se Flat rate-tider for å lære mer om FRT-er og hvordan de lages. Hvis du vil gi tilbakemelding om FRT-verdier, kan du sende en e-post til ServiceManualFeedback@tesla.com.
MERK: Se Personlig beskyttelse for å forsikre deg om at du bruker riktig PVU når du gjennomfører prosedyren nedenfor. Se Forholdsregler for ergonomi for trygge og sunne arbeidspraksiser.
Fjerne
- Remove the passenger seat cushion trim. See Kledning – pute – førersete (fjerne og skifte ut).
-
While wearing cut-resistant gloves, carefully use a razor blade to separate the resistive occupancy sensor from the passenger seat cushion foam.
ADVARSELAlways wear cut-resistant gloves when using cutting tools.ADVARSELTake care not to damage the sensor harness, seat trim, or other surrounding components with the razor blade.ADVARSELTake care to remove as little foam as possible.
-
From the underside of the cushion, carefully route the resistive occupancy sensor harness up through the top of the cushion, and then remove the sensor from the cushion.
ADVARSELWhile removing the harness, take care not to damage the foam.
Montere
-
Position the resistive occupancy sensor on top of the passenger seat cushion foam, and then route the sensor harness through the harness opening in the foam.
ADVARSELWhile installing the harness, take care not to damage the foam.
Figur 1. Resistive occupancy sensor positioned on top of the front seat cushion foam Figur 2. Resistive occupancy sensor harness routed through the bottom of the front seat cushion foam -
Peel the protective backing off of the resistive occupancy sensor, exposing the adhesive, and then install the sensor on top of the foam.
MerkAlign the sensor with the indentations on the foam.
- Install the passenger seat cushion trim. See Kledning – pute – førersete (fjerne og skifte ut).
-
Hvis du utfører service på passasjersetet foran i en nordamerikansk bil:
- Ta ut alle gjenstander fra passasjersetet foran før du begynner kalibreringen.
- På berøringsskjermen trykker du på , og deretter ser du etter bilens fastvareversjon. Hvis fastvareversjonen til bilen er 2023.2.11 eller nyere, utfører du installering av programvare på nytt. Se Installer programvare på nytt – berøringsskjerm. Hvis fastvareversjonen til bilen ikke er 2023.2.11 eller nyere, oppdaterer du fastvaren. Se Programvareoppdatering.
- Koble en bærbar PC med Toolbox 3 lokalt til bilen. Se Toolbox (koble til og fra).
- Lås opp bilens gateway. Se Gateway (lås opp).
- I Toolbox klikker du på fanen Actions (Handlinger) og søker etter «OCS».
- Run (Kjør) rutinen PROC_OCS1P_SELF-CALIBRATIONvia Toolbox: (link)via Service Mode Plus: Safety & Restraints ➜ Seats ➜ OCS1P Self Capacitance Calibration.
- Klikk på fanen Actions (Handlinger), og søk etter «Seat calibration» (Setekalibrering).
- Run (Kjør) rutinen PROC_VCRIGHT_SEAT-CALIBRATEvia Toolbox: (link)via Service Mode Plus: Low Voltage ➜ Seats ➜ Calibrate.
- Koble fra Toolbox, og ta den bærbare PC-en ut av bilen.