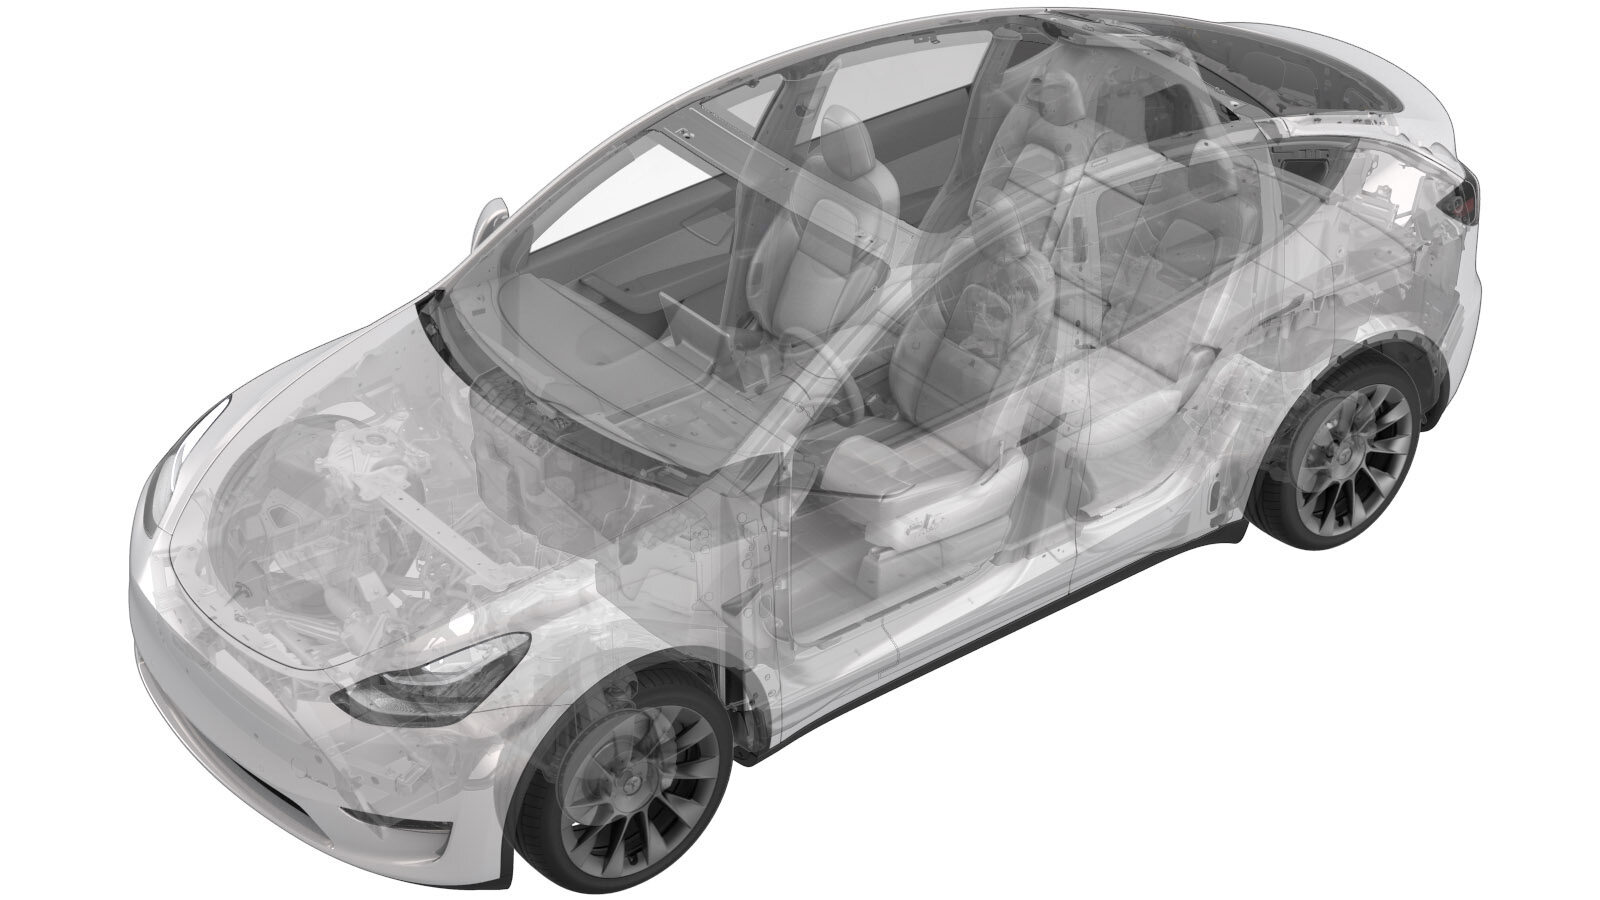
Kamera – bi – forovervendt (fjerne og skifte ut)
 Korrigeringskode
17221002 0.36
MERK: Hvis ikke noe annet er uttrykkelig oppgitt i prosedyren, gjenspeiler korrigeringskoden og FRT ovenfor, alt arbeidet som kreves for å gjennomføre denne prosedyren, inkludert de tilknyttede prosedyrene. Ikke stable korrigeringskoder med mindre du bli uttrykkelig bedt om det.
MERK: Se Flat rate-tider for å lære mer om FRT-er og hvordan de lages. Hvis du vil gi tilbakemelding om FRT-verdier, kan du sende en e-post til ServiceManualFeedback@tesla.com.
MERK: Se Personlig beskyttelse for å forsikre deg om at du bruker riktig PVU når du gjennomfører prosedyren nedenfor. Se Forholdsregler for ergonomi for trygge og sunne arbeidspraksiser.
Fjerne
- Open the LH front door and lower the LH front window.
- Remove the lower quad camera cover. See Quad-kameradeksel – nedre (fjerne og skifte ut).
- Remove the rear view mirror. See Speil – bak (fjerne og skifte ut).
-
Release the clips that attach the upper quad camera cover to the windshield bracket, and then separate the cover from the bracket.
ADVARSELCarefully release the cover from the windshield bracket, as an electrical harness is still attached.
-
Release the connector lock, and then disconnect the rearview mirror upper cover assembly.
MerkConnector count may vary depending on the vehicle configuration.
-
Release the locking tab, and then disconnect the GNSS antenna connector.
-
Release the tabs that attach the glare shield to the windshield bracket, and then remove the glare shield from the windshield bracket.
-
Remove and discard the screws (x4) that attach the forward facing bi camera to the vehicle, and then remove the camera assembly from the vehicle.
 1 Nm (.7 lbs-ft)TIpUse of the following tool(s) is recommended:
- T10 bit
-
Release the locking tabs, and then disconnect the forward facing camera assembly connectors (x2).
Montere
-
Clean the inner windshield camera viewing area with a clean microfiber cloth and glass cleaner. Let the windshield fully dry before continuing.
ADVARSELVerify that the windshield has no stains or leftover residue. Otherwise, Autopilot features may be hindered.
-
Position the forward facing camera into the vehicle, connect the connectors (x2), and then secure the connector locks.
-
Install new screws (x4) that attach the forward facing bi camera to the vehicle.
 1 Nm (.7 lbs-ft)TIpUse of the following tool(s) is recommended:
- T10 bit
-
Position the glare shield to the windshield bracket, and then secure the tabs (x2) that attach the glare shield to the windshield bracket.
-
Connect the GNSS antenna connector, and then secure the connector lock.
-
Connect the rear view mirror upper cover assembly, and then secure the connector locks.
MerkConnector count may vary depending on the vehicle configuration.
-
Connect the interior camera connector, and then install the clips that attach the upper quad camera cover to the vehicle.
- Unlock the vehicle gateway. See Gateway (lås opp).
-
On the vehicle touchscreen, tap Driver Assist > Cameras > Reset DAS.
MerkMake sure all cameras and reset DAS icon turn green.
-
Perform the following routine using Service Mode or Toolbox (see 0005 – Servicemodi):
PING-HTTP_DAS_X_MAIN-CAMERA-SCRIPTvia Toolbox: (link).
MerkThe routine will need to be performed within a 5 minute calibration window.MerkChoose the routine that has the "SCRIPT" at the end of the path name.
-
Perform the following routine using Service Mode or Toolbox (see 0005 – Servicemodi):
PING-HTTP_DAS_X_FISHEYE-CAMERA-SCRIPTvia Toolbox: (link).
MerkRoutine will need to be performed within 5 minute calibration window.MerkChoose the routine that has the "SCRIPT" at the end of the path name.
- Adjust the forward facing camera. See Kamera –fremovervendt (verifisering av skråstilling).