Teppe – foran – høyre (Strukturell pakke) (fjerne og skifte ut)
 Korrigeringskode
15301122 0.30
MERK: Hvis ikke noe annet er uttrykkelig oppgitt i prosedyren, gjenspeiler korrigeringskoden og FRT ovenfor, alt arbeidet som kreves for å gjennomføre denne prosedyren, inkludert de tilknyttede prosedyrene. Ikke stable korrigeringskoder med mindre du bli uttrykkelig bedt om det.
MERK: Se Flat rate-tider for å lære mer om FRT-er og hvordan de lages. Hvis du vil gi tilbakemelding om FRT-verdier, kan du sende en e-post til ServiceManualFeedback@tesla.com.
MERK: Se Personlig beskyttelse for å forsikre deg om at du bruker riktig PVU når du gjennomfører prosedyren nedenfor. Se Forholdsregler for ergonomi for trygge og sunne arbeidspraksiser.
Fjerne
- Remove the RH mid A-pillar trim. See Kledning – A-stolpe – midten – venstre (fjerne og skifte ut).
- Remove the RH lower A-pillar trim. See Deksel – A-stolpe – nedre – venstre (fjerne og skifte ut).
- Remove the RH center console side panel. See Sidepanel – midtkonsoll – venstre (fjerne og skifte ut).
- Remove the passenger footwell cover. See Deksel – fotbrønn – passasjer (venstrestyrt) (fjerne og skifte ut).
- Move the RH front seat fully forward.
-
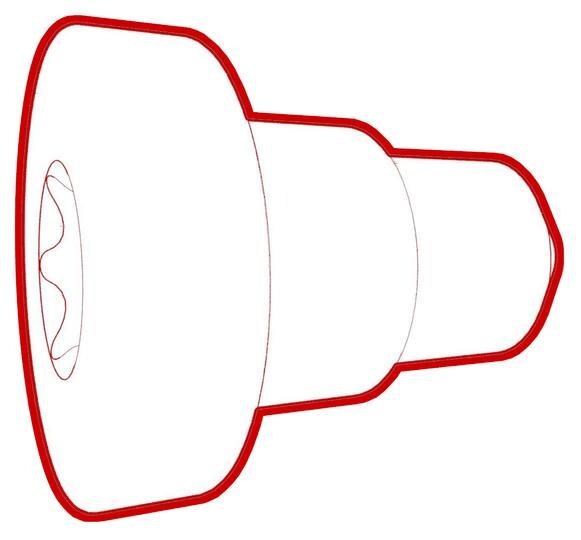
Remove and discard the bolts (x2) that
attach the rear of the 1st row RH seat to the body.
ADVARSELUse only the Torx Plus T45 bit to remove the seat bolts.MerkBruk av følgende verktøy anbefales:
- Torx Plus T45-nøkkel
- 3/8 in std skralle med fleksibelt hode
- 3/8 in momentnøkkel med fleksibelt hode (kun montering)
Figur 1. LH shown; RH similar - Move the RH front seat fully rearward.
-
Remove and discard the bolts (x2) that
attach the front of the 1st row RH seat to the body.
ADVARSELUse only the Torx Plus T45 bit to remove the seat bolts.MerkBruk av følgende verktøy anbefales:
- Torx Plus T45-nøkkel
- 3/8 in std skralle med fleksibelt hode
- 3/8 in momentnøkkel med fleksibelt hode (kun montering)
-
Position the RH front seat up and
carefully tilt the seat backwards.
-
Release the clips (x2) that attach the
RH front carpet to the cabin support.
-
Release the clips (x4) that attach the
RH front carpet underneath the RH front seat.
Figur 2. Seat removed for clarity -
Release the seat harness clip and
harness, release all edges, and then remove the RH front carpet from the vehicle.
MerkTake note of the short edge under the center console.
Montere
-
Position the RH front carpet into the vehicle, and then secure the seat harness clip
and harness and all edges.
MerkTuck the short edge underneath the center console.
-
Install the clips (x4) that attach the RH front carpet underneath the RH front
seat.
Figur 3. Seat removed for clarity -
Install the clips (x2) that attach the RH front carpet to the cabin support.
-
Carefully position the RH front seat down.
-
Sett inn nye bolter (2 stk.) for å feste forsiden av høyre sete på første rad til karosseriet.
 33.5 Nm (24.7 lbs-ft)ADVARSELUse only the Torx Plus T45 bit to install the seat bolts.MerkBruk av følgende verktøy anbefales:
- Torx Plus T45-nøkkel
- 3/8 in std skralle med fleksibelt hode
- 3/8 in momentnøkkel med fleksibelt hode (kun montering)
Figur 4. LH shown; RH similar - Move the RH front seat fully forward.
-
Sett inn nye bolter (2 stk.) for å feste baksiden av høyre sete på første rad til karosseriet.
 33.5 Nm (24.7 lbs-ft)ADVARSELUse only the Torx Plus T45 bit to install the seat bolts.MerkBruk av følgende verktøy anbefales:
- Torx Plus T45-nøkkel
- 3/8 in std skralle med fleksibelt hode
- 3/8 in momentnøkkel med fleksibelt hode (kun montering)
Figur 5. LH shown; RH similar - Install the passenger footwell cover. See Deksel – fotbrønn – passasjer (venstrestyrt) (fjerne og skifte ut).
- Install the RH center console side panel. See Sidepanel – midtkonsoll – venstre (fjerne og skifte ut).
- Install the RH lower A-pillar trim. See Deksel – A-stolpe – nedre – venstre (fjerne og skifte ut).
- Install the RH mid A-pillar trim. See Kledning – A-stolpe – midten – venstre (fjerne og skifte ut).
- Move the RH front seat to the original position.