2022-06-17
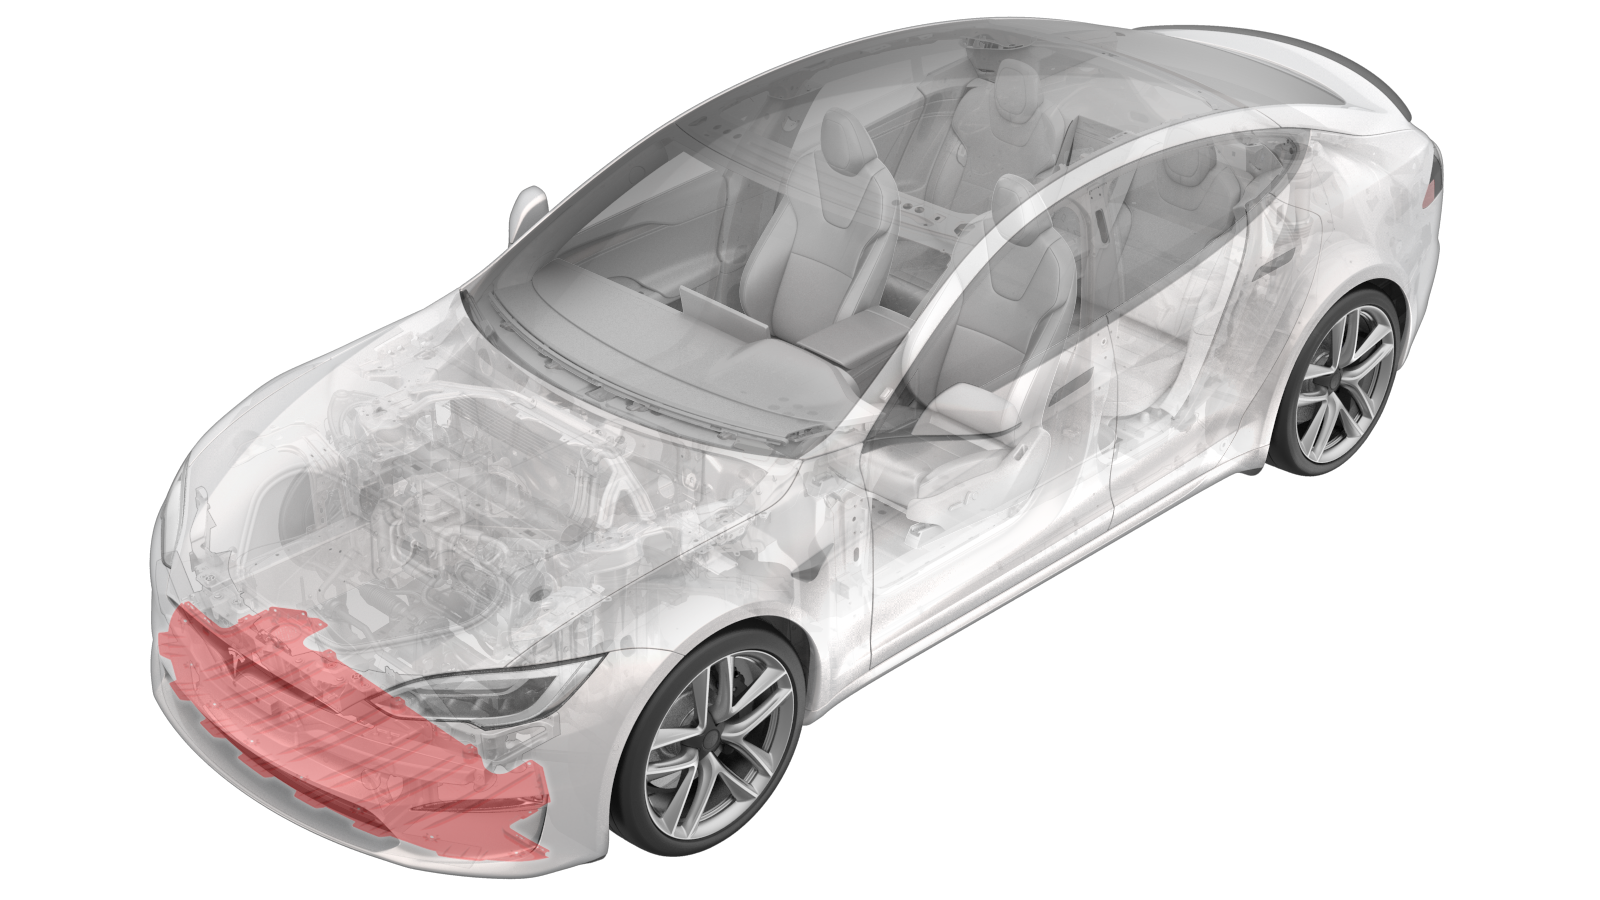
밸런스 - 전면 페시아(탈거 및 교체)
 교정 코드
10012202 0.36
바고: 절차에서 명시적으로 언급하지 않는 한 위 교정 코드 및 FRT는 연결된 절차를 포함하여 이 절차를 수행하는 데 필요한 모든 작업을 반영합니다. 명시적으로 지시하지 않는 한 교정 코드를 누적하지 마십시오.
참고: FRT와 그 생성 방법에 대한 자세한 내용은 표준 정비 작업시간을(를) 참조하십시오. FRT 값에 대한 피드백을 제공하려면ServiceManualFeedback@tesla.com으로 이메일을 보내십시오.
참고: 아래 절차를 수행할 때 적절한 PPE를 착용했는지 확인하려면 개인 보호의 내용을 참조하십시오.
토크 규격
| 설명 | 토크 값 | 권장 공구 | 재사용/교체 | 참고 |
|---|---|---|---|---|
| 밸런스를 전면 에어로 실드에 고정하는 볼트 |
 6 Nm (4.4 lbs-ft) |
|
재사용 | Loctite 222로 장착합니다. |
| 밸런스를 휠하우스 라이너에 고정하는 너트 |
 3 Nm (2.2 lbs-ft) |
|
재사용 |
탈거
- Open the LH front door and lower the LH front window.
- Raise the vehicle 차량 올리기 - 2 포스트 리프트.
-
Remove the bolts and clips that attach
the front fascia valance to the front aero shield.
TIp다음 공구 사용을 권장합니다.
- 10mm 소켓
- 4인치 익스텐션
- 육각 헤드 래칫/플렉스 헤드 토크 렌치
-
Release the three clips that attach
the LH wheelhouse liner to the valance and front fascia.
-
Release the three clips that attach
the RH wheelhouse liner to the valance and front fascia.
-
Release the electrical harness from
the top of the front fascia valance, and then disconnect the electrical harness from the
pedestrian warning speaker.
경고빨간색 잠금 탭을 누르지 마십시오. 커넥터가 잠금 해제될 때까지 커넥터에서 탭을 당겨 뺀 다음 커넥터를 당겨 분리합니다.
-
Release the eight clips that attach
the valance to the front fascia.
-
Remove the two nuts that attach the
valance to the front fascia near the wheelhouse liners, and then remove the valance from
the vehicle.
TIp다음 공구 사용을 권장합니다.
- 10mm 딥소켓
- 래칫/토크 렌치
장착
-
보조 작업자와 함께 밸런스를 전면 페시아에 배치한 다음 밸런스를 LH 및 RH 휠하우스 라이너에 고정하는 너트 2개를 장착합니다.
 3 Nm (2.2 lbs-ft)TIp다음 공구 사용을 권장합니다.
- 10mm 딥소켓
- 래칫/토크 렌치
-
Install the clips that attach the
valance to the front fascia assembly.
-
Connect the electrical harness to the
pedestrian warning speaker, and then clip the harness into the valance.
경고빨간색 잠금 탭을 커넥터에 밀어 잠금 장치를 체결합니다. 빨간색 잠금 탭을 누르거나 당기지 마십시오.
-
Install the three clips that attach
the RH wheelhouse liner to the valance and front fascia.
-
Install the three clips that attach LH
wheelhouse liner to the valance and front fascia.
-
Position the two valance datums into
the front aero shield.
-
볼트 3개에 Loctite 222를 도포한 다음 밸런스를 전면 에어로 실드에 고정하는 볼트 및 클립을 장착합니다.
 6 Nm (4.4 lbs-ft)TIp다음 공구 사용을 권장합니다.
- 10mm 소켓
- 4인치 익스텐션
- 육각 헤드 래칫/플렉스 헤드 토크 렌치
- Lower the vehicle 차량 올리기 - 2 포스트 리프트.
- Raise the LH front window and close the LH front door.