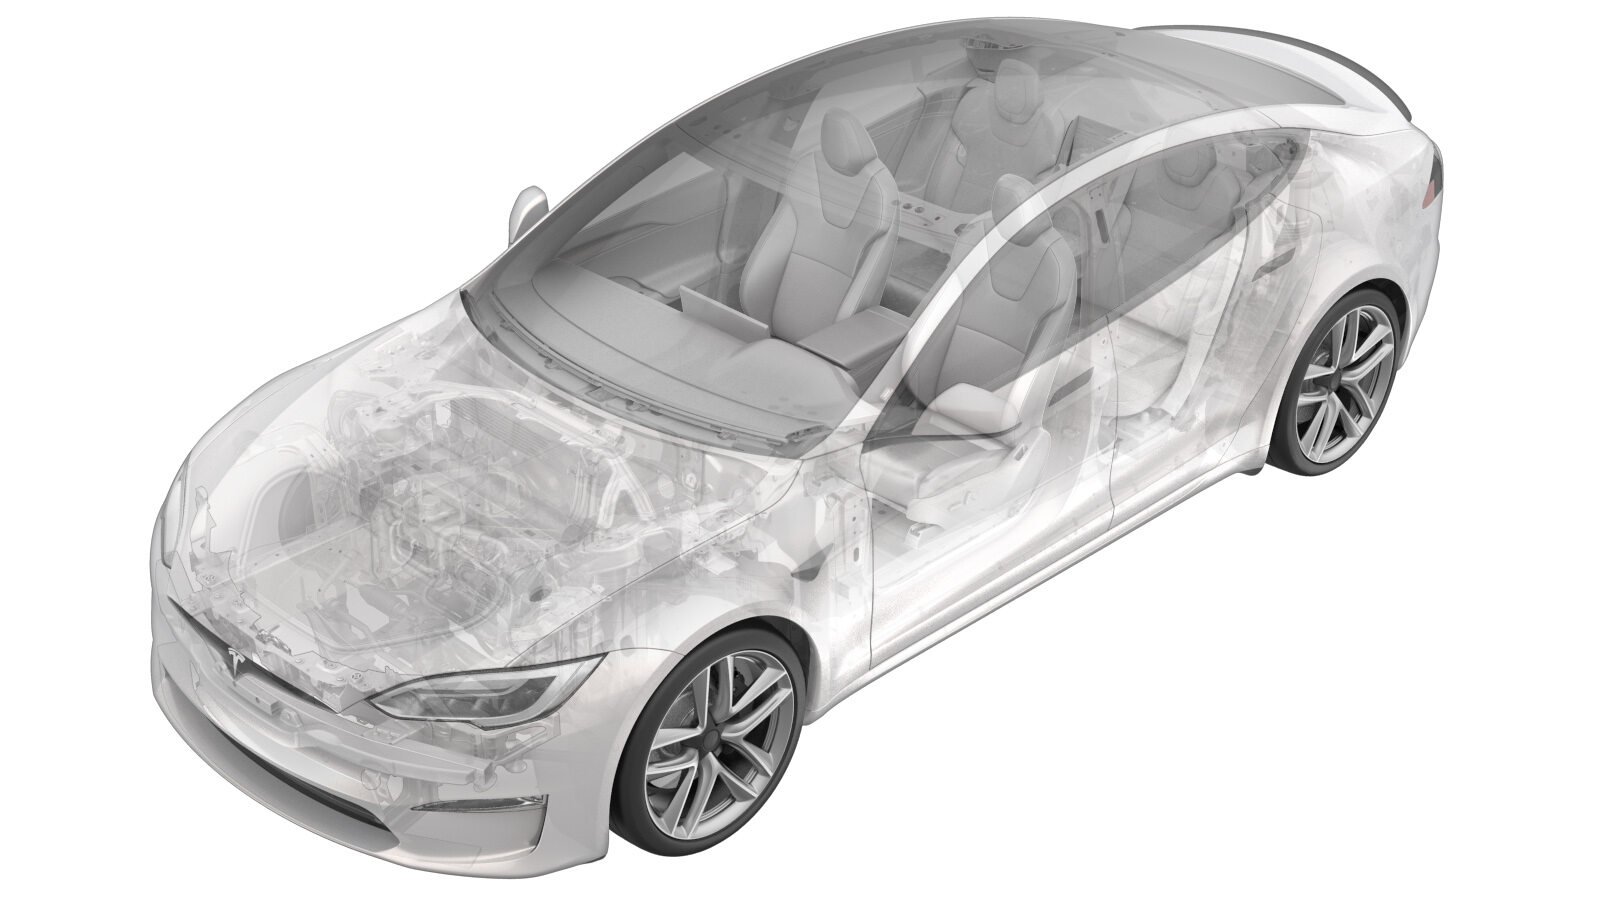
2025-09-11
차량 컴퓨터(HW4)(탈거 및 장착)
 교정 코드
21151031 0.48
바고: 절차에서 명시적으로 언급하지 않는 한 위 교정 코드 및 FRT는 연결된 절차를 포함하여 이 절차를 수행하는 데 필요한 모든 작업을 반영합니다. 명시적으로 지시하지 않는 한 교정 코드를 누적하지 마십시오.
참고: FRT와 그 생성 방법에 대한 자세한 내용은 표준 정비 작업시간을 참조하십시오. FRT 값에 대한 피드백을 제공하려면 ServiceManualFeedback@tesla.com으로 이메일을 보내십시오.
참고: 아래 절차를 수행할 때 개인 보호의 내용을 참조하여 적절한 PPE를 착용했는지 확인하십시오.
참고: 안전하고 건강한 작업 사례는 인체공학적 주의 사항의 내용을 참조하십시오.
- 2023-09-06: Cleaned up procedure.
경고
이 절차는 초안입니다. 따라서 검증은 되었지만 경고 및 주의 사항이 누락되었을 수 있습니다. 고전압 시스템 및 구성 요소에서 또는 그 근처에서 작업하는 경우에는 안전 요구 사항을 준수하고 최고 수준의 주의를 기울여야 합니다.
- 1135762-00-A Kit, Service Plugs, Cooling Hose
- 1119171-00-A Car Computer Fluid Port Plug
탈거
- Open both front doors and lower both front windows.
-
Move the front passenger seat fully rearwards.
- Disconnect LV power. See LV 전원(연결 해제 및 연결).
- Remove the RH middle A-pillar trim. See 트림 - A필러 - 중단 - LH(탈거 및 교체).
- Remove the RH lower A-pillar trim. See 트림 - A필러 - 하단 - LH(탈거 및 교체).
- Remove the passenger footwell cover. See 커버 - 발밑 공간 - 동승석(탈거 및 교체).
-
Remove the front passenger floor mat.
- Remove the RH center console side panel carpet. See 카펫 - 측면 패널 - 센터 콘솔 - LH(탈거 및 교체).
- Remove the front passenger footrest panel. See 패널 - 풋레스트 - 전면 동승석(LHD)(탈거 및 교체).
-
Disconnect the electrical connector to the connectivity module.
참고Move the release lock rearward before removal.
-
Disconnect the electrical connectors (x6) at the RH side of the infotainment motherboard.
참고Release the lock on each electrical connector before removal.
-
Disconnect the electrical connectors (x3) at the RH side of the Autopilot motherboard.
참고Release the lock on each electrical connector before removal.
-
Disconnect the electrical connectors (x7) at the LH side of the infotainment motherboard.
참고Release the lock on each electrical connector before removal.
-
Disconnect the electrical connectors (x5) at the LH side of Autopilot motherboard.
참고Release the lock on each electrical connector before removal.
-
Install coolant hose clamps (x2) to the coldplate hoses of the car computer.
참고Place coolant absorbent material around the car computer.
-
Release the spring locks (x2) that attach each coolant hoses (x2) to the car computer coldplate assembly.
참고Install coolant plugs at both hoses and car computer upon hose removal.
-
Move the absorbent mat aside to clear the car computer area.
참고Wipe away excess coolant from the floor.
-
Remove the bolts (x2) and nuts (x2) that attach the car computer to the body, and then remove the car computer from the vehicle.
Torque specifications:
- for the bolts: 8 Nm
- for the nuts: 7 Nm
TIp다음 공구 사용을 권장합니다.- 10mm 소켓
참고Remove any residual coolant from the vehicle.
장착
-
Install the bolts (x2) and nuts (x2) that attach the car computer to the body.
Torque specifications:
- for the bolts: 8 Nm
- for the nuts: 7 Nm
TIp다음 공구 사용을 권장합니다.- 10mm 소켓
-
Remove the coolant plugs from the hoses (x2), secure the coolant hoses onto the car computer coldplate assembly, and then secure them with spring locks (x2).
참고Place absorbent material onto the car computer.
-
Remove the coolant hose clamps from the hoses (x2).
참고Remove absorbent material.참고Clean residual fluid.참고Inspect for coolant leaks.
-
Connect the electrical connectors (x5) onto the LH side of the Autopilot motherboard.
참고Secure the locks on the electrical connectors after installation.
-
Connect the electrical connectors (x7) onto the LH side of the infotainment motherboard.
참고Secure the locks on the electrical connectors after installation.
-
Connect the electrics connectors (x3) onto the RH side of the Autopilot motherboard.
-
Connect the electrical connectors (x6) onto the RH side of the infotainment motherboard.
참고Secure the locks on the electrical connectors after installation.
-
Install the electrical connector to the connectivity module.
참고Slide the lock underneath the electrical connector.
- Connect LV power. See LV 전원(연결 해제 및 연결).
- Perform a cooling system partial refill and bleed. See 냉각 시스템(부분적 보충 및 블리딩).
- Install the rear underhood apron. See 후드 내 에이프런 - 후면(탈거 및 교체).
- Close the hood.
- Install the front passenger footrest panel. See 패널 - 풋레스트 - 전면 동승석(LHD)(탈거 및 교체).
- Install the RH center console side panel carpet. See 카펫 - 측면 패널 - 센터 콘솔 - LH(탈거 및 교체).
- Install the passenger footwell cover. See 커버 - 발밑 공간 - 동승석(탈거 및 교체).
-
Install the front passenger floor mat.
- Install the RH lower A-pillar trim. See 트림 - A필러 - 하단 - LH(탈거 및 교체).
- Install the RH middle A-pillar trim. See 트림 - A필러 - 중단 - LH(탈거 및 교체).
-
Restore the front passenger seat back to its original position.
- Raise both front windows and close both front doors.