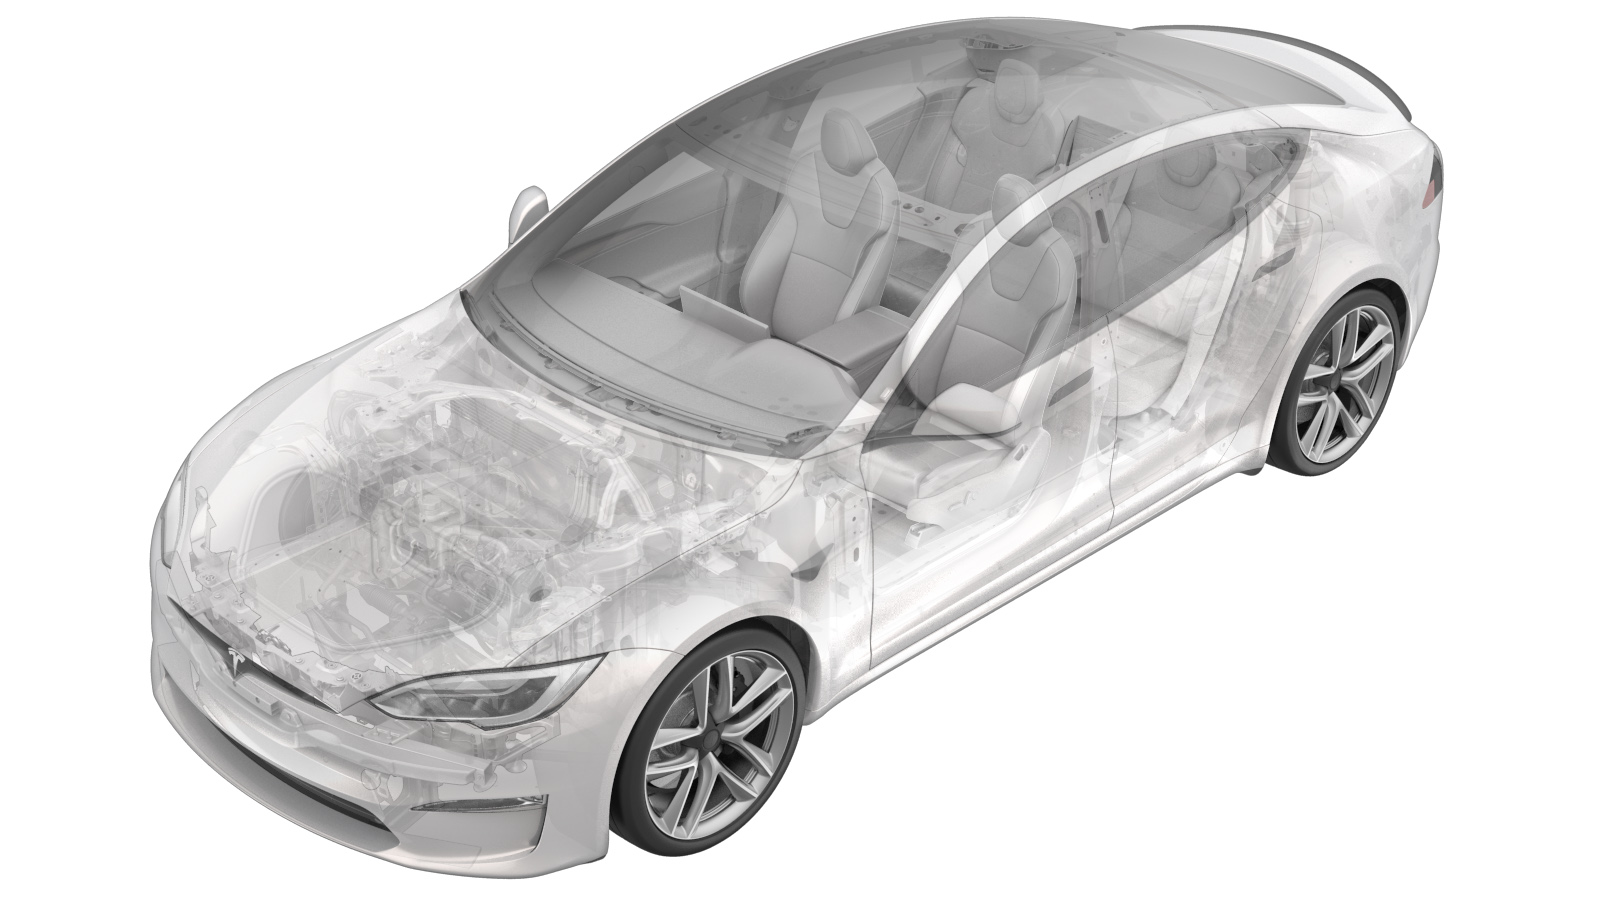
2023-12-18
에어로 렌즈 - 계기판(탈거 및 교체)
 교정 코드
14050012 1.32
바고: 절차에서 명시적으로 언급하지 않는 한 위 교정 코드 및 FRT는 연결된 절차를 포함하여 이 절차를 수행하는 데 필요한 모든 작업을 반영합니다. 명시적으로 지시하지 않는 한 교정 코드를 누적하지 마십시오.
참고: FRT와 그 생성 방법에 대한 자세한 내용은 표준 정비 작업시간을(를) 참조하십시오. FRT 값에 대한 피드백을 제공하려면ServiceManualFeedback@tesla.com으로 이메일을 보내십시오.
참고: 아래 절차를 수행할 때 적절한 PPE를 착용했는지 확인하려면 개인 보호의 내용을 참조하십시오.
- 2023-12-11: Added IP sub assembly step.
- 2023-03-31: Added note on reworked datums/mounting tabs.
참고
Replacement aero lens assemblies may have had certain datums/mounting tabs removed. This
is normal and does not negatively affect vehicle functionality.
탈거
- Remove the IP sub assembly. See 서브어셈블리 - 계기판(탈거 및 장착).
- Remove the driver instrument panel air vent. See 공기 송풍구 - 계기판 - 운전석(LHD)(탈거 및 교체).
-
Remove the screws (x4) that attach the
front passenger instrument panel air vent to the aero lens assembly, and then remove the
air vent from the assembly.
 2 Nm (1.5 lbs-ft)TIpUse of the following tool(s) is recommended:
- T20 socket
-
Release the clip that attaches the LH
instrument panel aero lens cover to the aero lens assembly, and then remove the cover
from the assembly. Repeat this step for the RH aero lens cover.
그림 1. LH shown; RH similar 그림 2. LH shown; RH similar
장착
-
Position the LH instrument panel aero lens cover to the aero lens assembly, and then
secure the clip that attaches the cover to the assembly. Repeat this step for the RH
aero lens cover.
그림 3. LH shown; RH similar 그림 4. LH shown; RH similar -
Position the front passenger instrument panel air vent onto the aero lens assembly,
and then install the screws (x4) that attach the air vent to the assembly.
 2 Nm (1.5 lbs-ft)TIpUse of the following tool(s) is recommended:
- T20 socket
-
Install the driver instrument panel air vent. See 공기 송풍구 - 계기판 - 운전석(LHD)(탈거 및 교체).
참고It is not necessary to run the "Airwave" routine as instructed at the end of the air vent install.
- Install the IP sub assembly. See 서브어셈블리 - 계기판(탈거 및 장착).