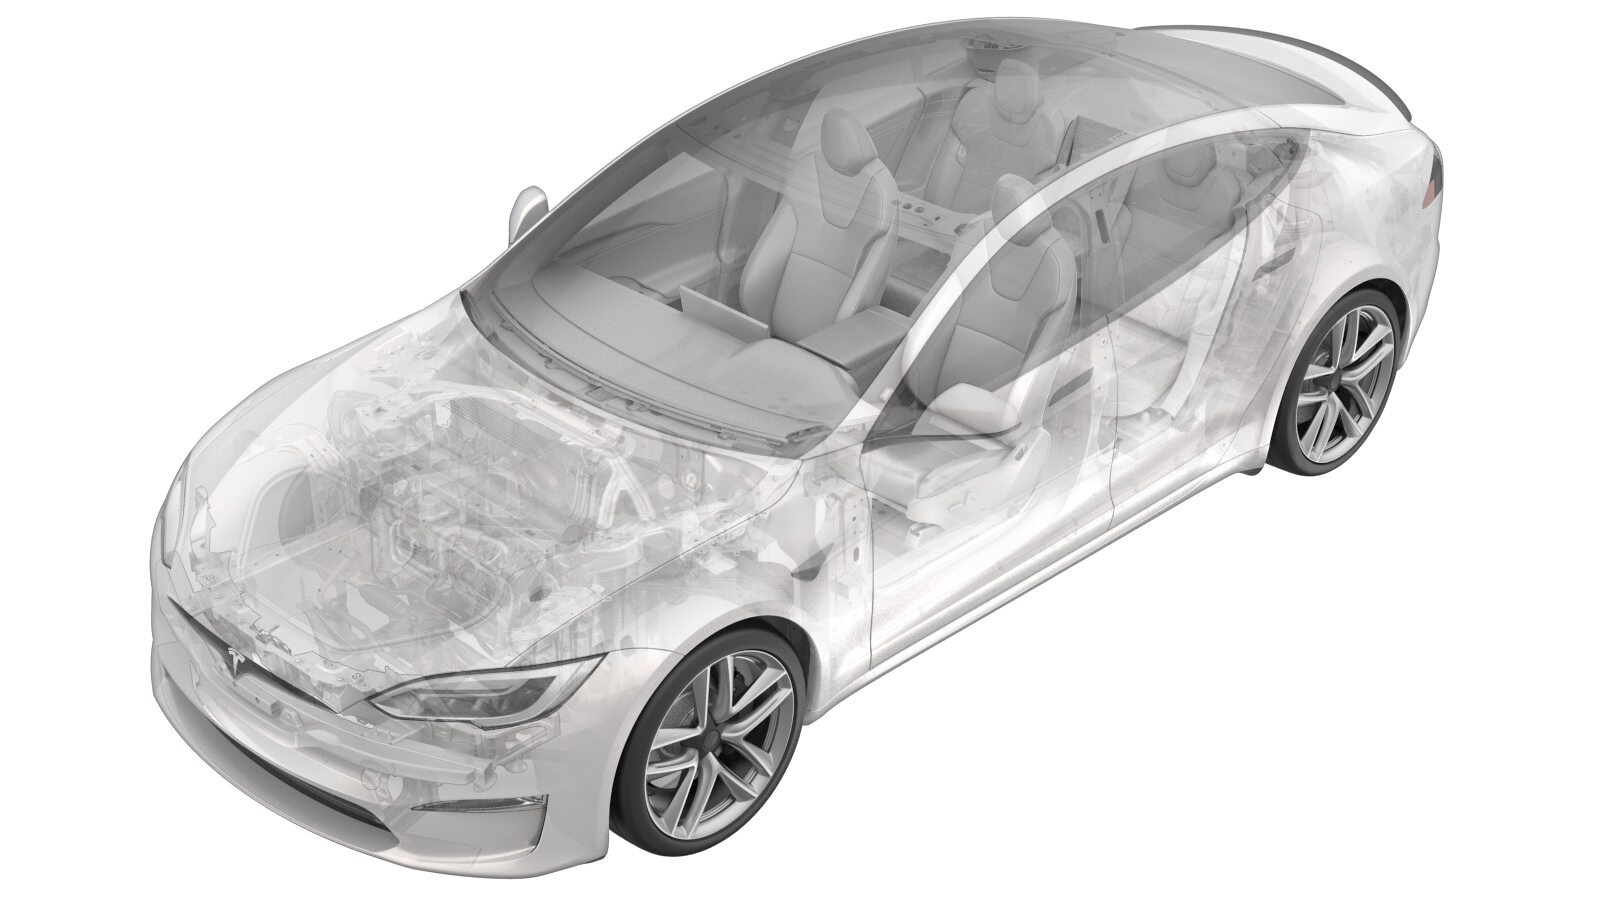
2023-09-19
베이스 브래킷 - 번호판 - 전면(탈거 및 교체)
 교정 코드
12070302 0.12
바고: 절차에서 명시적으로 언급하지 않는 한 위 교정 코드 및 FRT는 연결된 절차를 포함하여 이 절차를 수행하는 데 필요한 모든 작업을 반영합니다. 명시적으로 지시하지 않는 한 교정 코드를 누적하지 마십시오.
참고: FRT와 그 생성 방법에 대한 자세한 내용은 표준 정비 작업시간을(를) 참조하십시오. FRT 값에 대한 피드백을 제공하려면ServiceManualFeedback@tesla.com으로 이메일을 보내십시오.
참고: 아래 절차를 수행할 때 적절한 PPE를 착용했는지 확인하려면 개인 보호의 내용을 참조하십시오.
경고
이 절차는 초안입니다. 따라서 검증은 되었지만 경고 및 주의 사항이 누락되었을 수 있습니다. 고전압 시스템 및 구성 요소에서 또는 그 근처에서 작업하는 경우에는 안전 요구 사항을 준수하고 최고 수준의 주의를 기울여야 합니다.
-
Remove front license plate with decorative frame from original fascia
참고4x Screws,T20, 3 Nm
-
Remove painted bracket from original fascia
참고3x Bolts, E10 5 Lobe, 1 Nm
-
Remove front license plate base bracket
from original fascia
참고Secured by adhesive tape. Gently pry away from fascia
-
Clean any remaining adhesive from fascia
-
If not already present, install new
adhesive strips on the new base bracket.
-
Position the painted bracket on the base bracket, and then install the bolts (x3) that
attach the painted bracket to the base bracket.
참고3x Bolts, E10 5 Lobe, 1 Nm
-
Peel adhesive backing from new license plate bracket
-
Install license plate bracket to fascia
참고Align bracket with body lines, press bracket against fascia firmly to secure adhesive
-
Install license plate with decorative frame
참고4x Screws,T20, 3 Nm