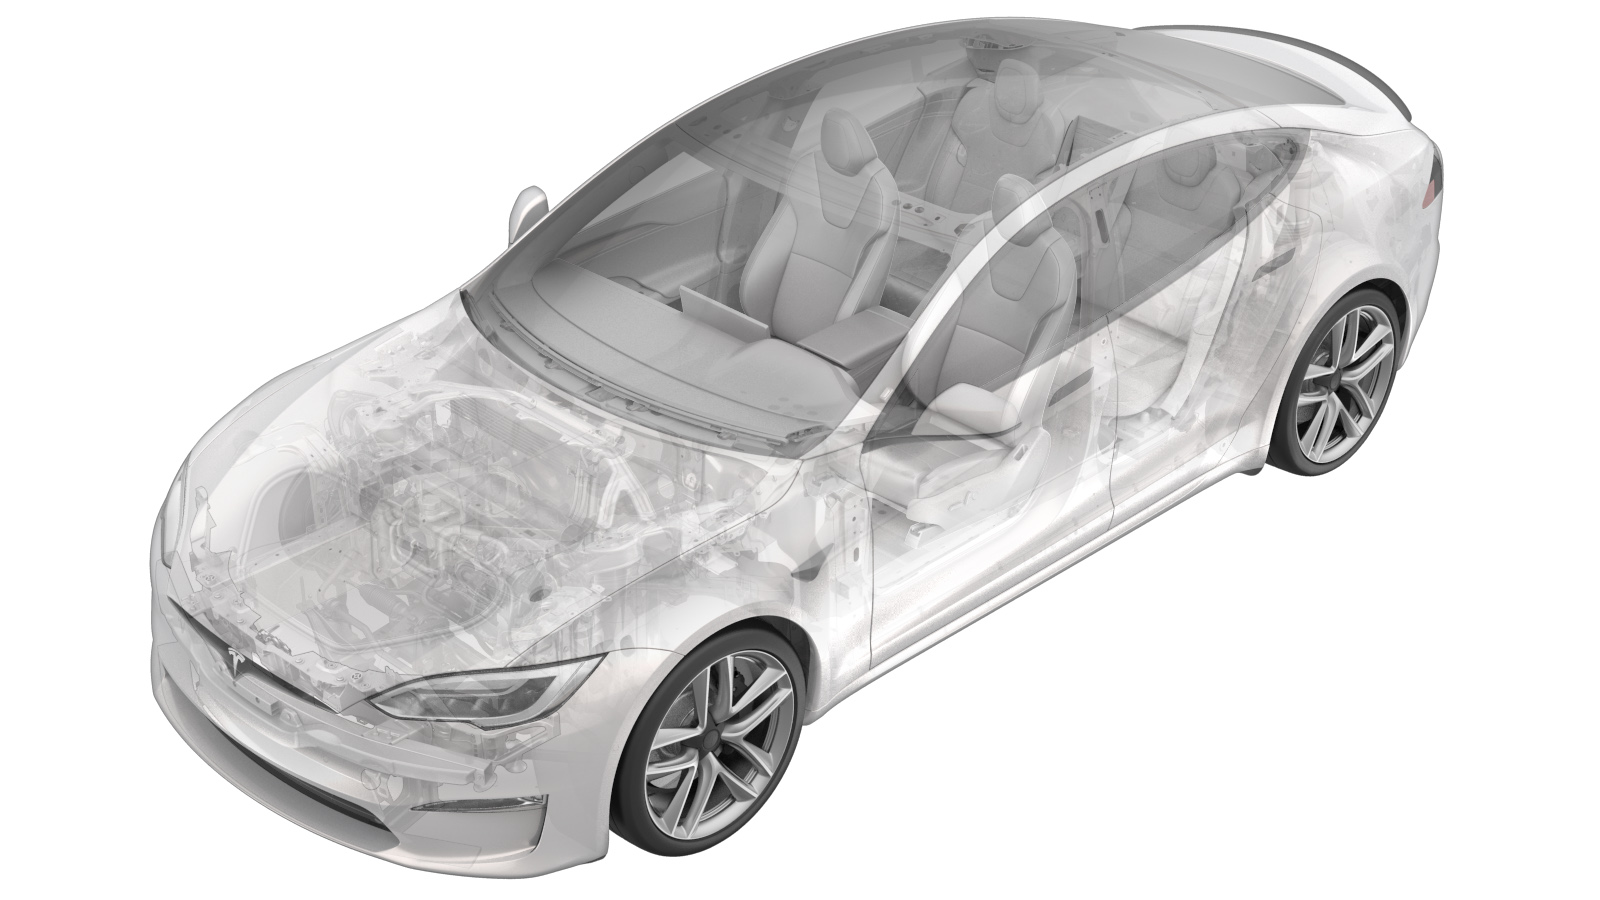
2023-08-16
접지 케이블 - HV 배터리(탈거 및 교체)
 교정 코드
16100022 0.48
바고: 절차에서 명시적으로 언급하지 않는 한 위 교정 코드 및 FRT는 연결된 절차를 포함하여 이 절차를 수행하는 데 필요한 모든 작업을 반영합니다. 명시적으로 지시하지 않는 한 교정 코드를 누적하지 마십시오.
참고: FRT와 그 생성 방법에 대한 자세한 내용은 표준 정비 작업시간을(를) 참조하십시오. FRT 값에 대한 피드백을 제공하려면ServiceManualFeedback@tesla.com으로 이메일을 보내십시오.
참고: 아래 절차를 수행할 때 적절한 PPE를 착용했는지 확인하려면 개인 보호의 내용을 참조하십시오.
경고
이 절차는 초안입니다. 따라서 검증은 되었지만 경고 및 주의 사항이 누락되었을 수 있습니다. 고전압 시스템 및 구성 요소에서 또는 그 근처에서 작업하는 경우에는 안전 요구 사항을 준수하고 최고 수준의 주의를 기울여야 합니다.
탈거
-
Raise and support vehicle.
참고Set air suspension to "Jack Mode".
-
Raise vehicle fully and lower lift
onto locks.
참고Set vehicle to comfortable working height, Make sure there's an audible click of the locks on both sides before lowering, otherwise vehicle may tilt to the side.
-
Remove clips securing front aero
shield.
참고5x push clips.
-
Remove bolts securing front aero
shield and remove from vehicle.
참고9x bolts, 10mm, 6 Nm.
-
Release clips securing wheel house
liner to front skid plate.
참고4x clips.
-
Remove bolts securing front skid plate
to body sill.
참고2x bolts, 15mm, 30 Nm.
-
Remove bolts securing front skid plate
to body casting.
참고2x bolts, 15mm, 60 Nm.
-
Remove bolts securing front skid plate
to front subframe and remove skid plate.
참고4x bolts, 15mm, 70 Nm, 2x bolts, 10mm, 10 Nm.
-
Release bolt securing ground strap to
body.
참고1x bolt, 10mm, 9 Nm.
-
Release clip securing ground cable to
battery.
참고1x clip.
-
Remove bolt securing ground cable to
HV battery and remove assembly.
참고1x bolt, 10mm, 10 Nm? torque.
장착
-
Route and install bolt securing ground cable to HV battery .
참고1x bolt, 10mm, 10 Nm? torque.
-
Install clip securing ground cable to battery.
참고1x clip.
-
Install bolt securing ground strap to body.
참고1x bolt, 10mm, 9 Nm.
-
Position front skid plate for installation and thread in all bolts .
참고4x bolts, 15mm, 70 Nm, 2x bolts, 15mm, 60 Nm, 2x bolts, 15mm, 30 Nm, 2x bolts, 10mm, 10 Nm, Torque at later step.
-
Torque bolts securing front skid plate to body casting.
참고2x bolts, 15mm, 60 Nm.
-
Torque bolts securing front skid plate to body sill.
참고2x bolts, 15mm, 30 Nm.
-
Torque bolts securing front skid plate to front subframe.
참고4x bolts, 15mm, 70 Nm, 2x bolts, 10mm, 10 Nm.
-
Secure clips securing wheel house liner to front skid plate.
참고4x clips.
-
Apply Loctite 222 onto front aero shield bolts and install fasteners securing front
aero shield to vehicle.
참고9x bolts, 10mm, 6 Nm.
-
Install clips securing front aero shield.
참고5x push clips.
-
Lower vehicle fully.
참고Raise lift off locks, then hold lock release lever to keep locks free while vehicle is lowered.
-
Remove vehicle from lift.
참고Lower rack arms fully and remove them from under vehicle, Remove air suspension from "Jack Mode".