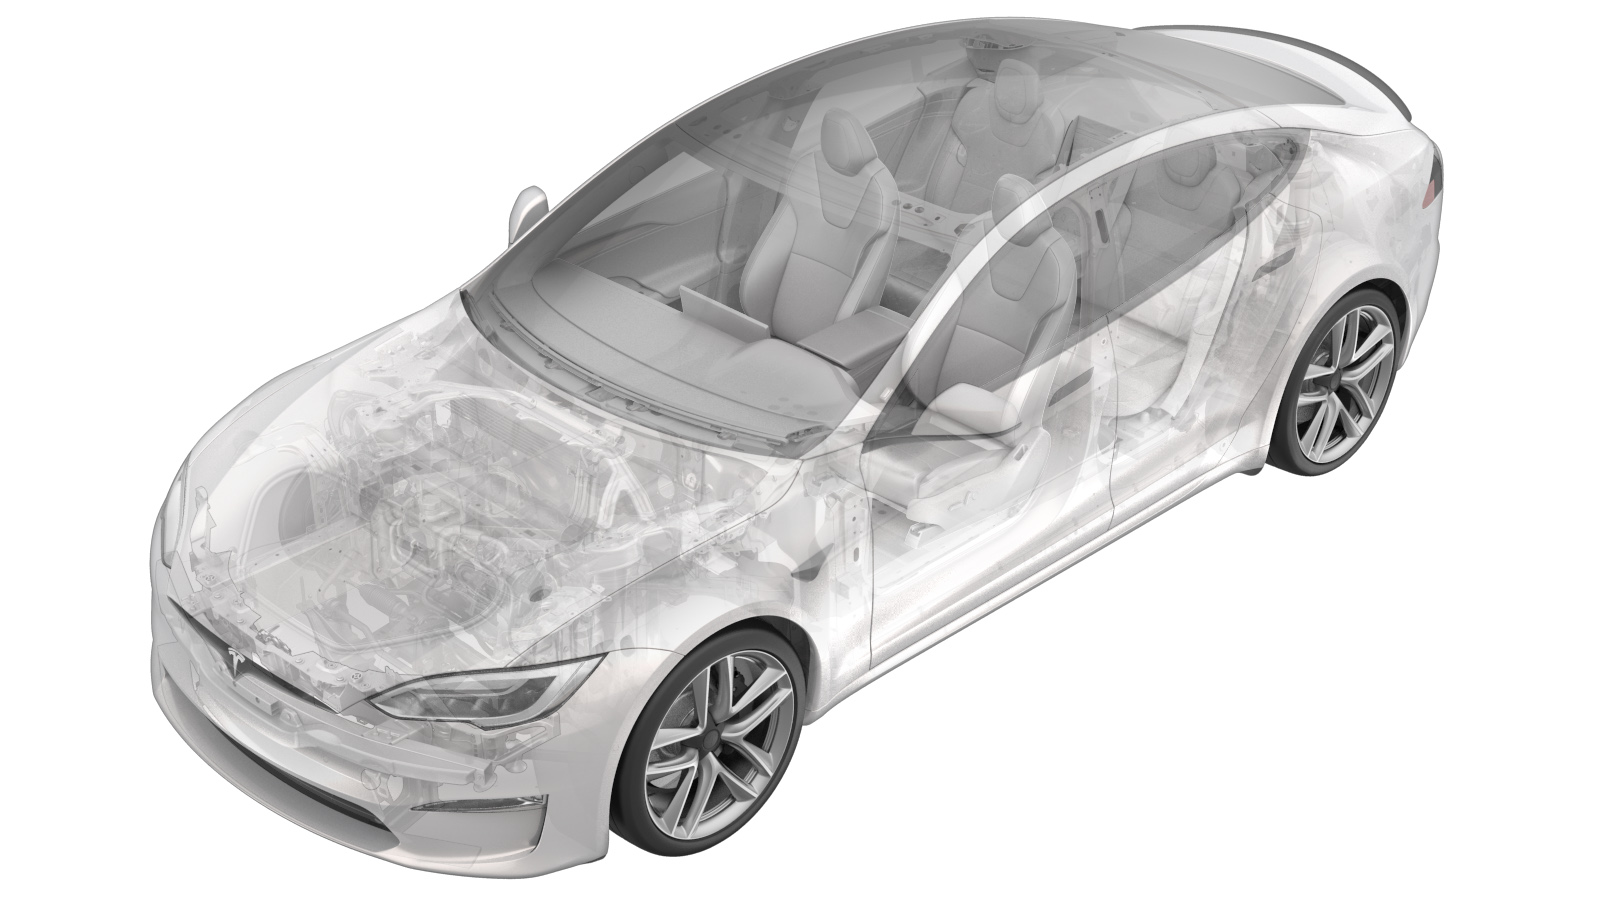
2024-04-08
阀体 - EXV - 超级歧管(拆卸和更换)
 校正代码
18401302 0.54
注意:除非本程序中另有明确规定,否则上述校正代码和 FRT 反映的是执行本程序(包括关联程序)所需的所有工作。除非明确要求,否则请勿堆叠校正代码。
注意:请参阅平均维修工时,深入了解 FRT 及其创建方式。要提供有关 FRT 值的反馈,请发送电子邮件至ServiceManualFeedback@tesla.com。。
注意:执行下述程序时,请参阅人员保护确认已穿戴适当的个人防护装备 (PPE)。
警告
本程序为“草案”。虽已通过验证,但可能仍有“警告”和“注意”事项缺失。请遵守安全要求,处理或靠近高压系统和部件时,请谨慎操作。
-
将空调机连接到电源上并打开开关
注仅限维修时间;机器将运行各种后台任务;等待主菜单出现后再继续
-
出现提示时跳过以下界面
注使用图片中所示的选择
-
进行软管冲洗
注仅限维修时间;将耦合器连接到机器;顺时针旋转打开耦合器;点击 Main Menu > Menu > Flush hoses > Verify hose connection;该过程完成后机器会发出蜂鸣声
- 打开左前车门
- 降下左侧前车窗
-
关闭空调和鼓风机电机
-
松开仪表板维修面板
注2 个锁片,4 个定位销;松开顶部锁片并向后滑动
- 将装有以太网诊断工具包和 Toolbox 3 的笔记本电脑连接到车辆
- 选择 “Actions” 选项卡,然后搜索 “Refrigerant”
-
选择 “PROC_VCFRONT_X_START-THERMAL-FILL-DRAIN-REFRIGERANTvia Toolbox: (link)”,点击 “Run”,然后等待例行程序完成。
注完成后,选择窗口右上角的“X”关闭,Thermal Fluid Fill/Drain 例程的时间限制为 5 小时,5 小时后,EXV 将关闭,必须重新执行此例程,通过 Garage > Vitals > HP > Refrigerant Loop EXV 确认 EXV 处于打开位置,确认 LCC、CC Left、Evap、CC Right、Chiller 均处于 ~100%。Recirc 处于 ~20% 状态,LCC Solenoid 处于打开状态
- 拆卸前备箱储物单元。请参阅前备箱储物单元(拆卸和更换)。
-
从中央显示器关闭车辆电源
注操作如下:Controls > Safety & Security > Power Off
-
断开低压电池连接器和紧急响应回路
注2 个连接器;提起并松开绿色锁片,向外拉动黑色连接器锁以断开连接
-
将软管连接到车辆,然后执行空调回收
注将耦合器连接到车辆上,记录回收的制冷剂和油量,标记泄油瓶油位(用胶带标记液位),顺时针旋转打开耦合器,使用Main Menu > Recover > Verify hose connection,过程完成后机器将发出蜂鸣声,车辆可以无人看管。记录或打印回收的制冷剂和油量,回收的制冷剂应约为 2.24 磅( 1.02 千克),回收的油应为约 0.3 盎司( 8.87 毫升),如果排出油位增加超过1.01 盎司( 30 mL),请参阅排出油损失图https://toolbox.teslamotors.com/articles/353700
-
将空调软管从车辆上拆下
-
拆下将超级歧管固定在压缩机吸气管路上的螺母,并拆下管路
注1 个螺母,13 mm,22 Nm
-
拆下将超级歧管固定在压缩机排气管路上的螺母,并拆下管路
注1 个螺母,13 毫米,22 Nm
-
拆卸超级歧管处超级歧管至空调压缩机管路上的螺栓
注1 个螺栓,13 毫米,22 Nm
-
将空调歧管管路从超级歧管上拆下,并将空调歧管管路总成从车辆上拆下
-
断开电子膨胀阀再循环装置上的连接器
注1 个锁止电气连接器;请勿向下按压红色锁片;拉动红色锁片以解锁;再次拉动以松开连接器
-
断开电子膨胀阀液冷冷凝器上的连接器
注1 个锁止电气连接器;请勿向下按压红色锁片;拉动红色锁片以解锁;再次拉动以松开连接器
-
断开切断阀液冷冷凝器上的连接器
注1 个锁止电气连接器;请勿向下按压红色锁片;拉动红色锁片以解锁;再次拉动以松开连接器
-
断开电子膨胀阀驾驶室冷凝器右侧的连接器
注1 个锁止电气连接器;请勿向下按压红色锁片;拉动红色锁片以解锁;再次拉动以松开连接器
-
断开高压动力总成 (PT) 过冷式传感器上的连接器
注1 个锁止电气连接器;请勿向下按压红色锁片;拉动红色锁片以解锁;再次拉动以松开连接器
-
断开电子膨胀阀驾驶室冷凝器左侧的连接器
注1 个锁止电气连接器;请勿向下按压红色锁片;拉动红色锁片以解锁;再次拉动以松开连接器
-
断开电子膨胀阀冷却器连接器
注1 个锁止电气连接器;请勿向下按压红色锁片;拉动红色锁片以解锁;再次拉动以松开连接器
-
断开电子膨胀阀蒸发器上的连接器
注1 个锁止电气连接器;请勿向下按压红色锁片;拉动红色锁片以解锁;再次拉动以松开连接器
-
将温度系统次线束总成与超级歧管分开放置
-
松开线圈底部的锁片,从膨胀阀上拆下膨胀阀线圈
注1 个锁片;将膨胀阀线圈朝车头方向拉动
-
从超级歧管中拆下膨胀阀
注1 个阀,28 mm,19 Nm
-
将膨胀阀安装到超级歧管中
注1 个阀,28 毫米,19 Nm,确保从超级歧管上拆下旧的 O 型环,使用 ND-11 油润滑阀螺纹和 O 型环,用手拧入膨胀阀
-
将线圈固定在膨胀阀上
注将螺旋弹簧密封件滑到膨胀阀上,不要润滑螺旋弹簧密封件,正确对齐膨胀阀螺旋弹簧锁片与超级歧管,在螺旋弹簧密封件上方滑动膨胀阀螺旋弹簧,对膨胀阀螺旋弹簧执行推拉测试,确保螺旋弹簧正确锁定
-
连接电子膨胀阀蒸发器的连接器
注1 个电气连接器;接合锁片
-
连接电子膨胀阀冷却器连接器
注1 个电气连接器;卡入锁片
-
连接电子膨胀阀驾驶室冷凝器左侧的连接器
注1 个电气连接器;接合锁片
-
连接电子膨胀阀右侧的连接器
注1 个电气连接器;接合锁片
-
连接高压动力总成 (PT) 过冷式传感器的连接器
注1 个电气连接器;接合锁片
-
连接切断阀液冷冷凝器的连接器
注1 个电气连接器;接合锁片
-
连接电子膨胀阀液冷冷凝器的连接器
注1 个电气连接器;卡入锁片
-
连接电子膨胀阀再循环装置的连接器
注1 个电气连接器;接合锁片
-
连接高压动力总成 (PT) 传感器连接器
注1 个电气连接器;卡入锁片
-
更换超级歧管到超级歧管侧压缩机交流管路的密封垫圈
注2 个密封垫圈;用 ND-11 油润滑密封垫圈
-
将超级歧管至压缩机空调管路安装到超级歧管上
注1 个螺栓,13 毫米,22 Nm,手动预拧螺栓以防螺纹磨损
-
更换超级歧管至压缩机空调管路总成上压缩机排放管路中的密封垫圈
注1 个密封垫圈;用 ND-11 油润滑密封垫圈
-
更换超级歧管至压缩机空调管路总成上压缩器吸气管路中的密封垫圈
注1 个密封垫圈;用 ND-11 油润滑密封垫圈
-
将超级歧管至压缩机排放管路安装到压缩机上
注1 个螺母,13 毫米,22 Nm
-
将超级歧管至压缩机吸气管路安装到压缩机上
注1 个螺母,13 毫米,22 Nm
-
将空调软管重新连接到车辆
-
进行空调真空和泄漏测试
注将真空时间设定为15分钟,泄漏测试设定为 ON;该过程完成后机器将发出蜂鸣声;车辆可以无人看管;在继续之前确认通过泄漏测试
-
在空调机上选择“refrigerant charge”
注选择“refrigerant charge”下的箭头,输入 1.02 千克(1020 克)的制冷剂充注量
-
连接紧急响应回路 (FRL) 和低压电池连接器
注2 个连接器;首先固定紧急响应回路;连接好低压电池,并将黑色连接器锁向内推动以固定;完全就位后卡入绿色锁片
- 重新建立车辆与 Toolbox 3 的连接
- 选择 “Actions/Autodiag”,然后搜索 “Thermal”
-
选择 “Stop Thermal Fluid Fill/Drain”,点击 “Run”,然后等待例行程序完成
注完成后,选择窗口右上角的 “X” 关闭
- 选择 “Actions/Autodiag”,然后搜索 “commissioning”
-
选择TEST-SELF_VCFRONT_X_HEAT-PUMP-COMMISSIONINGvia Toolbox: (link)via Service Mode: Thermal ➜ Refrigerant System ➜ Run Heat Pump Commissioningvia Service Mode Plus: Drive Inverter ➜ Front Drive Inverter Replacement ➜ Heatpump commissioning,点击 “Run”,然后等待例行程序完成。
注如果进入 “Thermal Drain/Fill” 模式后,此例行程序未运行,空调压缩机运行将被阻止;完成后,点击右上角的 “X” 关闭窗口
-
继续执行“软管平衡”步骤,完成空调再充注,并遵循交流电机器上显示的指示
注将高侧耦合器与车辆断开;开启空调;温度设置为“低”;开启“面板”模式;开启“新风”模式;鼓风机转速设置为 10;验证“软管平衡”设置;验证排放压力不超过 26 bar,吸气压力不低于 1.15 bar。
-
继续执行“软管平衡”步骤,完成空调重新加注,并遵循空调机上显示的指示
注从车辆上拆下低侧耦合器;关闭车辆;确认软管平衡设置;该过程完成后机器会发出蜂鸣声
-
安装空调端口盖
注2 个盖
- 选择 “Actions/Autodiag”,然后搜索 “Thermal”
-
选择 “”,点击 “Run”,然后等待例行程序完成。
注完成后,选择窗口右上角的 “X” 关闭
- 断开 Toolbox 3 与车辆的连接,取出笔记本电脑和以太网诊断工具包
-
安装仪表板维修面板
注2 个锁片,4 个固定销;向前滑动卡入固定销,然后将锁片向上固定到仪表板
- 安装前备箱储物单元。请参阅前备箱储物单元(拆卸和更换)。
- 升起左侧前车窗
- 关闭左前车门