2022-06-17
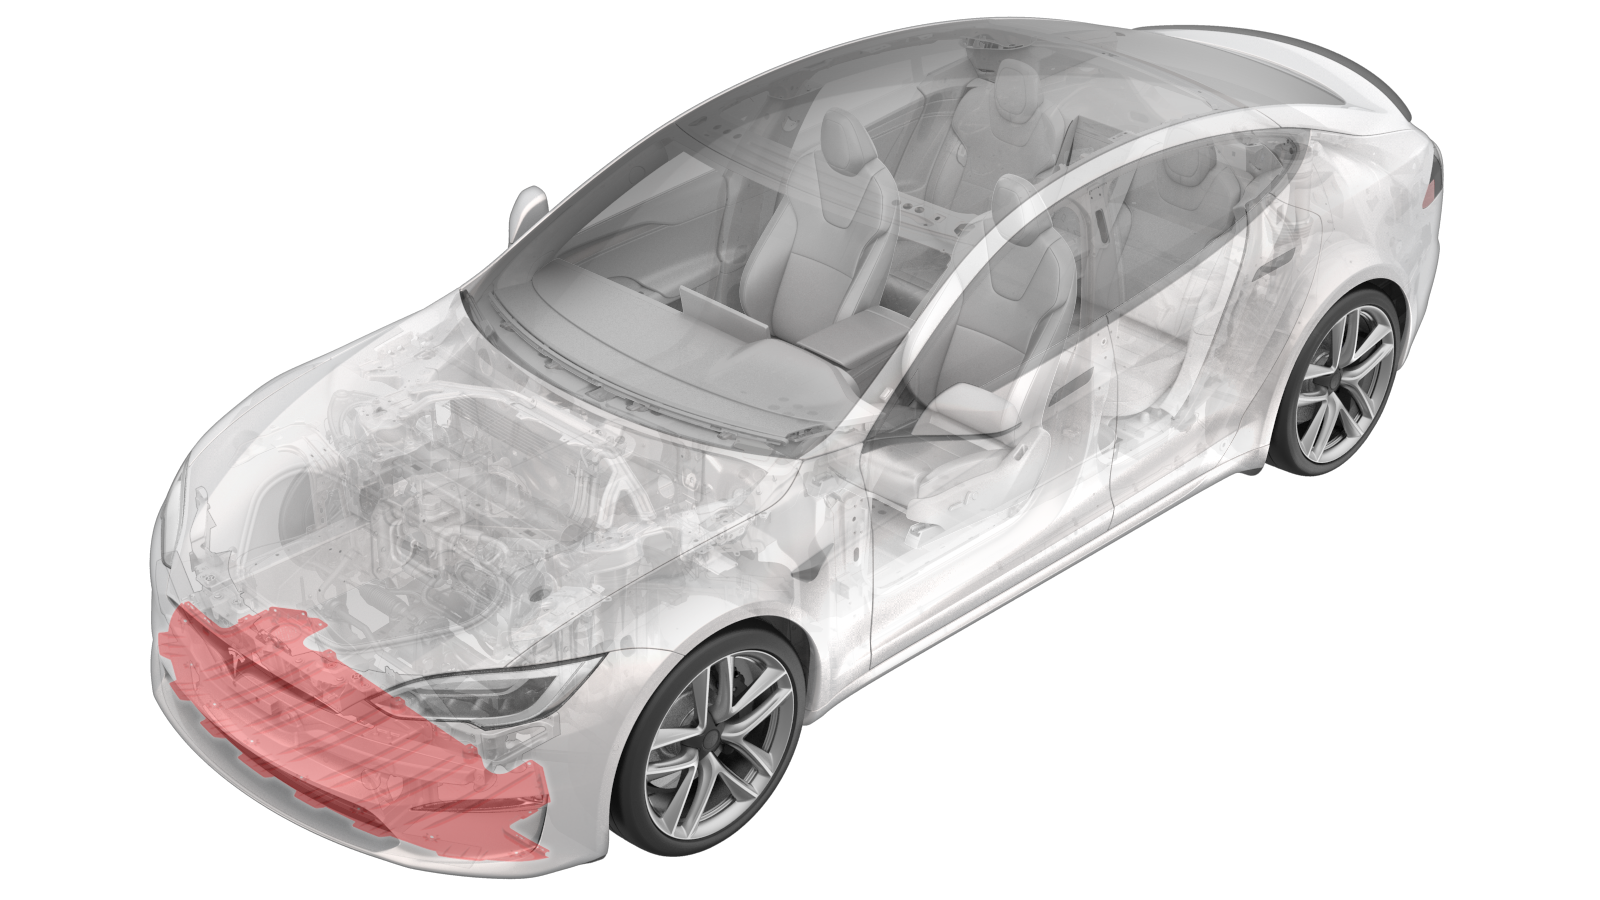
裙板 - 前保险杠饰板(拆卸和更换)
 校正代码
10012202 0.36
注意:除非本程序中另有明确规定,否则上述校正代码和 FRT 反映的是执行本程序(包括关联程序)所需的所有工作。除非明确要求,否则请勿堆叠校正代码。
注意:请参阅平均维修工时,深入了解 FRT 及其创建方式。要提供有关 FRT 值的反馈,请发送电子邮件至ServiceManualFeedback@tesla.com。。
注意:执行下述程序时,请参阅人员保护确认已穿戴适当的个人防护装备 (PPE)。
扭矩规格
| 描述 | 扭矩值 | 推荐工具 | 重新使用/更换 | 备注 |
|---|---|---|---|---|
| 将裙板固定到前流线型护板的螺栓 |
 6 Nm (4.4 lbs-ft) |
|
重新使用 | 使用 Loctite 222 进行安装 |
| 将裙板固定到轮罩的螺母 |
 3 Nm (2.2 lbs-ft) |
|
重新使用 |
拆卸
- Open the LH front door and lower the LH front window.
- Raise the vehicle 举升车辆 - 双柱举升机.
-
Remove the bolts and clips that attach
the front fascia valance to the front aero shield.
TIp推荐使用以下工具:
- 10 毫米套筒
- 4 英寸加长件
- 回旋头棘轮/回旋头扭矩扳手
-
Release the three clips that attach
the LH wheelhouse liner to the valance and front fascia.
-
Release the three clips that attach
the RH wheelhouse liner to the valance and front fascia.
-
Release the electrical harness from
the top of the front fascia valance, and then disconnect the electrical harness from the
pedestrian warning speaker.
警告切勿向下按压红色锁片。将锁片拉离连接器,直至连接器解锁,然后继续拉动以松开连接器。
-
Release the eight clips that attach
the valance to the front fascia.
-
Remove the two nuts that attach the
valance to the front fascia near the wheelhouse liners, and then remove the valance from
the vehicle.
TIp推荐使用以下工具:
- 10 毫米深套筒
- 棘轮/扭矩扳手
安装
-
在助手的帮助下,将裙板放在前饰板上,然后安装将裙板固定到 LH 和 RH 轮罩内衬的两个螺母。
 3 Nm (2.2 lbs-ft)TIp推荐使用以下工具:
- 10 毫米深套筒
- 棘轮/扭矩扳手
-
Install the clips that attach the
valance to the front fascia assembly.
-
Connect the electrical harness to the
pedestrian warning speaker, and then clip the harness into the valance.
警告将红色锁片推入连接器以接合锁止机构。切勿向下按压或向上拉动红色锁片。
-
Install the three clips that attach
the RH wheelhouse liner to the valance and front fascia.
-
Install the three clips that attach LH
wheelhouse liner to the valance and front fascia.
-
Position the two valance datums into
the front aero shield.
-
向三个螺栓上涂抹 Loctite 222,然后安装将裙板固定到前部流线型护板的螺栓和夹子。
 6 Nm (4.4 lbs-ft)TIp推荐使用以下工具:
- 10 毫米套筒
- 4 英寸加长件
- 回旋头棘轮/回旋头扭矩扳手
- Lower the vehicle 举升车辆 - 双柱举升机.
- Raise the LH front window and close the LH front door.