2024-09-09
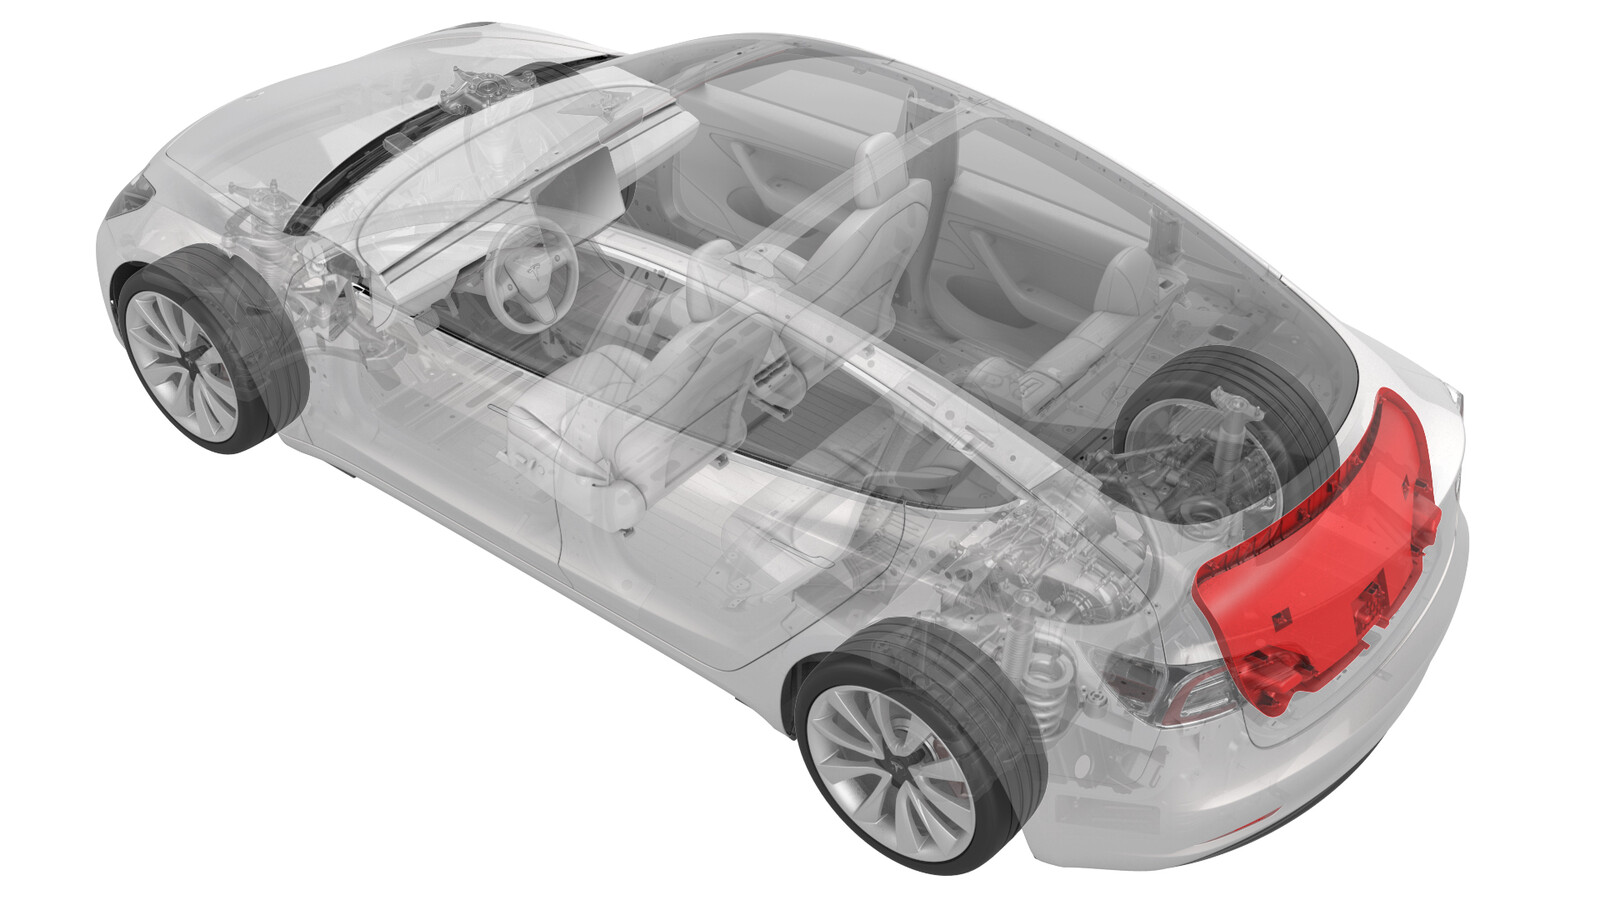
饰板 - 盖 - 电动后备箱(拆卸和更换)
 校正代码
15110202 0.06
注意:除非本程序中另有明确规定,否则上述校正代码和 FRT 反映的是执行本程序(包括关联程序)所需的所有工作。除非明确要求,否则请勿堆叠校正代码。
注意:请参阅平均维修工时,深入了解 FRT 及其创建方式。要提供有关 FRT 值的反馈,请发送电子邮件至 ServiceManualFeedback@tesla.com。。
注意:请参阅人员保护,确保在执行以下程序时穿戴适当的个人防护装备 (PPE)。请参阅人体工程学注意事项查看安全健康的作业规程。
警告
本程序所含视频仅作为补充材料予以概括说明。请遵循本程序所列的所有步骤,以避免部件损坏和/或人身伤害。
拆卸
- 打开后备箱。
-
松开用于固定上角的夹子,然后沿着饰板松开将行李箱饰板固定到行李箱盖的夹子。
警告松开夹子时支撑住饰板,因为此时电动行李箱开关线束仍与饰板相连。注距离后车窗最近的夹子 (x4) 的抗拉力较大,如果需要,请使用夹子撬具。从行李箱盖上拆下损坏的夹子。
-
将电气线束从后备箱饰板上的电动后备箱开关上断开。
- 将行李箱盖饰板从行李箱盖上拆下,然后从行李箱盖和行李箱盖饰板上拆下剩余的夹子。
安装
-
将新夹子安装到饰板上。
注行李箱盖饰板使用两种不同样式的夹子。
-
将电气线束连接到电动行李箱开关,将行李箱盖饰板锁片与行李箱盖上的槽对准,然后将夹子按入行李箱盖中。
注确保所有夹子完全就位。