2025-12-28
副车架总成 - 后(拆卸和安装)
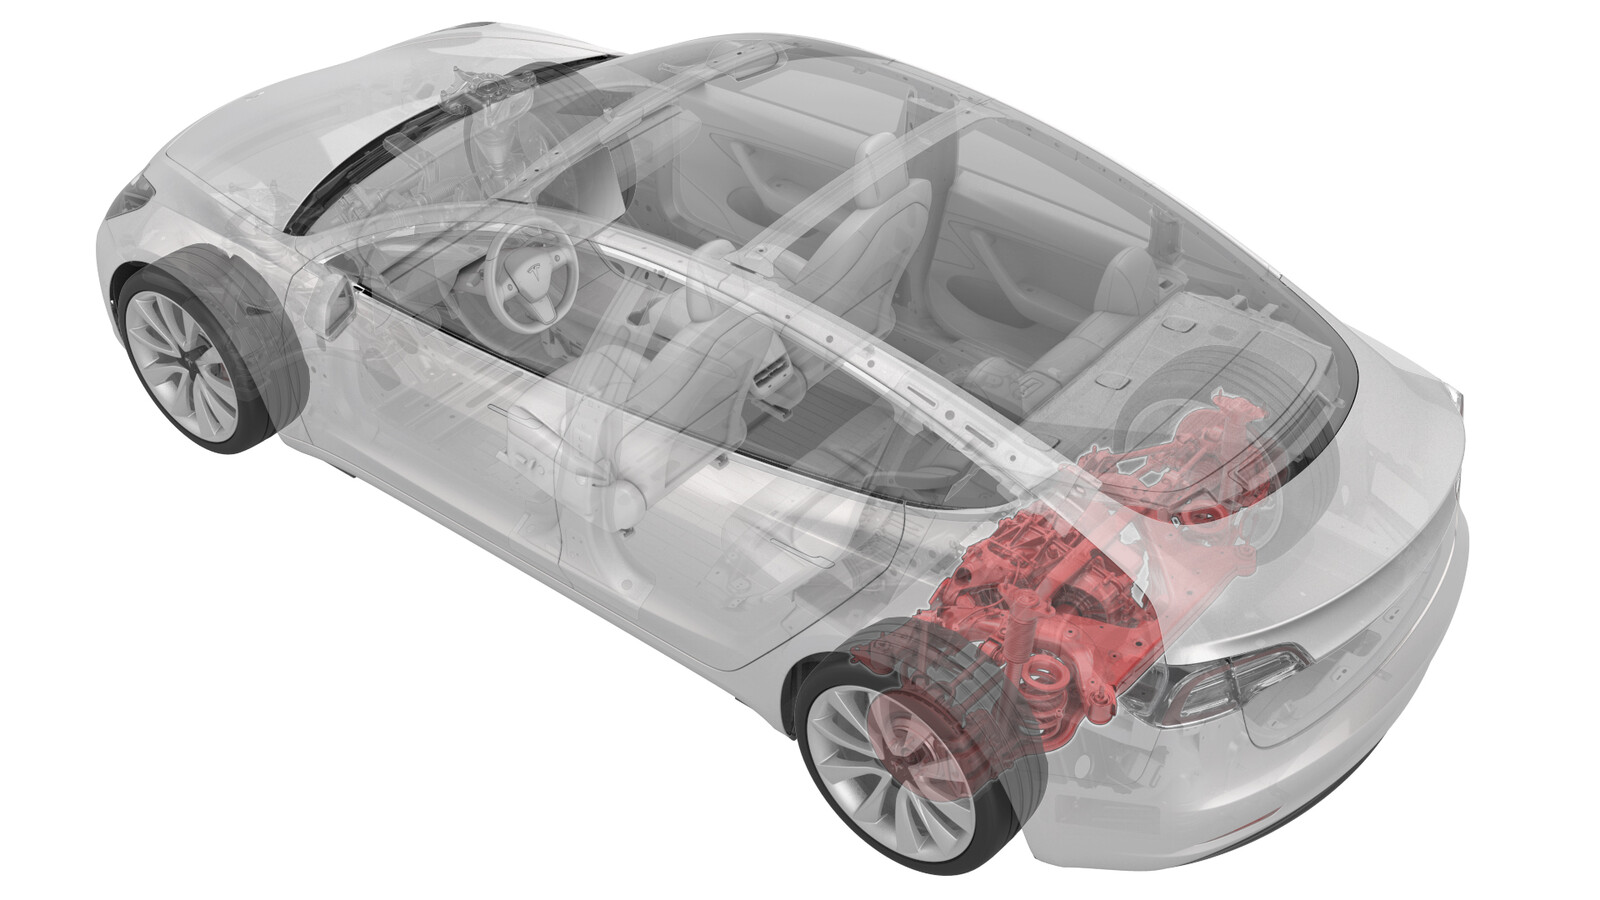 校正代码
30010201 2.22
注意:除非本程序中另有明确规定,否则上述校正代码和 FRT 反映的是执行本程序(包括关联程序)所需的所有工作。除非明确要求,否则请勿堆叠校正代码。
注意:请参阅平均维修工时,深入了解 FRT 及其创建方式。要提供有关 FRT 值的反馈,请发送电子邮件至 ServiceManualFeedback@tesla.com。。
注意:请参阅人员保护,确保在执行以下程序时穿戴适当的个人防护装备 (PPE)。请参阅人体工程学注意事项查看安全健康的作业规程。
- 2025-12-12: 更新了程序中给出的扭矩表以及扭矩值。
- 2024 年 10 月 14 日:更新了左右剪力板至后副车架大号螺栓的扭矩规格。
- 1134520-00-A 电子驻车制动 (EPB) 手动释放套件
- 1129348-00-A XP-10 电源,XP-10
- 1099645-00-B 副车架固定装置,Model 3
- 1140311-00-A 高压连接器杆锁,Model 3
扭矩规格
| 描述 | 扭矩值 | 推荐工具 | 重复使用/更换 | 备注 |
|---|---|---|---|---|
| 将 LH 后制动钳支架固定到转向节的螺栓 |
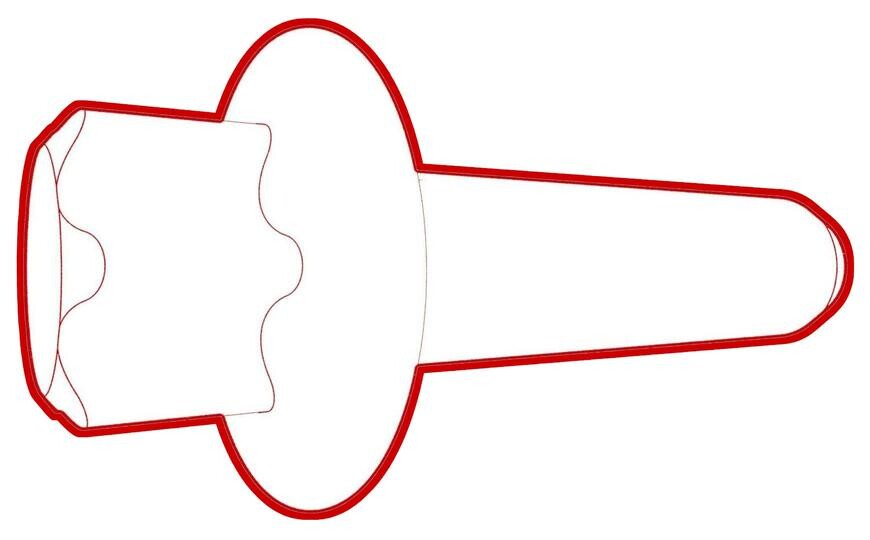 83 Nm (61.2 lbs-ft) |
|
更换 | |
| 在顶部支座处固定 LH 后减震器的螺栓 |
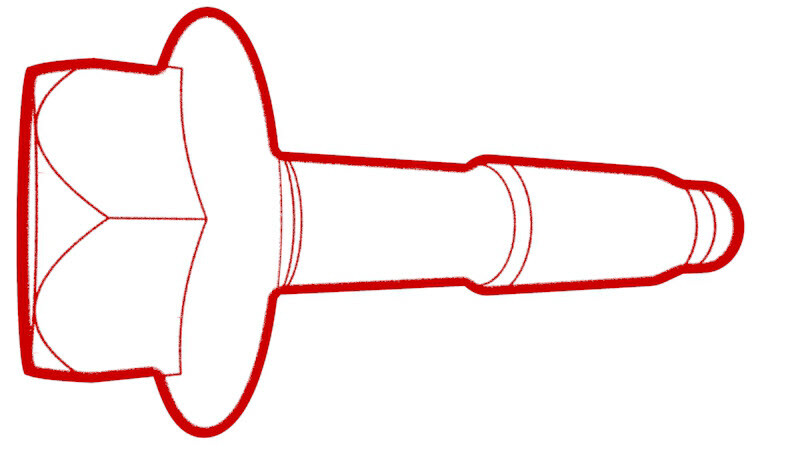 41 Nm (30.2 lbs-ft) |
|
重复使用 | |
| 将后驱动电机接地带固定到车身的螺母 |
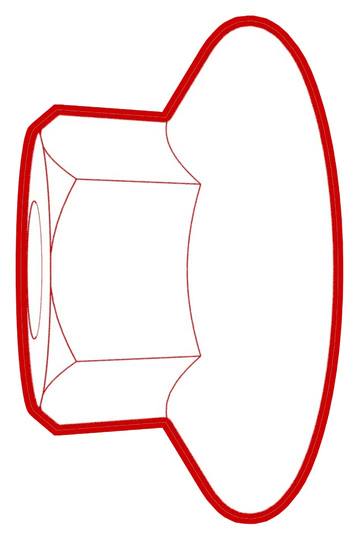 10 Nm (7.4 lbs-ft) |
|
重复使用 | |
| 将高压电池至后驱动电机线束支架固定到高压电池的螺母 |
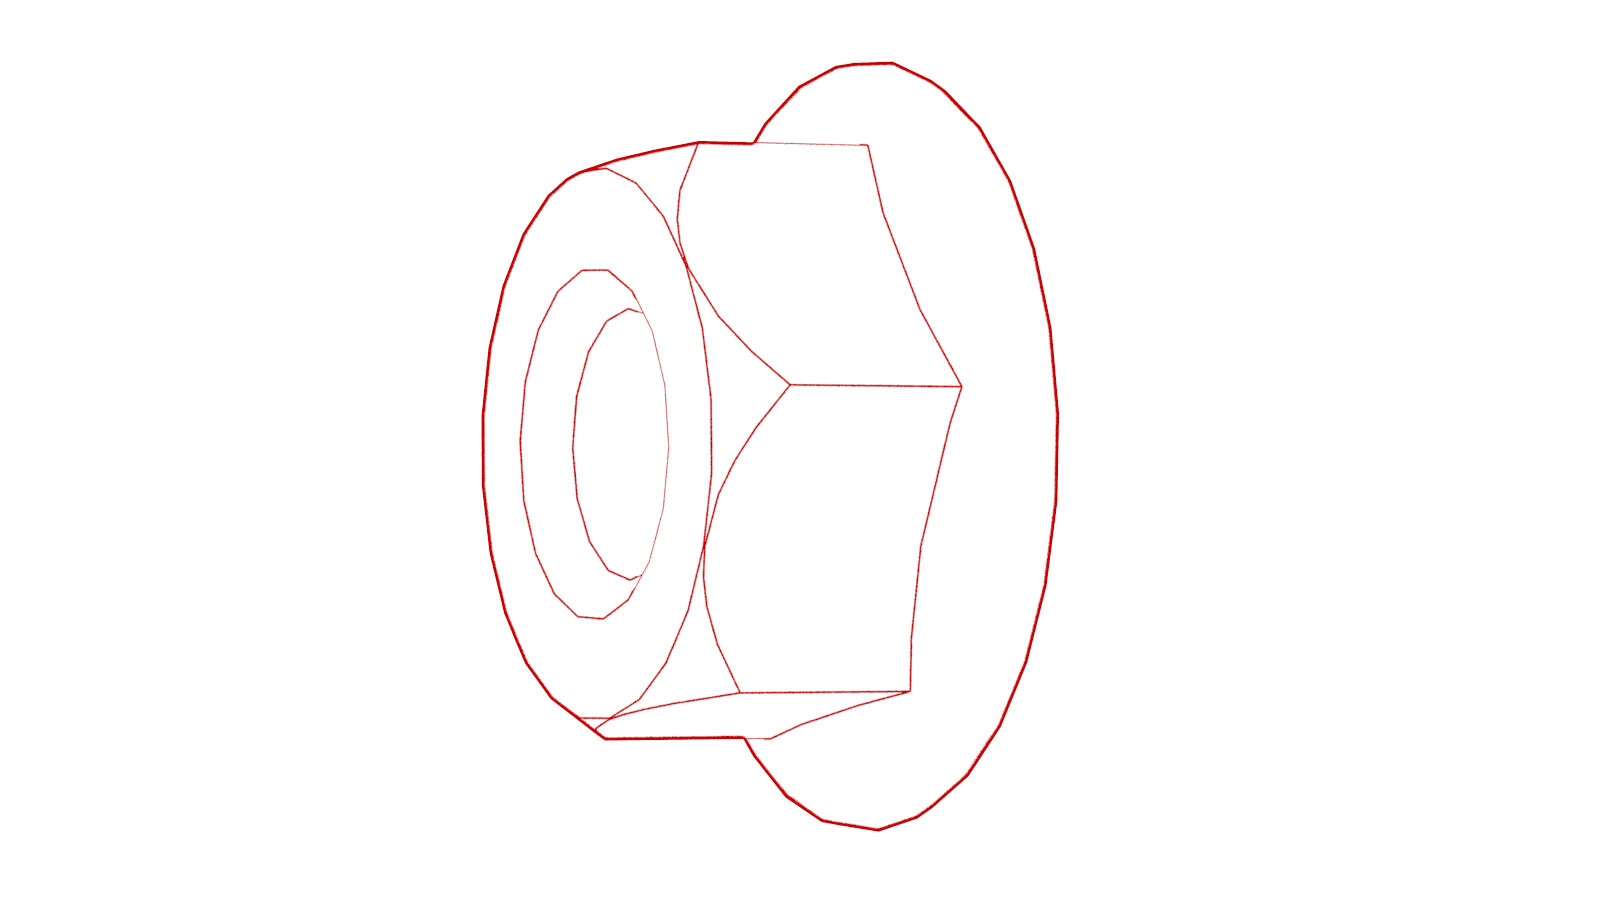 10 Nm (7.4 lbs-ft) |
|
重复使用 | |
| 将左侧剪力板固定到高压电池的小号螺栓 |
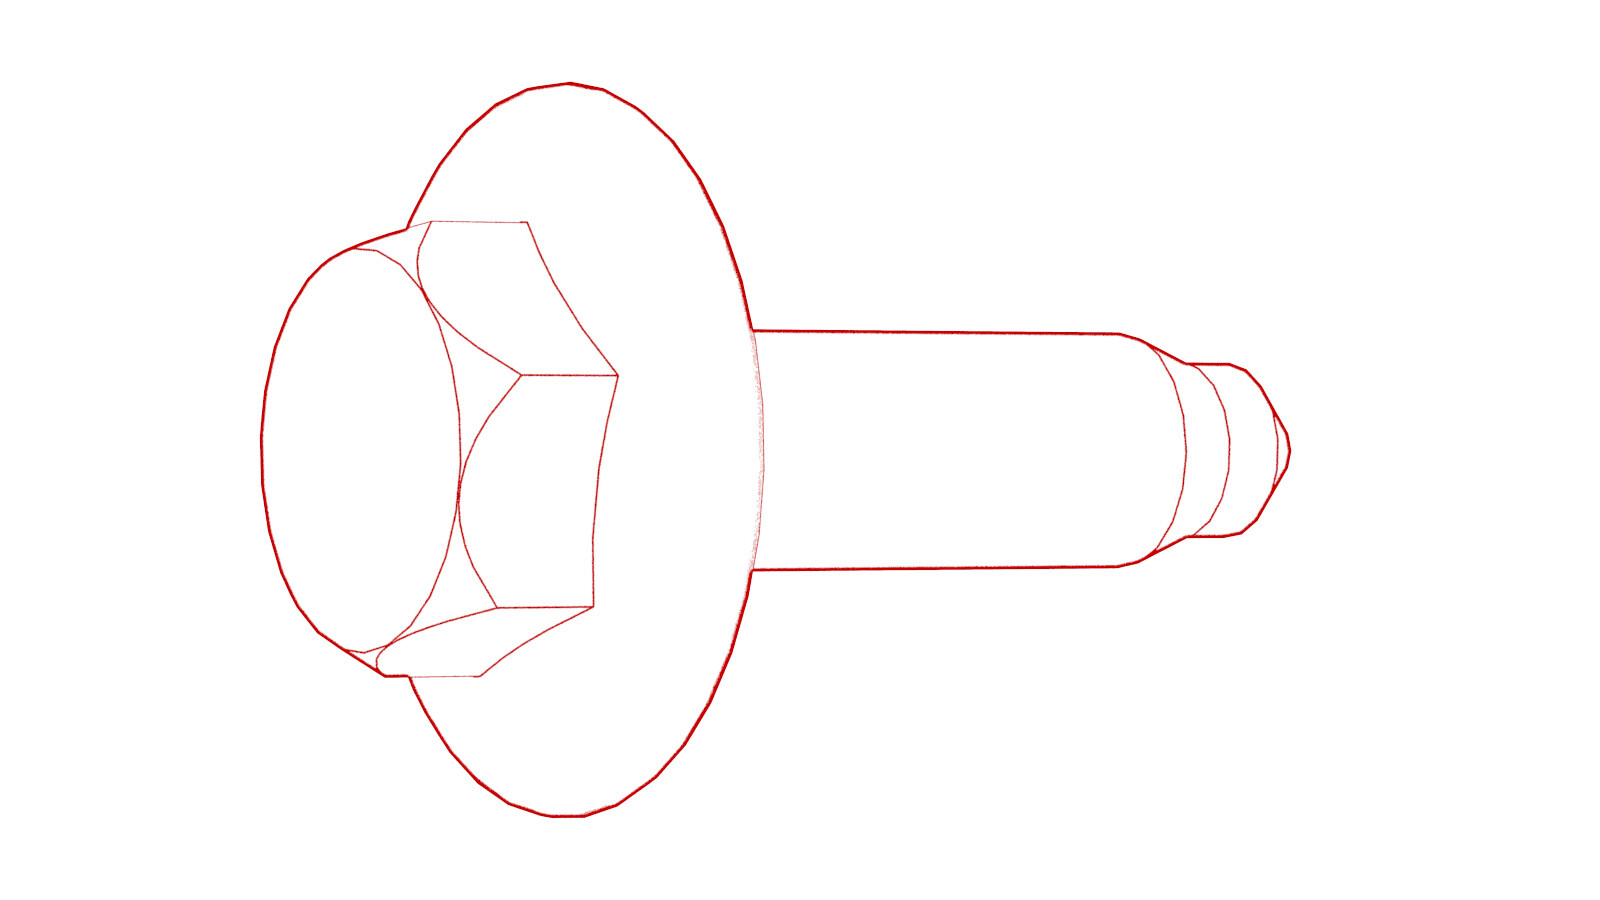 35 Nm (25.8 lbs-ft) |
|
重复使用 | |
| 将 LH 剪力板和后副框架固定到车身的大号螺栓 |
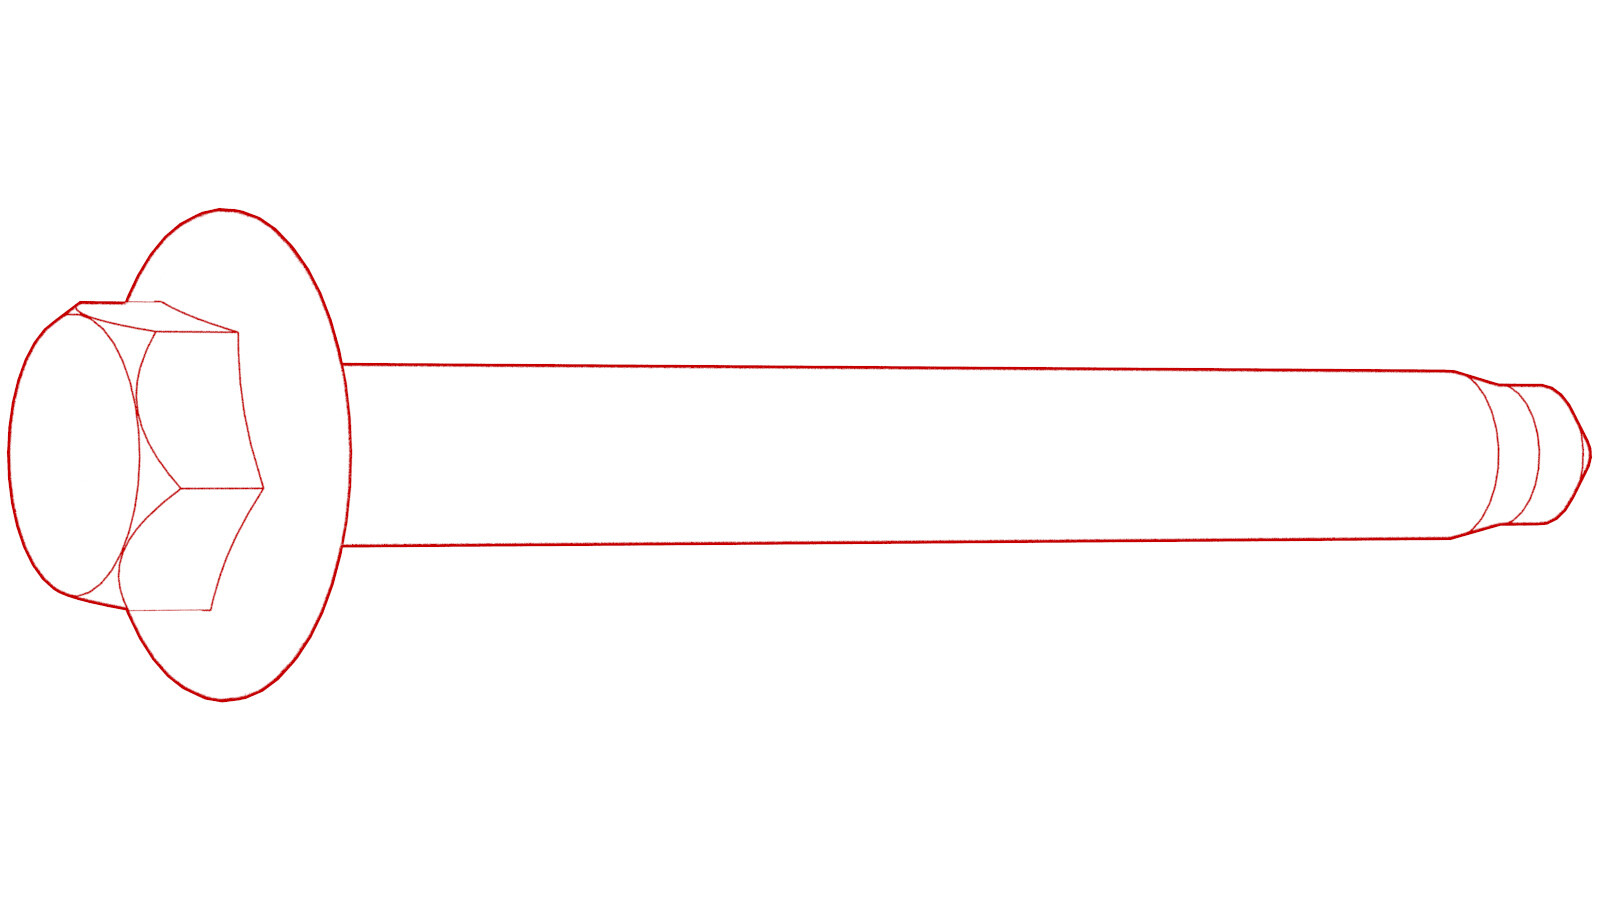 130 Nm (95.9 lbs-ft) |
|
更换 | |
| 将后副车架固定到车身的螺栓 |
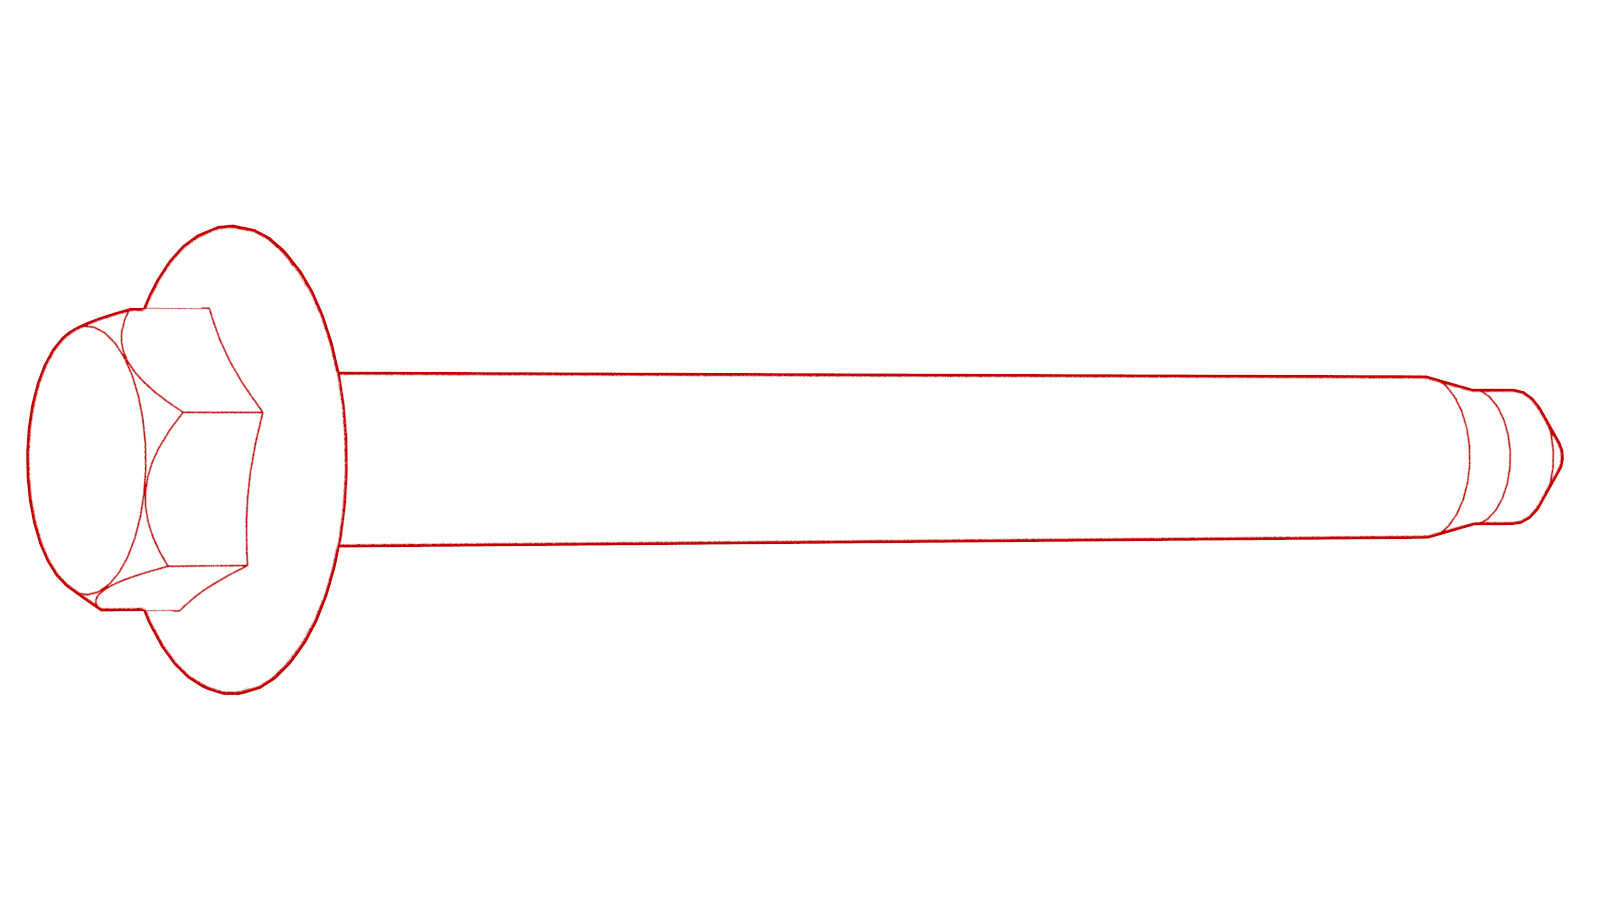 165 Nm (121.7 lbs-ft) |
|
更换 |
拆卸
- 举升并支撑车辆请参阅 举升车辆 - 双柱举升机。
- 打开所有车门并降下车窗。
- 松开驻车制动器。请参阅 驻车制动 - 钳 - 后 - LH(释放)。
- 拆下第二排座椅下部座垫。请参阅 座椅座垫 - 下部 - 第二排(拆卸和更换)。
- 拆卸前备箱后部挡板。请参阅 前备箱挡板 - 后部(拆卸和更换)。
- 断开 12V 电源。请参阅 12V/低压电源(断开和连接)。
- 执行车辆电气绝缘程序。请参阅 车辆高压禁用程序。
- 拆下 LH 和 RH 后车轮。请参阅 轮毂总成(拆卸和安装)。
- 拆下 LH 和 RH 悬架护罩。请参阅 护罩 - 后悬架 - LH(拆卸和更换)。
- 拆卸中间流线型护板。请参阅 面板 - 流线型护板 - 后部(拆卸和更换)。
- 拆卸后饰板扩散器。请参阅 扩散器 - 后饰板(拆卸和更换)。
-
拆卸将后驱动电机接地带固定到车身的螺母。
TIp推荐使用以下工具
- 10 毫米 12 角深套筒
-
拆下并弃用将 LH 后制动钳支架固定到转向节的螺栓,然后用 S 型挂钩将制动钳支架挂到车身上。对 RH 后制动钳重复此步骤。
TIp推荐使用以下工具
- 外梅花套筒 E18
-
向 LH 后螺旋弹簧上安装一个弹簧压缩器。
TIp推荐使用以下工具
- Gedore 弹簧压缩器
-
拆下将 LH 后减震器固定到顶部支座的螺栓 (x2)。
TIp推荐使用以下工具
- 15 毫米套筒
- 3 英寸加长件
- 对 RH 后减震器重复第 14 步和第 15 步。
-
断开电气线束与 LH 12V 副框架连接器的连接。
-
松开将 LH 副框架电气线束固定到车身的夹子。
- 在车辆 RH 侧重复第 17 步和第 18 步。
- 拆卸后平衡杆。请参阅 平衡杆 - 后(拆卸和更换)。
- 拆下高压电池后滑板。请参阅 滑板 - 高压电池 - 后部(拆卸和更换)。
- 在高压电池 LH 后部下方放置一个冷却液排放容器。
-
从高压电池 LH 后侧断开后驱动电机逆变器入口软管,然后插接外螺纹接头和内螺纹接头。
- 在车辆 RH 后侧下方放置一个冷却液排放容器。
- 松开将 RH 后轮拱内衬固定到车门槛板的推拉式夹 (x2)。
-
松开夹子,断开后驱动电机冷却液出口软管至动力总成回流软管,然后插接外螺纹接头和内螺纹接头。
- 取走车辆下方的冷却液排放容器。
-
拆卸将高压电池至后驱动电机线束支架固定到高压电池的螺母。
注紧固件数量可能有所不同。TIp推荐使用以下工具
- 10 毫米套筒
- 4 英寸加长件
-
滑动释放装置,将后驱动电机至高压电池线束处的高压电池后驱动电机连接器把手从固定位置解锁。
-
将高压电池后驱动电机连接器上的把手完全抬起,然后将高压电池后驱动电机连接器从高压电池接头上拆下。
- 将副车架举升工具放置在后副车架下方。
- 将一根空气软管连接到副车架举升工具上。
- 在协助下,升起副车架举升工具以支撑后副车架。
-
在后副车架上方缠绕系带,将系带末端挂在金属环上,然后拉紧系带,将副车架紧固到后副车架举升工具。
注如果需要将系带连接到金属环,可以降低车辆,使系带松弛一些。
-
标记 LH 和 RH 后副框架螺栓,以供重新安装时重新对齐。
注也可以标记 LH 和 RH 副框架铸件和副框架衬套在车身上的位置。
-
松开将冷却液软管固定到 LH 剪力板的枞树夹。
-
拆下将 LH 剪力板固定到高压电池的小号螺栓。
TIp推荐使用以下工具
- 13 毫米套筒
- 3 英寸加长件
-
取下将 LH 剪力板和后副框架固定到车身的大号螺栓,然后拆下 LH 剪力板。
TIp推荐使用以下工具
- 21 毫米套筒
- 6 英寸加长件
- 对 RH 剪力板重复第 36 步至第 38 步。
-
拆下并弃用将后副框架固定到车身的螺栓 (x2)。
TIp推荐使用以下工具
-
在协助下,缓慢地降低副车架举升工具,将后副车架从车辆上拆下。
警告请注意,在降低副车架时,请勿损坏高压线束和冷却液软管。
- 断开供气装置与后副车架举升工具的连接。
-
将后副车架和副车架举升工具从车辆上移走。
安装
- 将副车架举升工具和后副车架放置在车辆下方。
- 将空气管路连接到副车架举升工具。
-
在协助下,缓慢地将后驱动电机和副车架举升到位。
警告请注意,在举升后副车架时,请勿损坏高压线束和冷却液软管。
-
用手拧紧将后副框架固定到车身的新螺栓 (x2)。
注螺栓将在本程序的后续步骤中紧固。
-
将 LH 剪力板安装到后副框架和高压电池上,然后用手拧紧一个新螺栓,将剪力板固定到副框架上。
注螺栓将在本程序的后续步骤中紧固。
-
安装并用手拧紧将 LH 剪力板固定到高压电池的小号螺栓。
注螺栓将在本程序的后续步骤中紧固。
- 针对 RH 剪力板重复第 5 步和第 6 步。
-
按照拆卸时标记的位置放置副车架。
注尽可能地将副车架放回原位。
-
紧固将左右后副车架固定到车身的螺栓,紧固之后用油性记号笔标记螺栓。
TIp推荐使用以下工具
-
紧固将左右剪力板固定到车辆的小号螺栓。
 35 Nm (25.8 lbs-ft)TIp推荐使用以下工具
- 13 毫米套筒
- 3 英寸加长件
-
紧固将左右剪力板固定到车辆的大号螺栓,紧固之后用油性记号笔标记螺栓。
 130 Nm (95.9 lbs-ft)TIp推荐使用以下工具
- 21 毫米套筒
- 6 英寸加长件
-
紧固将冷却液软管固定到 LH 和 RH 剪力板的枞树夹。
LH 剪力板如图所示,RH 剪力板类似
- 松开系带并将副车架举升工具从车辆上降下。
- 断开空气管路与副车架举升工具的连接,然后将该工具从车辆下部拆下。
-
将后驱动电机至高压电池线束的高压电池后驱动电机连接器把手抬至最高处。
-
将高压连接器专用工具安装到高压电池后驱动电机连接器上。
-
用双手将后驱动电机至高压电池线束的高压电池后驱动电机连接器牢固连接到高压电池接头上。
警告确保连接器与接头稳固连接,两个固定销都插入把手中。
- 从高压电池后驱动电机连接器上拆下高压连接器专用工具。
-
将高压电池后驱动电机连接器按到高压电池接头上,同时将把手降至最低处。
警告确保把手在降下时不扭结。
-
滑动释放装置,将高压电池后驱动电机连接器把手锁定在固定位置。
-
确认高压电池后驱动电机连接器完全就位,然后比对连接器两侧,确保正确固定到位。
注连接器就位不当可能在日后导致连接器损坏和后驱动电机故障。
-
安装将后驱动电机高压电气线束支架固定到高压电池的螺母(2 个)。
 10 Nm (7.4 lbs-ft)TIp推荐使用以下工具
- 10 毫米套筒
- 4 英寸加长件
注新款车辆上的紧固件数量可能有所不同。 - 在高压电池 RH 后侧下方放置冷却液排出容器。
-
拆下软管塞,将后驱动电机出口软管与动力总成回路软管相连,然后紧固夹子。
警告执行推拉测试,确认软管已完全就位。
- 在高压电池 LH 后下方放置冷却液排出容器。
-
取下外螺纹接头和内螺纹接头的塞子,将后驱动电机变流器入口软管连接到高压电池左侧,然后紧固卡子。
警告执行推拉测试,确认软管已完全就位。
- 紧固将后驱动电机变流器入口软管固定到高压电池的筒形夹。
- 取走车辆下方的冷却液排放容器。
- 安装高压电池后滑板。请参阅 滑板 - 高压电池 - 后部(拆卸和更换)。
- 安装后平衡杆。请参阅 平衡杆 - 后(拆卸和更换)。
-
将 LH 副框架电气线束桶型夹紧固到车身上。
-
连接 12V 副框架线束 LH 的电气连接器。
图 1. LH 如图所示,RH 类似 - 重复第31步和第32步,完成车辆右侧相关操作。
-
安装后驱动电机接地带。
 10 Nm (7.4 lbs-ft)TIp推荐使用以下工具
- 10 毫米 12 角深套筒
注如果拆卸期间车上有垫圈,则重新安装此垫圈。注确保接地带的角度可以在接地带与防抱死制动系统轮毂转速传感器线束之间留出足够间隙。 -
安装顶部支座处用于固定左后减震器的螺栓。
 41 Nm (30.2 lbs-ft)TIp推荐使用以下工具
- 15 毫米套筒
- 3 英寸加长件
LH 如图所示;RH 类似。
-
从 LH 后螺旋弹簧上拆下弹簧压缩器。
- 安装 LH 后悬架护罩。请参阅 护罩 - 后悬架 - LH(拆卸和更换)。
- 重复第35步至第37步,完成车辆右侧相关操作。
-
将左后和右后制动钳支架安装到转向节上,然后安装将制动钳支架固定到转向节的螺栓。
 83 Nm (61.2 lbs-ft)TIp推荐使用以下工具
- 外梅花套筒 E18
LH 后制动钳如图所示,RH 后制动钳类似。
- 检查将后副车架总成从车辆上拆下时松动的所有后悬架螺栓的扭矩。请参阅 悬架 - 后部(检查扭矩)。
- 安装后饰板扩散器。请参阅 扩散器 - 后饰板(拆卸和更换)。
- 安装固定 LH 和 RH 轮拱内衬的下部夹子。
- 安装中间流线型护板请参阅 面板 - 流线型护板 - 后部(拆卸和更换)。
- 安装 LH 和 RH 后车轮。请参阅 轮毂总成(拆卸和安装)。
- 连接 12V 电源。请参阅 12V/低压电源(断开和连接)。
- 长按换挡杆上的“驻车”按钮以退出电子驻车制动 (EPB) 维护模式。
-
通过“维护模式”或 Toolbox 执行以下例行程序(请参阅0005 - 维护模式):
TEST-SELF_VCFRONT_X_THERMAL-PERFORMANCEvia Toolbox: (link)via Service Mode: Thermal ➜ Actions ➜ Test Thermal Performancevia Service Mode Plus:
- Drive Inverter ➜ Front Drive Inverter Replacement ➜ Thermal System Test
- Drive Inverter ➜ Rear Drive Inverter Replacement ➜ Thermal System Test
- Drive Inverter ➜ Rear Left Drive Inverter Replacement ➜ Thermal System Test
- Drive Inverter ➜ Rear Right Drive Inverter Replacement ➜ Thermal System Test
- Drive Unit ➜ Front Drive Unit Replacement ➜ Thermal System Test
- Drive Unit ➜ Rear Drive Unit Replacement ➜ Thermal System Test
-
检查冷却液液位,必要时加满,然后安装冷却液瓶瓶盖。
注确保冷却液液位处于 "Max" 线处。
- 安装驾驶室进气槽。请参阅 槽 - 上部 - 驾驶室进气(拆卸和更换)。
- 安装前备箱后挡板。请参阅 前备箱挡板 - 后部(拆卸和更换)。
- 安装第二排座椅下部座垫。请参阅 座椅座垫 - 下部 - 第二排(拆卸和更换)。
- 将驾驶位和副驾位座椅移回原位。
- 请参阅“定位要求”表,以确定是否需要 EPAS 定位检查 (EC) 或四轮定位检查 (AC)。如果已执行,请将定位检查/调整校正代码作为一项单独的工项添加到服务工单。请参阅 定位要求 - 悬架。