2024-02-16
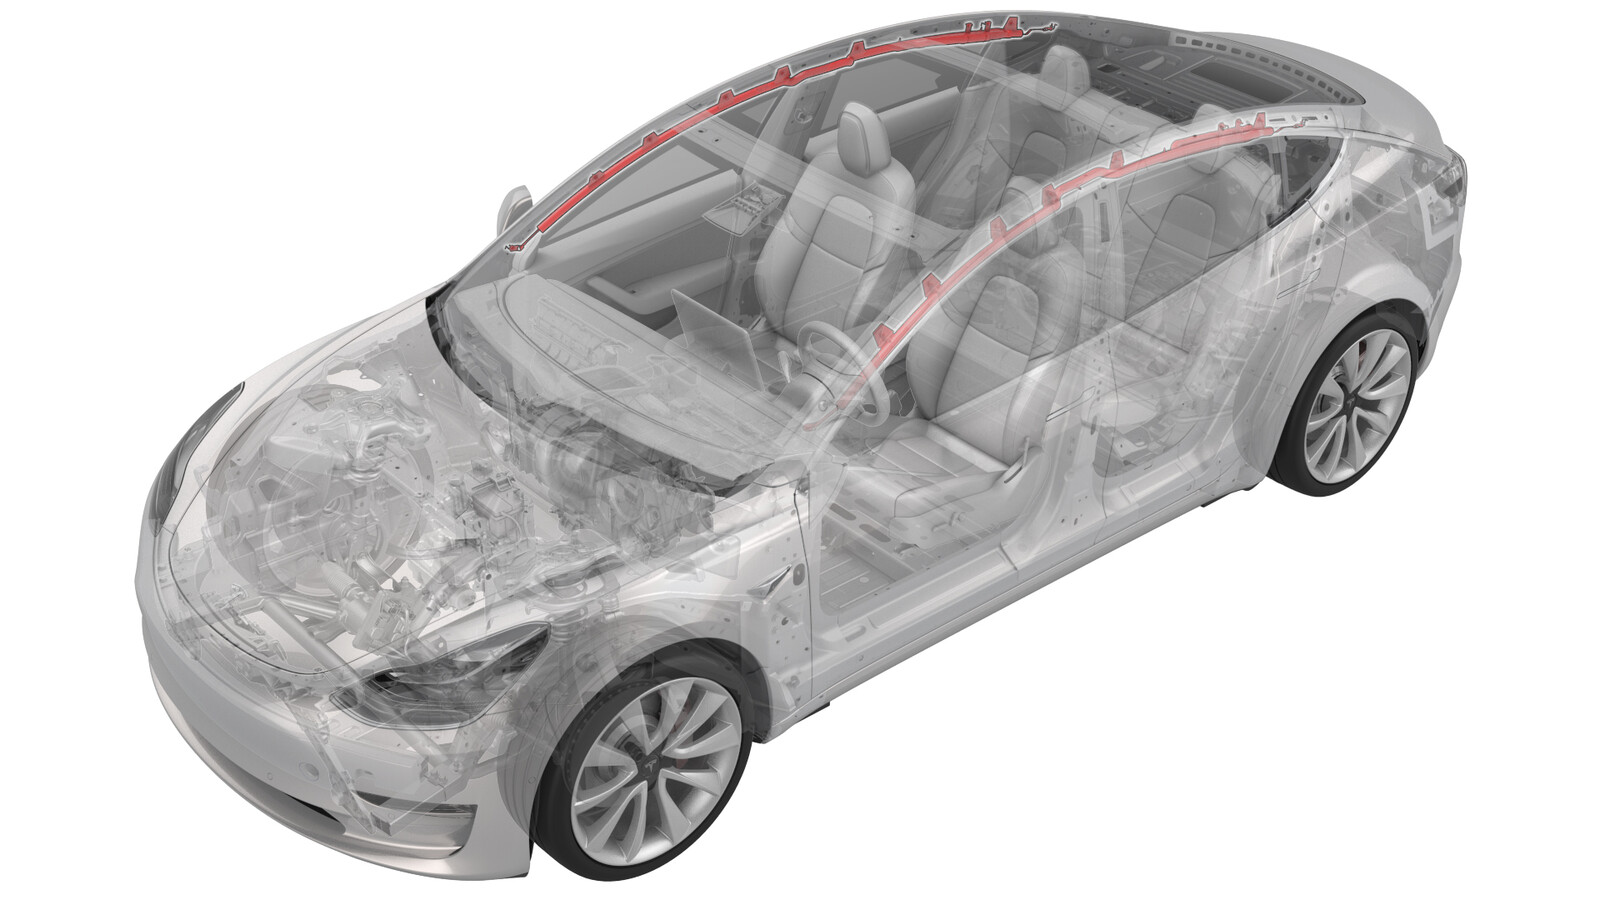
气囊 - 帘式 - LH(拆卸和更换)
 校正代码
20012002 1.20
注意:除非本程序中另有明确规定,否则上述校正代码和 FRT 反映的是执行本程序(包括关联程序)所需的所有工作。除非明确要求,否则请勿堆叠校正代码。
注意:请参阅平均维修工时,深入了解 FRT 及其创建方式。要提供有关 FRT 值的反馈,请发送电子邮件至 ServiceManualFeedback@tesla.com。。
注意:请参阅人员保护,确保在执行以下程序时穿戴适当的个人防护装备 (PPE)。请参阅人体工程学注意事项查看安全健康的作业规程。
- 2024 年 2 月 5 日:添加了“安全气帘紧固件数量不同”的说明。
警告
断开约束控制模块、传感器和气囊等辅助约束系统 (SRS) 部件的电气线束之前,确保 12V/低压电源已断开至少 1 分钟。断开 12V/低压电池以及紧急响应回路。否则可能导致意外的安全系统行为。有关辅助约束系统 (SRS) 注意事项的更多信息,请参阅气囊和辅助约束系统 (SRS) 预防措施。
扭矩规格
| 描述 | 扭矩值 | 推荐工具 | 重复使用/更换 | 备注 |
|---|---|---|---|---|
| 将 LH 帘式气囊固定到车身的螺栓 |
 9 Nm (6.6 lbs-ft) |
|
重复使用 |
拆卸
- 断开 12V 电源。请参阅12V/低压电源(断开和连接)。
- 拆下顶篷。请参阅顶篷(不带加热泵款)(拆卸和安装)。
-
断开左侧安全气帘连接器上的电气线束。
-
拆卸将左侧安全气帘的前部和中部固定到车身的螺栓。
注车辆生产日期/气囊版本不同,配备的紧固件数量不同。TIp推荐使用以下工具
- 10 毫米套筒
-
拆卸将左侧安全气帘的后部固定到车身的螺栓。
注车辆生产日期/气囊版本不同,配备的紧固件数量不同。TIp推荐使用以下工具
- 10 毫米套筒
-
小心松开将左侧安全气帘固定到纵梁的卡子(8 个),然后将气囊从车上拆下。
警告如有任何卡子发生损坏,请更换气囊。警告气囊始终应由点火器操控;切勿让点火器处于悬垂状态。注车辆生产日期/气囊版本不同,配备的紧固件数量不同。
安装
-
将左侧安全气帘安装到纵梁上,然后小心紧固将气囊固定到纵梁的卡子(8 个)。
警告如有任何卡子发生损坏,请更换气囊。注车辆生产日期/气囊版本不同,配备的紧固件数量不同。
-
安装并手动拧紧将左侧安全气帘的后部固定到车身的螺栓。
注车辆生产日期/气囊版本不同,配备的紧固件数量不同。
-
安装并手动拧紧将左侧安全气帘的前部和中部固定到车身的螺栓。
注车辆生产日期/气囊版本不同,配备的紧固件数量不同。
-
紧固将左侧安全气帘固定到车身的螺栓。
 9 Nm (6.6 lbs-ft)TIp推荐使用以下工具
- 10 毫米套筒
-
将电气线束与左侧安全气帘连接器相连。
- 安装顶篷。请参阅顶篷(不带加热泵款)(拆卸和安装)。
- 连接 12V 电源。请参阅12V/低压电源(断开和连接)。