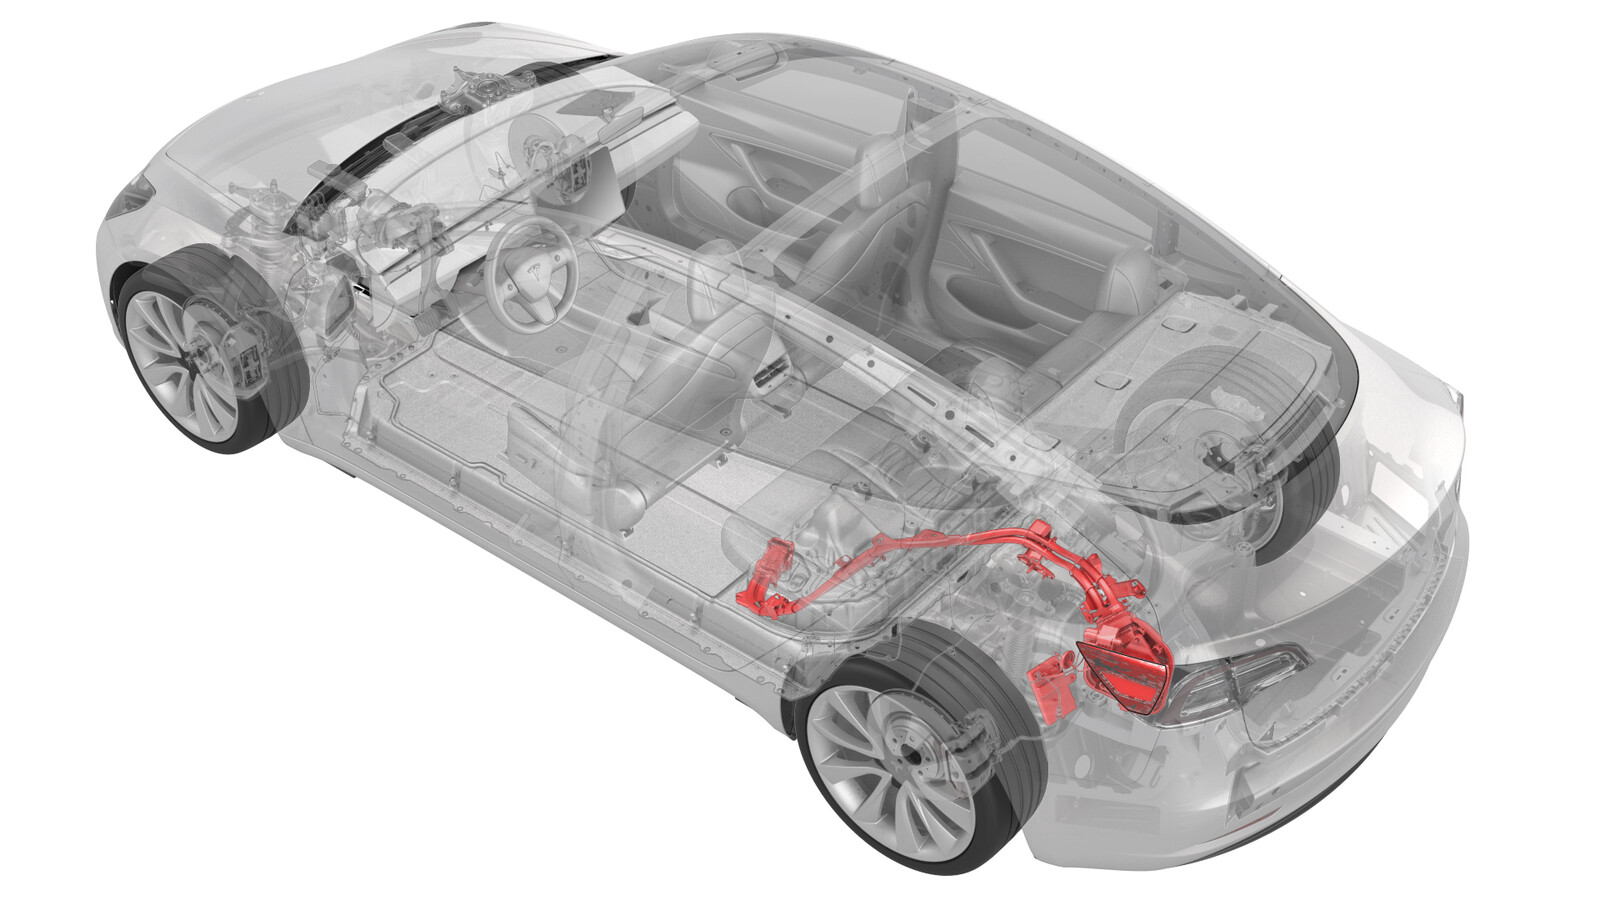
充电接口和母排至高压电池(单相)(改装)
 校正代码
44013106 1.98
注意:除非本程序中另有明确规定,否则上述校正代码和 FRT 反映的是执行本程序(包括关联程序)所需的所有工作。除非明确要求,否则请勿堆叠校正代码。
注意:请参阅平均维修工时,深入了解 FRT 及其创建方式。要提供有关 FRT 值的反馈,请发送电子邮件至 ServiceManualFeedback@tesla.com。。
注意:请参阅人员保护,确保在执行以下程序时穿戴适当的个人防护装备 (PPE)。请参阅人体工程学注意事项查看安全健康的作业规程。
- 2023-05-24: Replaced the vehicle electrical isolation procedure with the charge port voltage check procedure.
只有完成全部所需认证的技术人员才能执行此程序。Tesla 特斯拉建议第三方服务提供商技术人员在执行此程序之前接受同等培训。有关 Tesla 技术人员要求的更多信息,或第三方主题说明,请参阅高压认证要求。处理高压线缆、母排或接头时,务必全程穿戴最低防护等级为 0(1000V) 的适当个人防护装备 (PPE)及高压绝缘手套。有关其他安全信息,请参阅技术注意事项 TN-15-92-003,高压安全意识注意事项
。
执行暴露在高压之下的任何程序之前,请取下佩戴的所有首饰(手表、手链、戒指、项链、耳环、身份牌、穿刺饰品等),并取出口袋中的所有物品(钥匙、硬币、钢笔、铅笔、工具、钮扣等)。
Proper Personal Protective Equipment (PPE) is required to perform this procedure:
- High Voltage (HV) insulating gloves
- Leather glove protectors
- High voltage glove tester
- Safety glasses
- Electrical hazard rated safety shoes
A glove inflator is the only recommended way to test HV gloves. Both HV gloves must pass testing before beginning this procedure. If either glove does not pass the air check, discard the pair.
Make sure that the HV gloves are not expired. HV gloves can be used up to 12 months after the testing date printed on the glove, but only 6 months after first use even if the gloves are still within the 12-month period.
拆卸
- Open all doors and lower all windows.
- Move both front seats forward.
- Open the trunk and the charge port door.
- Perform the charge port voltage check procedure. See 充电接口电压检查.
- Remove the charge port to HV battery harness. See 线束 - 高压电池至充电端口(拆卸和更换) ((拆卸和更换)).
-
Remove the bolt that attaches the
charge port ECU to the body.
 5.5 Nm (4.1 lbs-ft)
 -
Slide the charge port ECU to the right
to release the tabs (x2) that attach the ECU to the body, and then remove the old ECU
from the vehicle.
- Remove the ancillary bay cover. See 盖板 - 高压电池仓(拆卸和更换).
- Remove the old input assembly and charge port. See 直流输入总成 - 高压电池(线束类型)(拆卸和更换).
安装
- Install the Busbar type DC input assembly, but do not connect 12V at this stage. See 直流输入总成 - 高压电池(母排类型)(拆卸和更换)
- Install the ancillary bay cover. See 盖板 - 高压电池仓(拆卸和更换).
-
Slide the new Busbar type charge port
ECU onto the bracket that attaches the ECU to the body.
-
Install the bolt that attaches the
charge port ECU to the body.
 5.5 Nm (4.1 lbs-ft)
 -
Install the new Busbar type charge
port. See 充电接口(母排类型)(NA)(拆卸和更换) ((拆卸和更换)).
注The above procedure uses existing ECU and charge port connectors in the main body harness. For this retrofit procedure, use the retrofit harness to connect the ECU and charge port electrical connections.
- Install the charge port to HV battery busbar. See 母排 - 充电接口至高压电池(拆卸和更换).
- Reinstall the vehicle firmware. See 软件重新安装 - 触摸屏.
-
Verify the charging system is
operating correctly.
注Use the customer's charging equipment if available. Ensure all the charging adapters are present.
- Move both front seats to their original positions.
- Raise all windows and close all doors.