2024-06-25

充电接口(母排类型)(NA)(拆卸和更换) ((拆卸和更换))
校正代码 44011602 0.72 NOTE: Unless otherwise explicitly stated in the procedure, the above correction code and FRT reflect all of the work required to perform this procedure, including the linked procedures. Do not stack correction codes unless explicitly told to do so. NOTE: See Flat Rate Times to learn more about FRTs and how they are created. To provide feedback on FRT values, email ServiceManualFeedback@tesla.com. NOTE: See 人员保护 to make sure wearing proper PPE when performing the below procedure.

  • 2023 年 12 月 7 日:更正了 Hioki 电阻值,添加了充电接口维修盖板释放缆索卡子图片。
  • 2023 年 10 月 27 日:将充电接口至车身螺栓扭矩更新至 9 Nm。
  • 2023 年 10 月 10 日:添加了“请勿手动关闭充电接口盖板”的注意事项。
  • 2023 年 5 月 24 日:删除了车辆电气绝缘程序。
  • 2023 年 4 月 6 日:在工具列表中添加了 Hioki 电阻计。
  • 1076927-00-A Hioki RM 3548
  • 1076928-00-A 测试探针 - Hioki 9461
  • 1076921-00-B 绝缘电阻万用表,Fluke 1507(北美)
  • 1108272-00-B 变流器逻辑连接器盖,3DU
  • 1130480-00-A 超薄测试探针,Fluke TP38
Warning IconA warning icon, calling your attention to a possibly risky situation
警告

Only technicians who have been trained in High Voltage Awareness and have completed all required certification courses (if applicable) are permitted to perform this procedure. Proper personal protective equipment (PPE) and insulating HV gloves with a minimum rating of class 0 (1000V) must be worn at all times a high voltage cable, busbar, or fitting is handled. Refer to Tech Note TN-15-92-003, High Voltage Awareness Care Points for additional safety information.

Warning IconA warning icon, calling your attention to a possibly risky situation
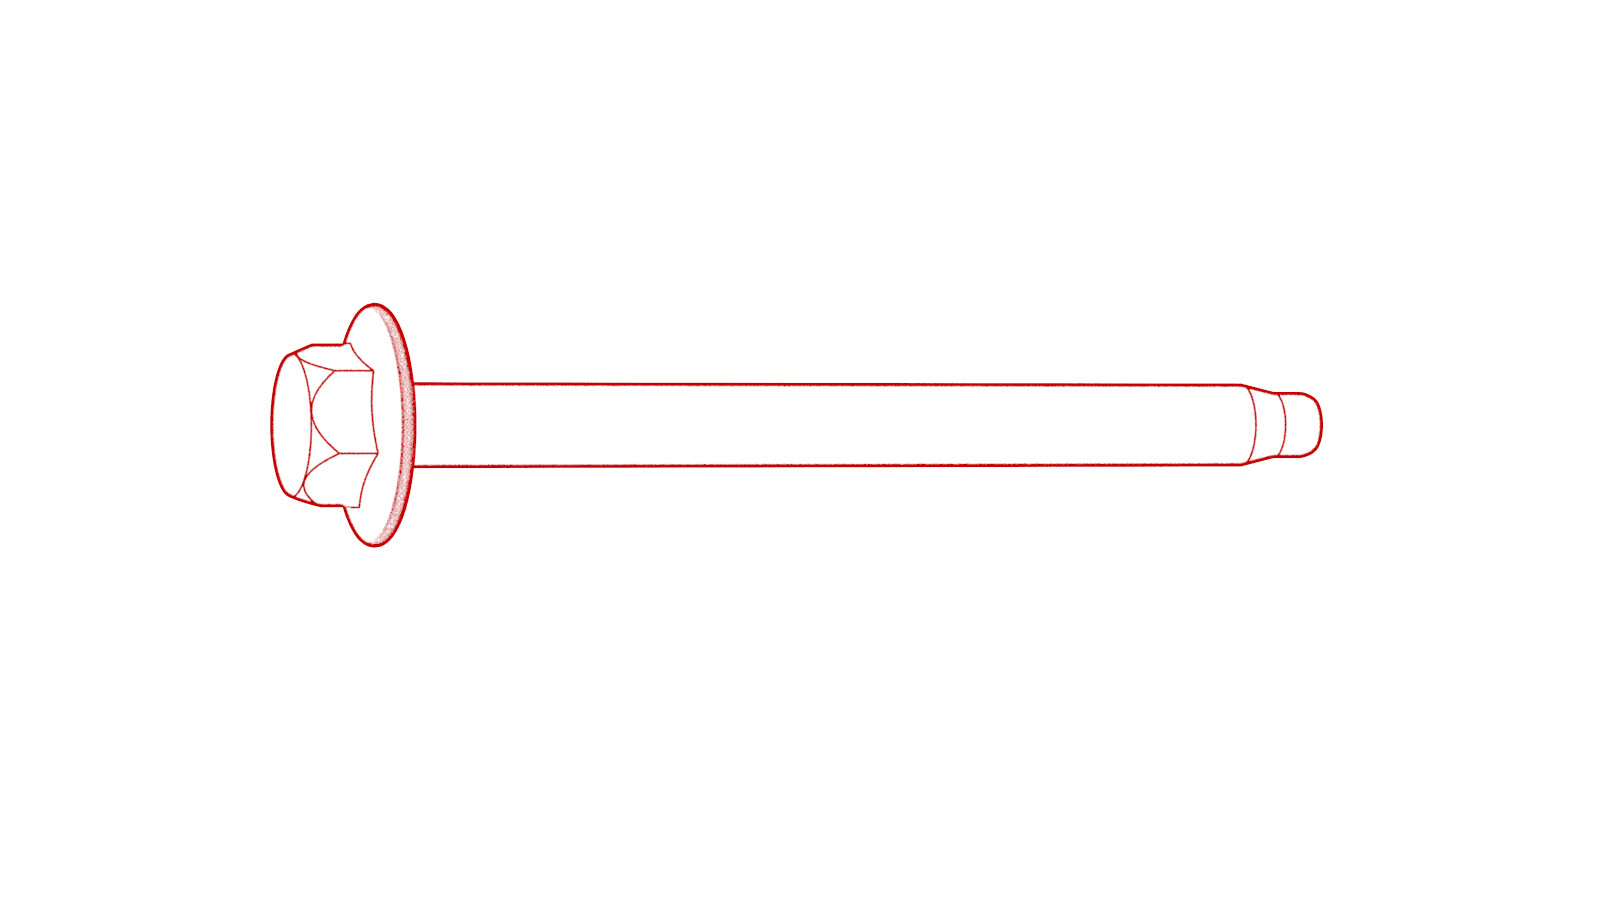
警告

Remove all jewelry (watches, bracelets, rings, necklaces, earrings, ID tags, piercings, etc.) from your person, and all objects (keys, coins, pens, pencils, tools, fasteners, etc.) from your pockets before performing any procedure that exposes you to high voltage.

Warning IconA warning icon, calling your attention to a possibly risky situation
警告
If corrective eyewear is necessary to safely perform any procedure, make sure that the eyewear is securely restrained to the head and cannot fall off.
Warning IconA warning icon, calling your attention to a possibly risky situation
警告

执行此程序时需要穿戴适当的个人防护装备 (PPE):

  • 高压 (HV) 绝缘手套
  • 皮革手套保护罩
  • 高压绝缘手套测试器
  • 护目镜
  • 电气绝缘保护安全鞋
Warning IconA warning icon, calling your attention to a possibly risky situation
警告

手套充气机是测试高压绝缘手套的唯一推荐方式。开始此程序前,需确认两只高压绝缘手套均通过测试。如果任何一只手套未通过充气检测,则需弃置这副手套。

Warning IconA warning icon, calling your attention to a possibly risky situation
警告

确保高压绝缘手套未过期。高压绝缘手套有效期为印在手套上的测试日期后 12 个月内,但首次使用后,即使手套仍处于上述 12 个月有效期内,也只能使用 6 个月。

拆卸

  1. 打开后备箱。
  2. 打开前备箱盖。
  3. 打开充电接口盖板。
  4. 打开所有四个车门。
  5. 断开 12V 电源。请参阅12V/LV Power (Disconnect and Connect)
  6. 执行充电接口电压检查程序。请参阅Charge Port Voltage Check
  7. 拆卸后备箱底板饰板。请参阅Trim - Floor - Trunk (Remove and Replace)
  8. 拆卸后备箱门槛饰板。请参阅Trim - Sill - Trunk (Remove and Replace)
  9. 拆卸后备箱饰板。请参阅Garnish - Trunk (Remove and Replace)
  10. 断开掀背尾门左侧作业灯连接器。
  11. 松开后备箱地毯的边缘,然后将后备箱左侧饰板移至一旁。
  12. 松开充电接口低压连接器上的锁片,然后将连接器从充电接口上断开。
    Warning IconA warning icon, calling your attention to a possibly risky situation
    警告
    DO NOT push down on the red locking tab. Pull the tab away from the connector until the connector is unlocked, and then continue pulling to release the connector.
  13. 拆卸黑色 12 针充电接口低压连接器上的白色锁片,然后同时松开连接器和安全盖,以断开连接器与充电接口的连接。
    Warning IconA warning icon, calling your attention to a possibly risky situation
    警告
    轻轻提起黑色连接器锁片,以便从 12 针低压连接器上拆下白色锁片。
  14. 将充电接口母排紧固件盖板从充电接口总成上拆下。
  15. 拆卸将充电接口母排固定到充电接口的螺母。
    Informational PurposesAn informational icon, calling your attention
    TIp
    推荐使用以下工具:
    • 10 毫米深套筒
    • 1/4 英寸标准回旋头棘轮
    • 1/4 英寸扭矩扳手(仅适用于安装程序)
  16. 将充电接口手动释放缆索与车身上的卡子分离。
  17. 拆卸将充电接口固定到车身的螺栓,然后将充电接口从车辆上拆下。
    Informational PurposesAn informational icon, calling your attention
    TIp
    推荐使用以下工具:
    • 10 毫米深套筒
    • 回旋头棘轮/回旋头扭矩扳手

安装

  1. If reinstalling the same charge port, clean the charge port busbar HV header at the back of the charge port assembly with an IPA wipe, and then air dry for 1 minute.
    Informational PurposesAn informational icon, calling your attention
    Skip this step if installing a new charge port assembly, as the new charge port has pre-applied electrical joint compound.
    Informational PurposesAn informational icon, calling your attention
    TIp
    Use a plastic trim tool to push the IPA wipe into the crevices of the charge port busbar HV header.
  2. 将充电接口放置在车辆上,然后安装将充电接口固定到车身的螺栓。
    9 Nm (6.6 lbs-ft)
    Informational PurposesAn informational icon, calling your attention
    TIp
    推荐使用以下工具:
    • 10 毫米深套筒
    • 回旋头棘轮/回旋头扭矩扳手
    Warning IconA warning icon, calling your attention to a possibly risky situation
    警告
    确保线束已布线,并正确安装带扎带的胶垫。
  3. 将充电接口手动释放缆索紧固到车身上的卡子中。
  4. 使用异丙醇 (IPA) 湿巾清洁充电接口母排引线上的残留物和碎屑,然后等待风干 1 分钟。
    Warning IconA warning icon, calling your attention to a possibly risky situation
    警告
    The video(s) included in this procedure are meant as an overview for supplemental purposes only. Follow all of the steps listed in the procedure to avoid damage to components and/or personal injury.
  5. 如果将安装同一充电接口,请在各充电接口母排引线与充电接口接触的一侧涂抹两滴导电膏。
    Informational PurposesAn informational icon, calling your attention
    如果将安装新的充电接口总成,请跳过这一步骤,因为新的充电接口已预先涂抹了导电膏。
  6. 将充电接口母排放置在充电接口螺柱上,然后安装将母排固定到充电接口的螺母。
    9 Nm (6.6 lbs-ft)
    Informational PurposesAn informational icon, calling your attention
    TIp
    推荐使用以下工具:
    • 10 毫米深套筒
    • 1/4 英寸标准回旋头棘轮
    • 1/4 英寸扭矩扳手(仅适用于安装程序)
  7. 佩戴高压绝缘手套和皮革手套。
  8. 在充电接口处,使用 Hioki 电阻计测量充电接口母排引线与充电接口母排螺柱之间的电阻。另请对其他引线和螺柱执行该测试。
    Informational PurposesAn informational icon, calling your attention
    可接受的电阻值为 0.050 毫欧(50 微欧)至 0.270 毫欧(270 微欧)。如果测得电阻值高于 0.270 毫欧(270 微欧),说明高压接头电阻过大。拆卸紧固件,使用异丙醇清洁接触区域,重新安装紧固件,再次测试(视情况而定)。
    Informational PurposesAn informational icon, calling your attention
    如果电阻值低于 0.050 毫欧(50 微欧),请重新放置探针并再次测量。如果尝试 4 次后电阻值始终低于 0.050 毫欧(50 微欧),则说明测试通过;请继续执行下一步骤。
  9. 将充电接口母排紧固件盖板安装在充电接口总成上。
  10. 将低压线束连接器(2 个)连接到充电接口上,然后安装用于固定这些连接器的锁片(2 个)。
    Informational PurposesAn informational icon, calling your attention
    Push the red locking tab into the connector to engage the connector lock.
    Informational PurposesAn informational icon, calling your attention
    TIp
    小心地将白色锁片插入 12 针低压连接器,直至与黑色连接器锁片锁在一起。
  11. 连接掀背尾门左侧作业灯连接器。
  12. 将后备箱侧左侧饰板移回原位。
  13. 安装后备箱饰板。请参阅Garnish - Trunk (Remove and Replace)
  14. 安装后备箱门槛饰板。请参阅Trim - Sill - Trunk (Remove and Replace)
  15. 安装后备箱底板饰板。请参阅Trim - Floor - Trunk (Remove and Replace)
  16. 重新连接 12V 电源。请参阅12V/LV Power (Disconnect and Connect)
  17. 验证充电系统是否正常工作:
    Informational PurposesAn informational icon, calling your attention
    使用客户的充电设备(若有)。
    Warning IconA warning icon, calling your attention to a possibly risky situation
    警告
    请勿尝试手动关闭充电端口盖板。
    1. 轻轻推动充电接口盖板的右下角以打开充电接口,然后关闭充电接口盖板。
    2. 使用通用移动连接器或壁挂式连接器并按下把手上的按钮以打开充电接口盖板。
      Informational PurposesAn informational icon, calling your attention
      关闭盖板后可能会有短暂超时,直到盖板再次打开。
    3. 将充电手柄连接到充电接口并确认车辆正在充电。
    4. 断开充电手柄并确认充电接口盖板关闭。
  18. 将前排两个座椅移回原位。