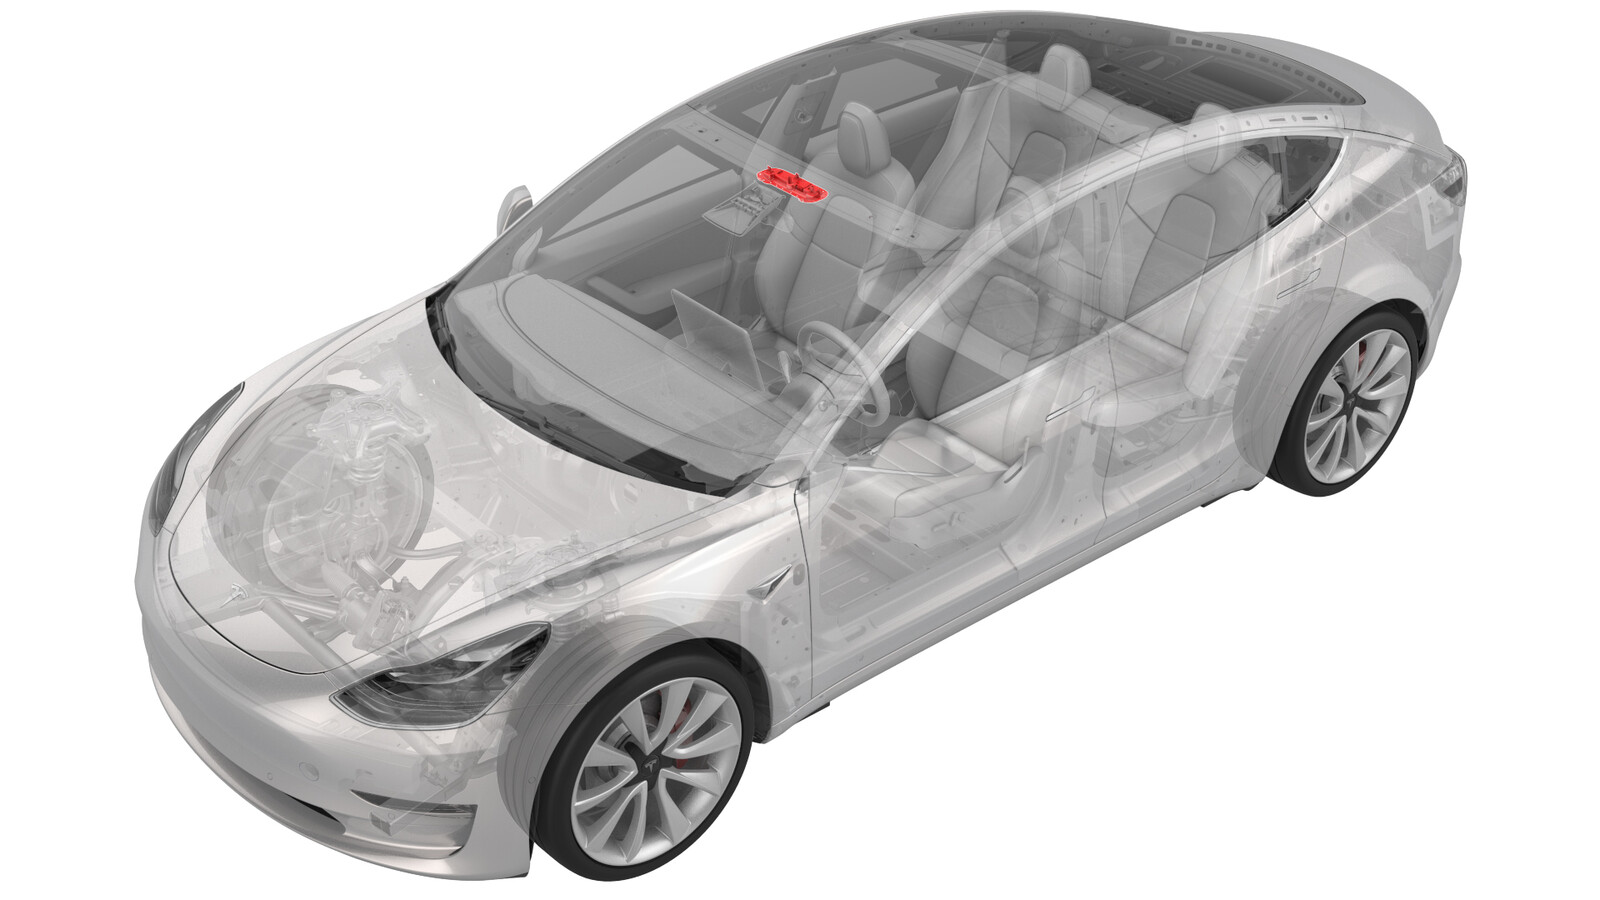
2024-04-16
顶部控制台 - 前(无 e-Call 按钮)(欧洲、中东和非洲)(改装)
 校正代码
15202306 0.36
注意:除非本程序中另有明确规定,否则上述校正代码和 FRT 反映的是执行本程序(包括关联程序)所需的所有工作。除非明确要求,否则请勿堆叠校正代码。
注意:请参阅平均维修工时,深入了解 FRT 及其创建方式。要提供有关 FRT 值的反馈,请发送电子邮件至 ServiceManualFeedback@tesla.com。。
注意:请参阅人员保护,确保在执行以下程序时穿戴适当的个人防护装备 (PPE)。请参阅人体工程学注意事项查看安全健康的作业规程。
0.10
- 2023-10-20: Updated steps to change Gateway configuration using Toolbox 3.
Procedure
- Open the LH front door and lower the window.
- Put the vehicle in service mode through the touchscreen. See 维护模式.
- Disconnect 12V power. See 12V/低压电源(断开和连接).
- Remove the front overhead console. See 顶部控制台 - 前(拆卸和更换).
-
Pull the FOHC connector (X299)
outwards for access
-
Remove 2 - 4 cm of the electrical tape
from the harness.
注Take care not to damage the wires while using a blade to remove the tape.
-
Release the locking clips from the
connector
-
Remove pin 6 (X299-6) from the
connector
注Use the pin drag kit to release the locking tab, then pull out the wire.
-
Cut off the terminal from the removed
wire.
-
Apply heat shrink tube to the cut wire
end, and then apply heat to prevent the wire from making contact.
- Remove pin 12 (X299-12) from the electrical connector, and then repeat steps 9and 10.
- Remove pin 14 (X299-14) from the electrical connector, and then repeat steps 9 and 10.
- Remove pin 15 (X299-15) from the electrical connector, and then repeat steps 9 and 10.
- Remove pin 16 (X299-16) from the electrical connector, and then repeat steps 9 and 10.
-
Use electrical tape to attach the
removed wires from connector X299 to the FOHC harness.
注Use the yellow electrical tape in the kit to denote a rework has been performed.
- Install the front overhead console assembly to the headliner. See 顶部控制台 - 前(拆卸和更换).
- Connect 12V power. See 12V/低压电源(断开和连接).
- Connect a laptop with Toolbox 3 to the vehicle. See Toolbox(连接和断开).
- Usie Toolbox 3 to change the configuration value for eCallEnabled to enabled_ui_sos. See 网关配置(显示和变更).
-
On the touchscreen, touch and make sure that the SOS shortcut button (1) and
the SOS EMERGENCY
CALL button (2) are available on the touchscreen.
注The SOS shortcut button (1) takes the user directly to the Safety and Security tab, the SOS EMERGENCY CALL button (2) makes the actual call when touched.
-
Using toolbox 3:
- Select the Actions tab, and then type "VFOHC" in the search field.
- Run the ODIN routine TEST-SELF_VCLEFT_X_VFOHCvia Toolbox: (link) and allow the routine to complete.
- Disconnect the laptop from the vehicle.
- Reinstall the vehicle firmware. See 软件重新安装 - 触摸屏.
- Exit Service Mode. See 维护模式.
- Inform the customer why the e-Call functionality has changed after the headliner retrofit and instruct them how to use the touchscreen to make an emergency call.