2022-11-01
盖板 - 座椅靠背 - 第二排 - LH(拆卸和更换)
 校正代码
13081102 0.60
注意:除非本程序中另有明确规定,否则上述校正代码和 FRT 反映的是执行本程序(包括关联程序)所需的所有工作。除非明确要求,否则请勿堆叠校正代码。
注意:请参阅平均维修工时,深入了解 FRT 及其创建方式。要提供有关 FRT 值的反馈,请发送电子邮件至 ServiceManualFeedback@tesla.com。。
注意:请参阅人员保护,确保在执行以下程序时穿戴适当的个人防护装备 (PPE)。请参阅人体工程学注意事项查看安全健康的作业规程。
警告
本程序为“草案”。虽已通过验证,但可能仍有“警告”和“注意”事项缺失。请遵守安全要求,处理或靠近高压系统和部件时,请谨慎操作。
-
Open all four doors
注If vehicle is being powered down, Latch rear doors to prevent accidental closure
- Lower all four windows
- Move RH front seat forward
- Move LH front seat forward
-
Remove 2nd row seat cushion and disconnect harness
注2x tabs, 2x connectors, Press tab toward LH side of vehicle on each side to release front edge of seat cushion
-
Fold the 60 seat in down position
注Protect the seat cushion
-
Remove LH side bolster
注1x clip, 1 tab, Pull outward then slightly upward to remove
-
Fold the 60 seat into vertical position
注Remove seat protection
-
Disconnect 60 seat back seat heater harness
注1x connector
-
Remove nuts securing 60 seat back hinge bracket to body
注2x nuts, 13mm, 18 Nm
-
Remove LH rear seat belt buckle
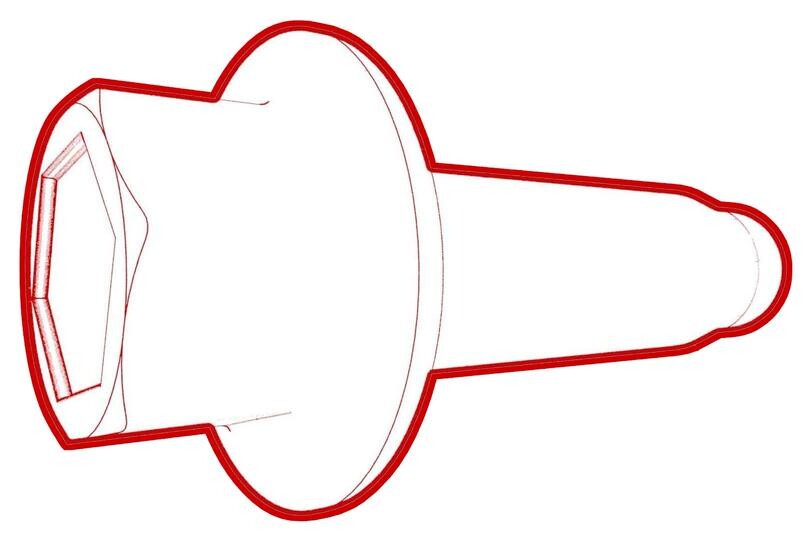
注1x patch bolt, 15mm, 40 Nm, If the bolt is difficult to remove, Use an inductive heating tool to melt the adhesive patch material, Position the inductive heating tool coil around the bolt, then heat the bolt for 20 seconds, Allow the bolt to cool for 2 minutes, Discard after removal
-
Remove 60 seat back by lifting up on LH side and pulling inner pivot out of 40 seat back and set onto padded work surface
-
Release tabs securing pivot sleeve to 60 seat back and remove pivot sleeve
注4x tabs
-
Remove seat back hinge bracket from 60 seat back and connector
注1x bolt, 13mm, 45 Nm
-
Remove bolt securing armrest to 2nd row 60 seat back assembly
注1x bolt, T45, 15 Nm
-
Pull RH side of armrest system towards front of seat, and then slide armrest towards RH side of seat to release pivot from 60 seat back
注Watch out for the plastic piece in the photo when removing the armrest it may or may not fall off if it does return it to it's original position
-
Release clips securing center headrest to seat back and pull up to remove
注2x clips, Press both clip then remove headrest at the simultaneously
-
Remove 2nd row 60 backrest LH and RH center headrest guides
注2x tabs, Use trim tool to pull up guides and slide up until they release
-
Remove 2nd row armrest closeout panel from seat frame
注3x clips, 2x tabs, Pull up by headrest guides to release clips then slide upwards off to clear tabs and remove closeout panel
-
Remove the 2nd row seat back bezel from seat back
注2x clips, Use trim tool to release clip like photo 1 then pull up and off to release the other clip
-
Remove the center escutcheon from seat back
注2x clips, Release clips then spread escutcheon to remove from seat belt
-
Remove the 2nd row armrest lower closeout from 2nd row seat frame
注2x clips, 2x slide clips, Release the 2x upper clips then pull upward to remove
-
Unzip 2nd row 60 seat back trim cover
-
Release rear side of 2nd row 60 seat back trim cover from frame
注Release guide clips from the side and upper left area then pull rear section of trim cover backwards away from frame
-
Release 2nd row 60 seat back from front lower left portion from tabs
注Unhook the long metal piece from the tabs to clear seat cover material
-
Release lower section of 2nd row 60 seat back from pivot bar
注1x connector, Clear seat cover from pivot bar starting on the right side first then the left
-
Release Velcro securing 2nd row 60 seat back cover from foam pad
注Fold back until you reach first row of hog rings
-
Remove front hog rings securing 2nd row 60 seat back trim cover from foam pad
注3x hog rings, Push down on foam to allow access to rings, Verify any excess pieces have been removed from foam
-
Release remaining Velcro securing 2nd row 60 seat back trim cover from foam pad
注Fold back until all Velcro is completely released
-
Remove 2nd row 60 seat back trim cover from foam pad
注Remove seat cover from entire assembly, Carefully clear seat belt and seat release bezel
-
Install 2nd row 60 seat back trim cover to foam pad
注Begin with headrest and work your way down
-
Secure upper Velcro of 2nd row 60 seat back trim cover onto foam pad
注Attach velcro until the hog rings area on the foam pad
-
Install hog rings securing 2nd row 60 seat back trim cover to foam pad
注3x hog rings, Push down on foam pad to allow access for clamping, Place hog ring into pliers prior to installation, Start with center ring and work your way out
-
Secure lower Velcro of 2nd row 60 seat back trim cover onto foam pad
注1x connector, Attach remaining velcro all the way down past pivot bar and connect
-
Secure 2nd row 60 seat back to armrest back frame hooks
注Secure hooks from seat back cover to the metal piece of the frame by the arm rest towards foam pad
-
Secure rear side of 2nd row 60 seat back trim cover to frame
注Secure guide hooks to the side and upper left area of the armrest frame
-
Zip 2nd row 60 seat back trim cover
-
Install 2nd row armrest lower closeout to 2nd row seat frame
注2x clips, 2x slide clips, Tuck zip behind armrest lower closeout to cover it
-
Install the center escutcheon to seat back
注2x clips, Push to engage both clips onto seat back cover and pad
-
Install the 2nd row seat back bezel to seat back
注2x clips, Make sure to push bezel firmly till clips are engage
-
Install armrest closeout panel onto seat frame
注3x clips, 2x tabs, Slide tabs in first then line up clips and engage
-
Install 2nd row 60 backrest LH and RH headrest guides onto upper seat assembly
注2x tabs, Push until guides bottom out
-
Install center headrest into 2nd row 60 seat back assembly
注2x push headrest in until it locks on the clip
-
Install armrest into into original position
注Place plastic piece back into position if it falls off as shown in the photos then install armrest assembly
-
Install bolt securing armrest to 2nd row 60 seat back assembly
注1x bolt, T45, 15 Nm
-
Secure plastic tab onto pivot sleeve of 2nd row 60 seat back assembly
注4x tabs
-
Install seat back hinge bracket onto 2nd row 60 seat back assembly
注1x bolt, 13mm, 45 Nm 1x connector, Secure connector to bracket in the process
-
Install 2nd row 60 seat back assembly into vehicle
-
Install nuts securing 60 seat back hinge bracket to body
注2x nuts, 13mm, 18 Nm
-
Connect 60 seat back seat heater harness
注1x connector
-
This video shows how to properly stack the 2nd row LH seat buckle onto the 2nd row
center seat belt anchor:
-
Set the 2nd row center seat belt anchor
onto the 2nd row LH inner penthouse rail, with the belt to the RH side.
-
Make sure that the belt is not twisted,
and lays flat against the 2nd row seatback.
-
Set the guide pin of the 2nd row LH seat
buckle bracket into the hole of the 2nd row LH inner penthouse rail, and pivot the bracket
down onto the anchor, aligning the guide pin to the slot in the anchor.
-
Install a new bolt to attach the seat
buckle bracket, the seat belt anchor, and the inner penthouse rail to the body.
 40 Nm (29.5 lbs-ft)
 -
Verify the stacking.
Callout Description 1 LH 2nd Row Buckle on Top 2 Center 2nd Row Seatbelt Anchor in the Middle 3 LH Inner Penthouse Rail at the Bottom -
Install the plastic bracket that
attaches the female side of the electrical connector to the body studs.
-
Connect the electrical harness to the LH
rear seat belt buckle connector.
-
Connect 2nd row seat cushion harness and install 2nd row seat cushion
注2x connectors, 2x clips, Insert the seat belt buckles through the holes, Slide rear cushion inward then align front guide tabs to locking tabs, Make sure cushion is fully seated with push & pull test near clips
-
Install LH side bolster
注1x clip, 1x tab, Align the bottom tab then push inward to install
- Move RH front seat to original position
- Move LH front seat to original position
- Raise all windows
-
Close all four doors
注Unlatch rear doors before closing