2025-07-03
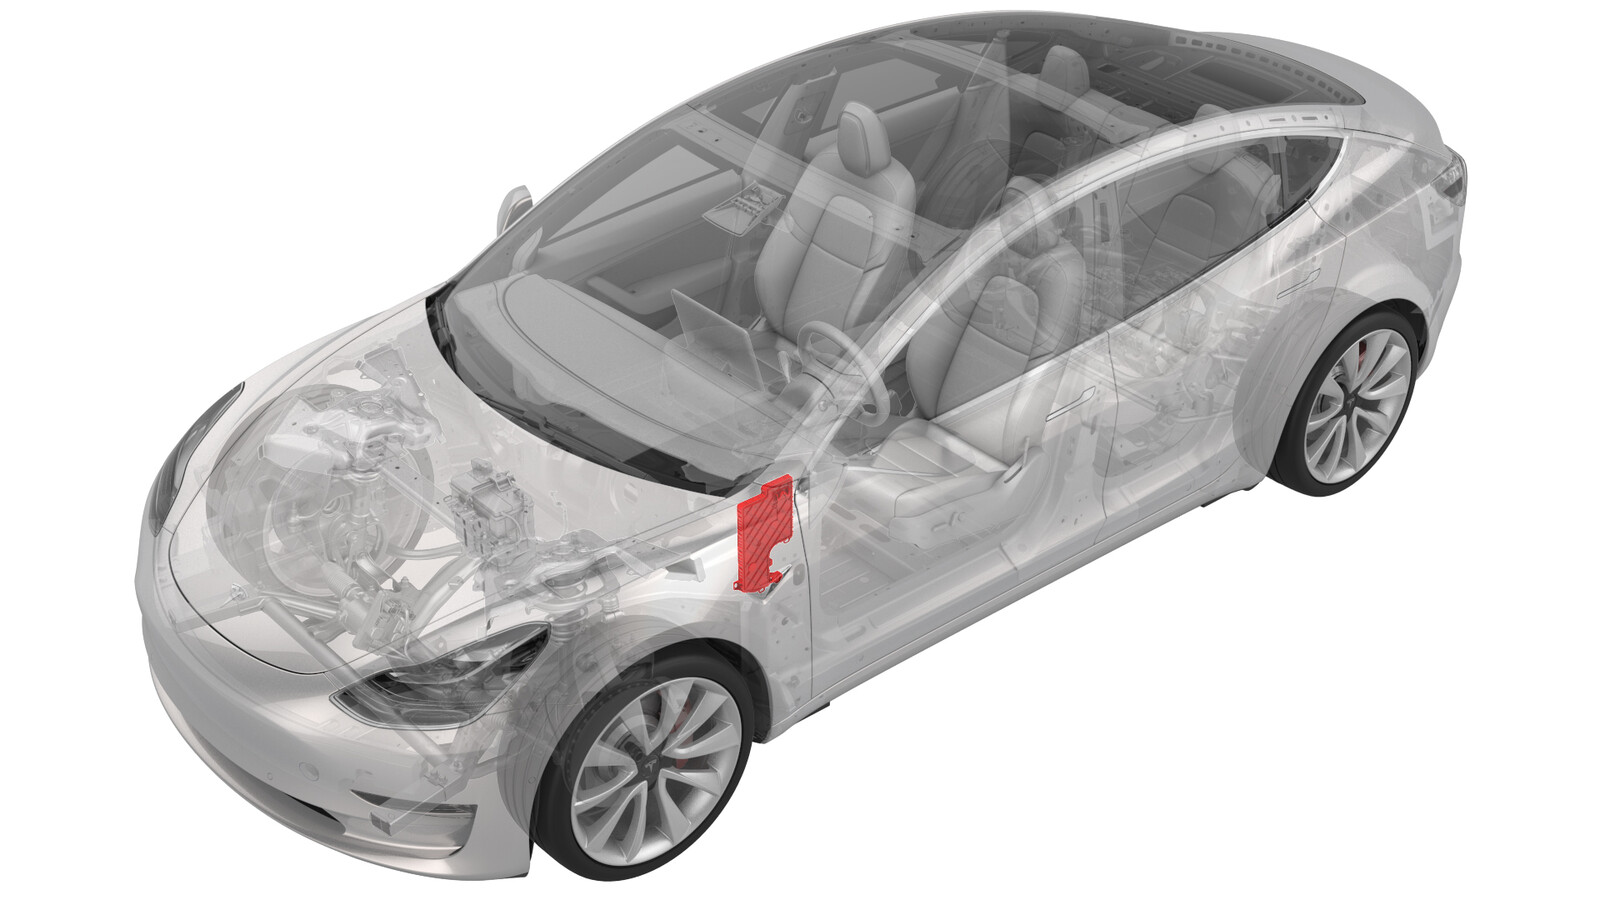
模块 - 车身控制器 - LH(左侧驾驶)(带加热泵款)(拆卸和更换)
 校正代码
17152112 0.54
注意:除非本程序中另有明确规定,否则上述校正代码和 FRT 反映的是执行本程序(包括关联程序)所需的所有工作。除非明确要求,否则请勿堆叠校正代码。
注意:请参阅平均维修工时,深入了解 FRT 及其创建方式。要提供有关 FRT 值的反馈,请发送电子邮件至 ServiceManualFeedback@tesla.com。。
注意:请参阅人员保护,确保在执行以下程序时穿戴适当的个人防护装备 (PPE)。请参阅人体工程学注意事项查看安全健康的作业规程。
- 2023-11-13: Fixed error in routine.
拆卸
- Open all doors and lower all windows.
- Remove the rear underhood apron. See 前备箱挡板 - 后部(拆卸和更换).
- Move the driver seat fully rearward.
- Disconnect 12V power. See 12V/低压电源(断开和连接).
- Remove the LH instrument panel end cap. See 端盖 - 仪表板 - LH(拆卸和更换).
- Remove the LH middle A-pillar trim. See 饰板 - A 柱 - 中部 - LH(拆卸和更换).
- Remove the LH lower A-pillar trim. See 饰板 - A 柱 - 下 - LH(拆卸和更换).
- Remove the driver footwell cover. See 盖板 - 脚部空间 - 驾驶位(拆卸和更换).
- Remove the driver knee airbag. See 气囊 - 膝部 - 驾驶位(拆卸和更换).
- Remove the LH footwell duct. See 风管 - 脚部空间 - LH(左侧驾驶)(拆卸和更换).
-
Release the connector lock, and then disconnect the J7 LH front door electrical connector from the LH body controller module.
-
Release the connector lock, and then disconnect the J9 LH front seat electrical connector from the LH body controller module.
-
Release the connector lock, and then disconnect the J10 instrument panel electrical connector from the LH body controller module.
-
Disconnect the J11 HVAC electrical connector from the LH body controller module.
-
Disconnect the inline electrical harness connector X909 from the LH body harness, and then separate it from the LH body controller module.
-
Release the connector lock, and then disconnect the J1 power connector from the LH body controller module.
-
Disconnect the J6 front underhood storage connector from the LH body controller module.
-
Disconnect the J5 body 3 electrical connector from the LH body controller module.
-
Release the connector lock, and then disconnect the J4 body 2 connector from the LH body controller module.
-
Disconnect the J2 body 1 electrical connector from the LH body controller module.
-
Release the electrical harness clips that attach the LH body controller module to the vehicle.
- Move the LH body harness away from the LH body controller module.
-
Remove and discard the nut that attaches the LH body controller module to the vehicle.
TIp推荐使用以下工具
- 10 毫米 12 角深套筒
-
Slide the LH body controller upwards to release the W-clip, and then move the LH body controller module out from underneath the instrument panel.
- Remove the LH body controller module from the vehicle.
安装
-
Maneuver the LH body controller module into position under the IP carrier. Align the W-clip with the body cutout, and then slide down to attach the LH body controller module to the body.
-
Install a new nut that attaches the LH body controller module onto the body.
 6 Nm (4.4 lbs-ft)TIp推荐使用以下工具
- 10 毫米 12 角深套筒
-
Move the LH body harness towards the left side of the LH body controller module, and then attach the harness clips to the LH body controller module.
-
Connect the J2 body 1 electrical connector to the LH body controller module , and then engage the connector lock.
注Ensure the electrical connector is fully seated.
-
Connect the J4 body 2 electrical connector to the LH body controller module, and then engage the connector lock.
注Ensure the electrical connector is fully seated.
-
Connect the J5 body 3 electrical connector to the LH body controller module, and then engage the connector lock.
注Ensure the electrical connector is fully seated.
-
Connect the J6 front underhood storage unit connector to the LH body controller module.
-
Connect the J1 power connector to the LH body controller module, and then engage the connector lock.
注Ensure the electrical connector is fully seated.
-
Connect the inline electrical connector X909 to the LH body harness, and then clip it to the LH body controller module.
-
Connect the J11 HVAC electrical connector to the LH body controller module.
-
Install the J10 instrument panel electrical connector to the LH body controller module, and then engage the connector lock.
注Ensure the electrical connector is fully seated.
-
Connect the J9 LH front seat electrical connector to the LH body controller module, and then engage the connector lock.
注Ensure the electrical connector is fully seated.
-
Connect the J7 LH front door electrical connector to the LH body controller module, and then engage the connector lock.
注Ensure the electrical connector is fully seated.
- Install the LH footwell duct. See 风管 - 脚部空间 - LH(左侧驾驶)(拆卸和更换).
- Install the driver knee airbag. See 气囊 - 膝部 - 驾驶位(拆卸和更换).
- Install the driver footwell cover. See 盖板 - 脚部空间 - 驾驶位(拆卸和更换).
- Install the LH lower A-pillar trim. See 饰板 - A 柱 - 下 - LH(拆卸和更换).
- Install the LH middle A-pillar trim. See 饰板 - A 柱 - 中部 - LH(拆卸和更换).
- Install the LH instrument panel end cap. See 端盖 - 仪表板 - LH(拆卸和更换).
-
Connect 12V power. See 12V/低压电源(断开和连接).
警告Do not power on the climate control system until this procedure has been fully completed.
- Install the rear underhood apron. See 前备箱挡板 - 后部(拆卸和更换).
- Perform a service CAN redeploy. See 软件重新安装 - Toolbox.
- Sit in the front passenger seat and close the RH front door.
- 通过“维护模式”或 Toolbox 执行以下例行程序(请参阅0005 - 维护模式): PROC_CONTROLLER_LEFT_POST-REPLACEMENT-PROCEDUREvia Toolbox: (link)via Service Mode Plus: Left Controller ➜ Left Controller Post Replacement ➜ Left Controller Post Replacement Procedure
- Move the front passenger seat to the original position.
- Raise the RH front window and close the RH front door.
- Move the driver seat to the original position.
- Close the LH front door.
- Inform the customer that their liftgate opening height settings have been reset and to refer to the owner's manual for instructions on setting the liftgate opening height.