2024-09-09
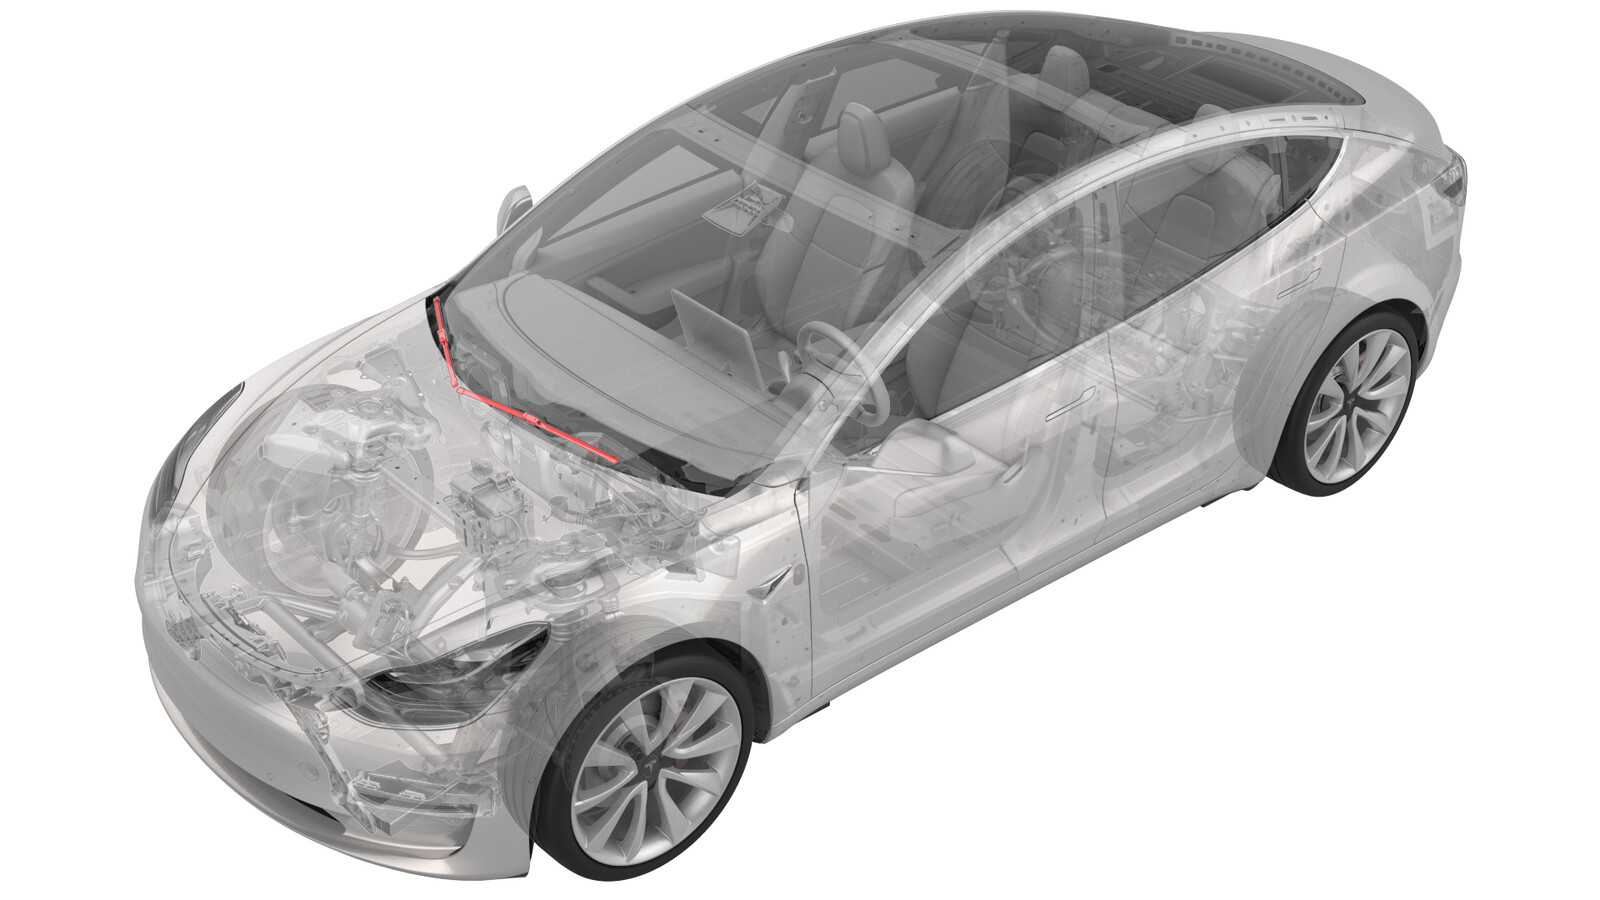
雨刮器臂(拆卸和更换)
 校正代码
17501802 0.18
注意:除非本程序中另有明确规定,否则上述校正代码和 FRT 反映的是执行本程序(包括关联程序)所需的所有工作。除非明确要求,否则请勿堆叠校正代码。
注意:请参阅平均维修工时,深入了解 FRT 及其创建方式。要提供有关 FRT 值的反馈,请发送电子邮件至 ServiceManualFeedback@tesla.com。。
注意:请参阅人员保护,确保在执行以下程序时穿戴适当的个人防护装备 (PPE)。请参阅人体工程学注意事项查看安全健康的作业规程。
警告
本程序所含视频仅作为补充材料予以概括说明。请遵循本程序所列的所有步骤,以避免部件损坏和/或人身伤害。
设备:
- 1058696-00-A 雨刮器臂拆卸工具
扭矩规格
| 描述 | 扭矩值 | 推荐工具 | 重复使用/更换 | 备注 |
|---|---|---|---|---|
| 将 LH 雨刮器臂固定到雨刮器电机总成的螺母 |
 25 Nm (18.4 lbs-ft) |
|
重复使用 | |
| 将右侧雨刮器臂固定到雨刮器电机总成的螺母 |
 25 Nm (18.4 lbs-ft) |
|
重复使用 |
拆卸
- 拆下前备箱后部挡板。请参阅前备箱挡板 - 后部(拆卸和更换)。
-
拆下雨刮器臂螺母罩。
-
将左右雨刮器臂软管从 Y 型管上松开。
- 松开将 LH 和 RH 雨刮器臂软管固定到车辆的夹子(每个臂 2 个)。
-
拆下将雨刮器臂固定到雨刮器电机总成的螺母。
-
将雨刮器臂拆卸工具基座置于雨刮器臂下方,并放置固定螺钉,使其居中并接触雨刮器臂螺柱,然后拧紧固定螺钉,直至雨刮器臂松开。
警告不使用雨刮器臂拆卸工具拆卸雨刮器臂可能导致雨刮器臂或雨刮器电机损坏。
-
将雨刮器臂从车上拆下。
安装
-
将 LH 和 RH 雨刮器臂放置到车辆上。
注请务必将软管布设在雨刮器臂枢轴点的后面。
图 1. 错误的软管布设 图 2. 正确的软管布设 -
安装并手动拧紧将雨刮器臂固定到雨刮器电机总成的螺母。
-
将右侧雨刮器片的顶端与挡风玻璃上两箭头之间对齐。
-
紧固用于固定右侧雨刮器臂的螺母。
 25 Nm (18.4 lbs-ft)TIp推荐使用以下工具
- 15 毫米套筒
-
对齐挡风玻璃两个箭头间左侧雨刮器片的顶端。
注LH 雨刮器片应与挡风玻璃的前边缘相距约 5 - 10 毫米,并与之平行。
-
拧紧固定 LH 雨刮器臂的螺母。
 25 Nm (18.4 lbs-ft)TIp推荐使用以下工具
- 15 毫米套筒
-
将左右雨刮器臂软管连接到 Y 型管接头。
- 连接将 LH 和 RH 雨刮器臂软管固定到车辆的夹子(每个臂 2 个)。
-
安装雨刮器臂螺母罩。
- 安装前备箱后部挡板。请参阅前备箱挡板 - 后部(拆卸和更换)。