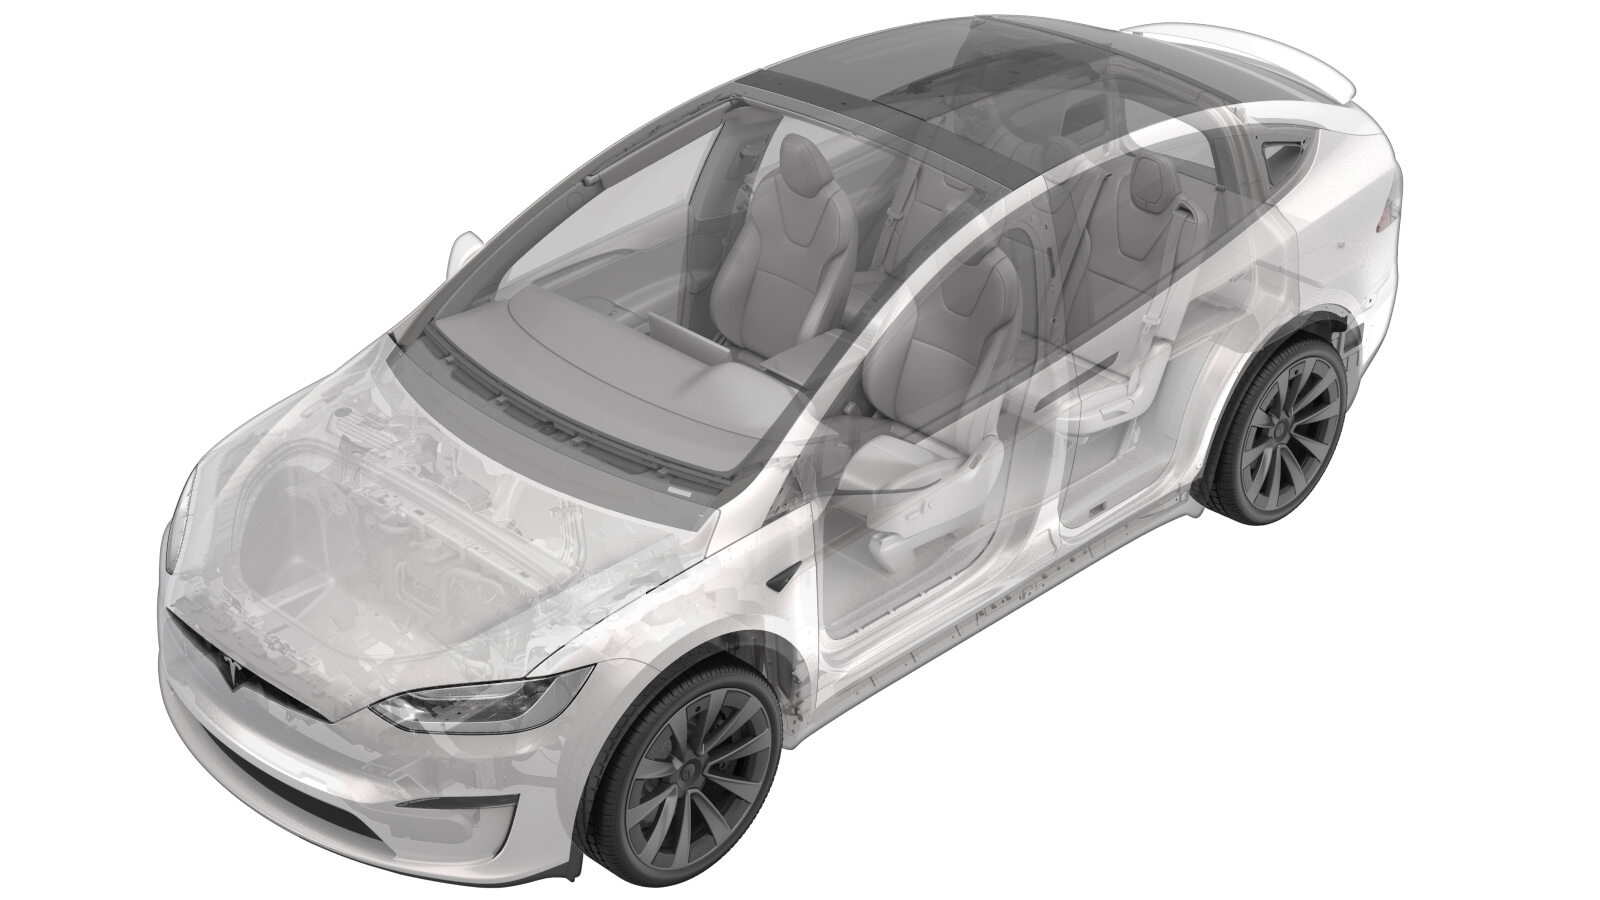
2023-04-17
车载电脑 (HW4)(拆卸和安装)
 校正代码
21151031 0.65
注意:除非本程序中另有明确规定,否则上述校正代码和 FRT 反映的是执行本程序(包括关联程序)所需的所有工作。除非明确要求,否则请勿堆叠校正代码。
注意:请参阅平均维修工时,深入了解 FRT 及其创建方式。要提供有关 FRT 值的反馈,请发送电子邮件至ServiceManualFeedback@tesla.com。
注意:请参阅 人员保护,确保在执行以下程序时穿戴适当的个人防护装备 (PPE)。
注意:请参阅人体工程学注意事项查看安全健康的作业规程。
警告
本程序为“草案”。虽已通过验证,但可能仍有“警告”和“注意”事项缺失。请遵守安全要求,处理或靠近高压系统和部件时,请谨慎操作。
- Open the LH front door.
- Lower both front windows.
- Open the RH front door.
- Move the RH front seat backward.
- Disconnect LV power. See 低压电源(断开和连接).
- Remove the underhood storage unit. See 前备箱储物单元(拆卸和安装).
-
Remove RH front floor mat
-
Remove RH footwell cover
注3x magnets, 1x connector, 4x datums
-
Remove RH console side carpet
注11x clips, 2x datums
-
Remove RH front door sill trim
panel
注8x clips, 3x datums
-
Remove RH IP end cap
注3x clips
-
Remove RH mid A-pillar trim
注2x clips, 3x datums, Release clips from upper A-pillar and IP sub assembly, Lift mid A-pillar trim out of lower A-pillar trim
-
Remove RH lower A-pillar trim
注1x bolt, T25, 5 Nm, 2x clips, 1x datum
-
Fold RH front cabin carpet aside for
access
-
Release harness from RH footrest
panel
注1x clip
-
Release RH footrest panel
注2x bolts, 10mm, 5 Nm, 2x nut, 10mm, 5 Nm
-
Remove RH footrest panel
注Fold RH primary support carpet up, Rotate RH footrest panel out of vehicle
-
Release connector to connectivity
module
注1x connector, Move release lock rearward before removal
-
Release connectors at RH side of
entertainment motherboard
注6x connectors, Release locks on connectors before removal
-
Release connectors at RH side of
Autopilot motherboard
注3x connectors, Release locks on connectors before removal
-
Release connections at LH side of
entertainment motherboard
注7x connectors, Release locks on connectors before removal
-
Release connections at LH side of
Autopilot motherboard
注5x connectors, Release locks on connectors before removal
-
Install coolant hose clamps to coldplate
hoses
注2x hoses, Place coolant absorbent mats or rags around the car computer
-
Release coolant hoses from car computer
coldplate assembly
注2x spring locks, Install coolant plugs at both hoses and car computer
-
Remove car computer from vehicle
注2x bolts, 10mm, 7 Nm, 2x nut, 10mm, 8 Nm, Remove any residual coolant from vehicle
-
Install car computer to vehicle
注2x bolts, 10mm, 7Nm, 1x nut, 10mm, 8Nm
-
Secure coolant hoses to car computer
coldplate assembly
注2x spring locks, Place coolant absorbent mats or rags around the car computer, Remove coolant plugs while leaving coolant clamps engaged, Ensure spring locks engage and perform pull-push-pull test on each hose coupling
-
Remove coolant hose clamps
注2x hoses, Remove absorbent material, Clean residual fluid, Inspect for leaks
-
Install connections at LH side of
Autopilot motherboard
注5x connectors, Secure locks on connectors after install
-
Install connections at LH side of
entertainment motherboard
注7x connectors, Secure locks on connectors after install
-
Install connectors at RH side of
Autopilot motherboard
注3x connectors
-
Install connectors at RH side of
entertainment motherboard
注6x connectors, Secure locks on connectors after install
-
Install connector to connectivity
module
注1x connector, Slide lock underneath connector
- Connect LV power. See 低压电源(断开和连接).
- Perform a cooling system partial refill and bleed. See 冷却系统(部分再加注和排放).
-
Install RH footrest panel
注Rotate RH footrest panel onto vehicle, Fold RH primary support carpet down
-
Secure RH footrest panel
注2x bolts, 10mm, 5 Nm, 2x nut, 10mm, 5 Nm
-
Secure harness to RH footrest
panel
注1x clip
-
Fold RH main carpet back into
place
-
Install RH footwell cover
注3x magnets, 4x datums, 1x connector
-
Install RH lower A-pillar trim
注1x bolt, T25, 5 Nm, 2x clips, 1x datum
-
Install RH mid A-pillar trim
注2x clips, 3x datums, Verify weather seal is seated properly
-
Install RH IP end cap
注3x clips
-
Install RH front door sill trim
panel
注8x clips, 3x datums
-
Install RH console side carpet
注11x clips, 2x datums
-
Install RH front floor mat
- Move the RH front seat to its original position.
-
Calibrate the RH falcon wing door.
- Raise the RH front window.
- Close the RH front door.
- Install the underhood storage unit. See 前备箱储物单元(拆卸和安装).
-
Install the rear underhood apron.
- Close the hood.
-
Calibrate the LH falcon wing door.
- Raise the LH front window.
- Close the LH front door.