2025-12-03
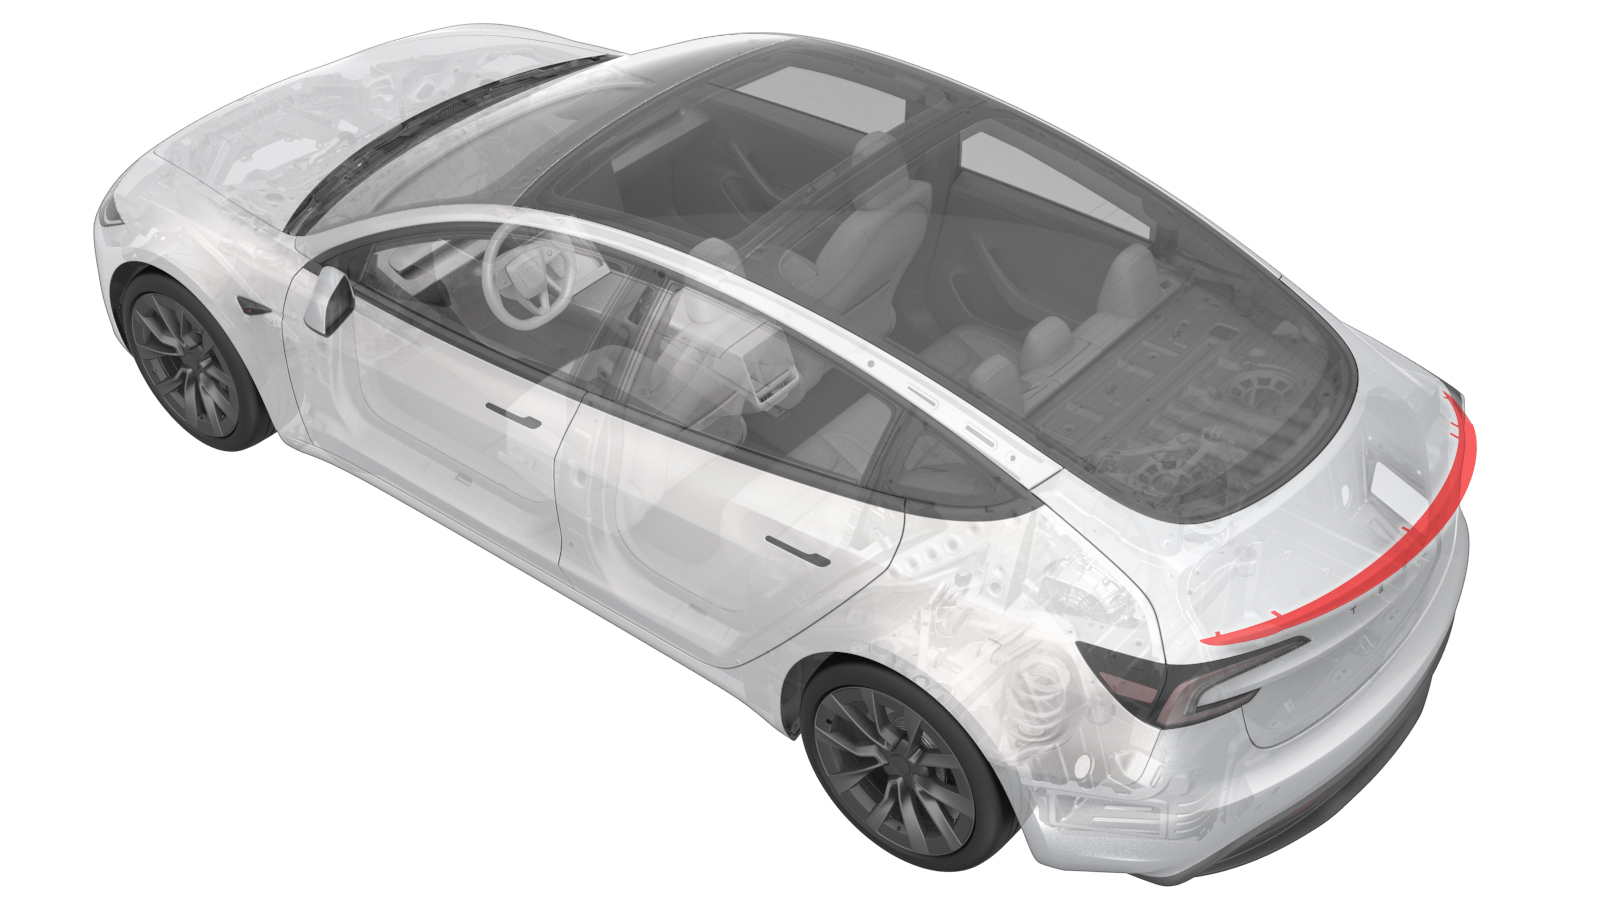
Spoiler - Carbon Fiber (Retrofit using Jig)
 校正代码
S028990008
FRT
0.24
注意:除非本程序中另有明确规定,否则上述校正代码和 FRT 反映的是执行本程序(包括关联程序)所需的所有工作。除非明确要求,否则请勿堆叠校正代码。
注意:请参阅平均维修工时,深入了解 FRT 及其创建方式。要提供有关 FRT 值的反馈,请发送电子邮件至ServiceManualFeedback@tesla.com。
注意:请参阅 人员保护,确保在执行以下程序时穿戴适当的个人防护装备 (PPE)。
注意:请参阅人体工程学注意事项查看安全健康的作业规程。
警告
本程序为“草案”。虽已通过验证,但可能仍有“警告”和“注意”事项缺失。请遵守安全要求,处理或靠近高压系统和部件时,请谨慎操作。
-
Clean the rear carbon fiber spoiler installation surface with Isopropyl Alcohol (IPA) wipes, and allow it to dry before continuing.
注Clean any moisture or contaminates that might be present from rain or vehicle washing, otherwise this might result in poor adhesion of the rear spoiler.注If the trunk surface requires any paint correction, request assistance from the body shop or shop detailer before the installation of the rear spoiler.注It is recommended to perform this procedure indoors. Acceptable ambient and part temperature for installation is 15-43 degrees Celsius (60-110 degrees Fahrenheit) for proper adhesion.
-
Position the rear carbon fiber spoiler jigs (x2) on the LH and RH edges of the trunk lid.
注The spoiler jigs are secured on the trunk lid with magnets located on the jig and trunk lid mating surface.TIp推荐使用以下工具
- Spoiler Jig, M3 - 1921904-00-B
-
Dry fit the rear carbon fiber spoiler between the spoiler jigs (x2).
-
Apply painter's tape to the center of the rear carbon fiber spoiler and the trunk lid, and then mark approximately 25 mm spacing between the centering lines on the tape using a marker.
TIp推荐使用以下工具
- Marker
- Painter's Tape - 1042541-00-A
-
Cut the painter's tape to allow removal of the rear carbon fiber spoiler.
警告Do not damage the surfaces of the trunk lid or rear spoiler while using a plastic trim tool.TIp推荐使用以下工具
- Plastic Trim Tool - 1115421-00-B
-
Remove the rear carbon fiber spoiler jigs (x2) from the trunk lid.
- Remove the rear carbon fiber spoiler from the trunk lid.
-
Remove the adhesive backing from the rear carbon fiber spoiler.
TIp推荐使用以下工具
- Pick Miniature Soft Grip 90 degree Tip 6 in - 1115191-00-A
-
Align the two marks on the painter's tape on the rear carbon fiber spoiler with the two marks on the tape on the trunk lid. Hold the corners of the rear spoiler away from the trunk lid to install the center section of the spoiler first.
-
Secure each end of the rear carbon fiber spoiler to the trunk lid.
-
Perform the wet out of the adhesive: Starting at the center, firmly push downward and in towards the front of the vehicle, and then continue outwards towards both ends of the spoiler.
-
Apply painter's tape as required to secure the rear carbon fiber spoiler to the trunk lid.
-
Remove the painter's tape from the vehicle, and then clean the work area.
注Make sure that the rear carbon fiber spoiler corners are laid flat to the trunk lid and symmetrical.
-
Connect a laptop with Toolbox to the vehicle. See Toolbox(连接和断开).
注For Tesla employees attempting to access the internal Toolbox application, please visit https://toolbox.tesla.com while connected to Tesla's network as required.注For independent repairers and Tesla approved body shops, please visit https://toolbox.tesla.com to submit external Toolbox application access requests as required.
-
Upon successful connection to Toolbox, Service Mode Plus will be enabled and the "Service Mode Plus" watermark will appear on the touchscreen.
-
Click the Dashboards tab, search for “infotainment”, click Infotainment Dashboard > Vehicle Configuration, and then click Read Config.
-
Click Run and allow the routine to complete. Click X at the top right of the window to exit once the routine is complete.
-
Scroll down to “spoilerType” and confirm the configuration is “Not Installed”.
-
Select "Passive" from the drop down menu.
-
Click Apply Changes and Run to save the updated spoiler configuration. Click X at the top right of the window to exit once the routine is complete.
-
Verify the spoiler configuration change by checking that the vehicle avatar displays the rear carbon fiber spoiler on the trunk lid.
- Disconnect the laptop from the vehicle. See Toolbox(连接和断开).