2025-09-11
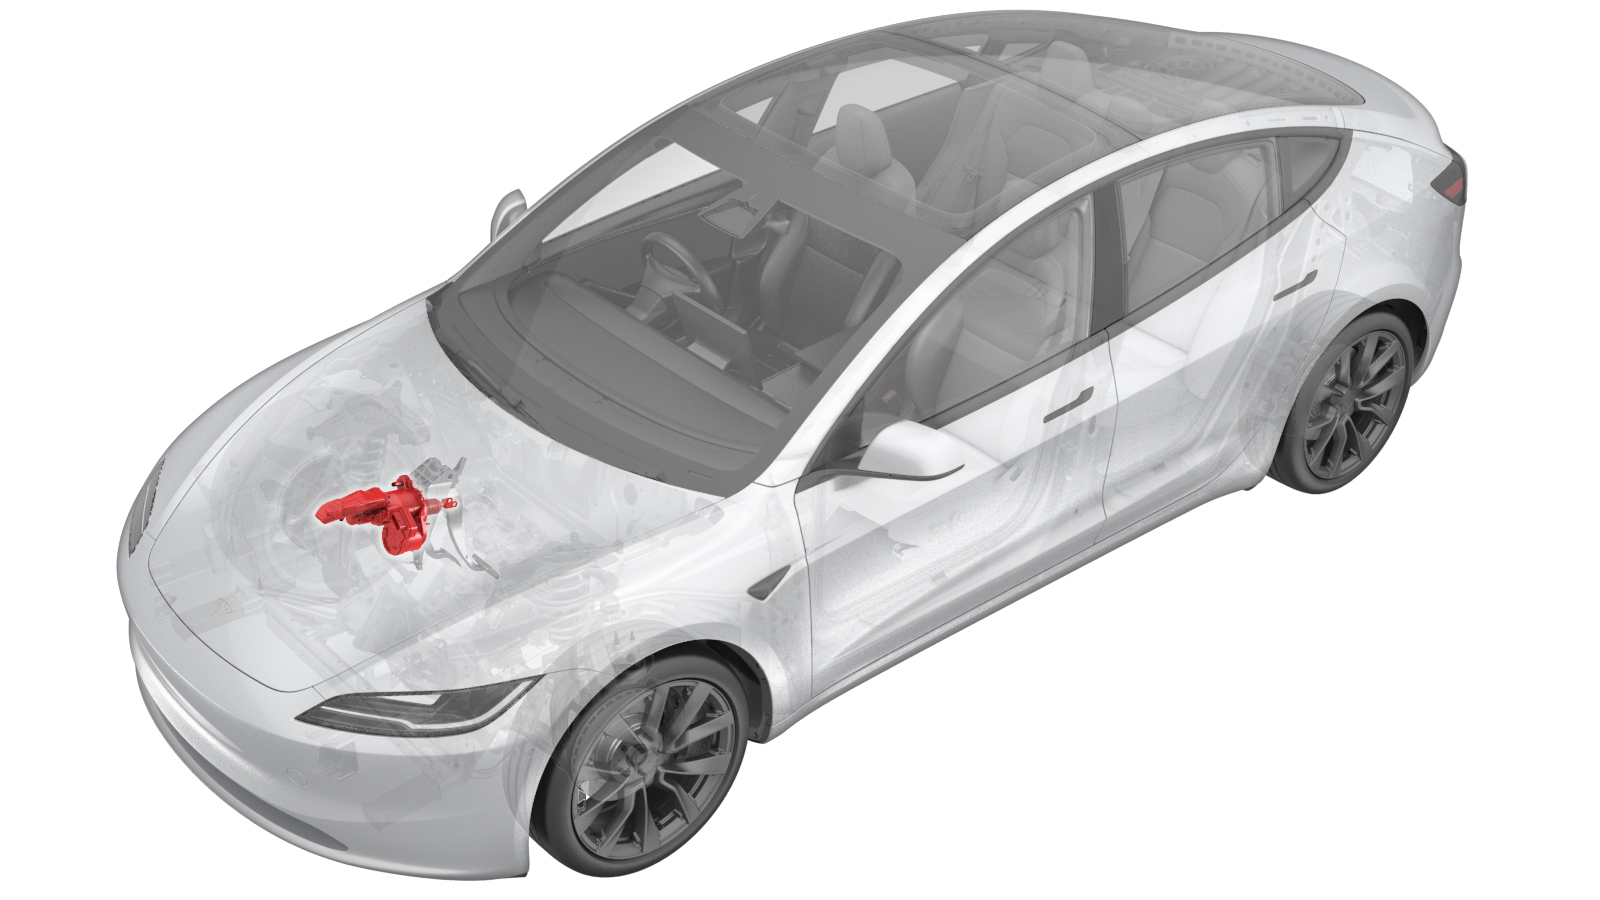
Assembly - Brake Booster and Master Cylinder (RHD) ((拆卸和更换))
 校正代码
3320010032
FRT
1.86
注意:除非本程序中另有明确规定,否则上述校正代码和 FRT 反映的是执行本程序(包括关联程序)所需的所有工作。除非明确要求,否则请勿堆叠校正代码。
注意:请参阅平均维修工时,深入了解 FRT 及其创建方式。要提供有关 FRT 值的反馈,请发送电子邮件至ServiceManualFeedback@tesla.com。
注意:请参阅 人员保护,确保在执行以下程序时穿戴适当的个人防护装备 (PPE)。
注意:请参阅人体工程学注意事项查看安全健康的作业规程。
- 2025-06-26: Modified brake bleeding method to bleed through inner valves only.
- 2024-06-17: Added step to perform test drive and add correction code 00040100 as a separate activity to the Service Visit.
| 描述 | 扭矩值 | 推荐工具 | 重复使用/更换 | 备注 |
|---|---|---|---|---|
| 将前后制动管路固定到制动助力器的螺母(2 个) |
 16 Nm (11.8 lbs-ft) |
|
重复使用 | |
| 将助力器固定到隔板的螺母(4 个) |
 16.5 Nm (12.2 lbs-ft) |
|
更换 | 1111541-00-A |
拆卸
- Open the RH front door and lower the RH front window.
- Move the RH front seat backward.
- Disconnect the LV battery power. See 低压电池 - 锂离子(断开和连接).
- Remove the wiper module. See Wiper Module (RHD) ((拆卸和更换)).
-
Disconnect the connector under the brake fluid reservoir.
-
Disconnect the connectors (x2) from the brake booster assembly.
注Pull the red tabs to disengage the locks, then press and hold the black tabs to release the connectors.
-
Disconnect the harness connectors (x2) from the brake booster assembly.
- Place absorbent material underneath the brake booster and the reservoir area, clean the area around the brake fluid reservoir, and then remove the brake reservoir cap.
- Remove the fluid from the brake fluid reservoir by using a brake fluid syringe.
-
Remove the nuts (x2) that attach the forward and rear brake lines to the brake booster.
TIp推荐使用以下工具
- 12 毫米 12 角组合扳手
- 1/4 英寸至 3/8 英寸适配器
- 12 毫米 3/8 英寸钻头扩口螺母爪形套筒
- 棘轮/扭矩扳手
-
Remove the clevis pin. See 制动踏板导销 ((拆卸和更换)).
注It is not necessary for RHD vehicles to remove the footwell duct when removing the clevis clip.
-
Remove and discard the nuts (x4) that attach the booster to the bulkhead.
TIp推荐使用以下工具
- 棘轮/扭矩扳手
- 13 毫米 12 角深套筒
- 6 英寸加长件
-
Remove the brake booster assembly from the vehicle.
安装
-
Position the brake booster assembly into the vehicle for installation.
-
Install the new nuts (x4) (1111541-00-A) that attach the booster to the bulkhead.
 16.5 Nm (12.2 lbs-ft)TIp推荐使用以下工具
- 棘轮/扭矩扳手
- 13 毫米 12 角深套筒
- 6 英寸加长件
- Install the clevis pin. See 制动踏板导销 ((拆卸和更换)).
-
Install the nuts (x2) that attach the forward and rear brake lines to the brake booster.
 16 Nm (11.8 lbs-ft)TIp推荐使用以下工具
- 12 毫米 12 角组合扳手
- 1/4 英寸至 3/8 英寸适配器
- 12 毫米 3/8 英寸钻头扩口螺母爪形套筒
- 棘轮/扭矩扳手
- Remove absorbent material from underneath the brake booster and reservoir area.
-
Connect the harness connectors (x2) to the brake booster assembly.
-
Connect the connectors (x2) to the brake booster assembly, and engage the locking tabs.
-
Connect the connector under the brake fluid reservoir.
- Install the wiper module. See Wiper Module (RHD) ((拆卸和更换)).
- Connect the LV battery power. See 低压电池 - 锂离子(断开和连接).
- Reinstall the vehicle firmware. See 软件重新安装 - 触摸屏.
- Remove all the four wheels. See 轮毂总成(拆卸和安装).
-
通过制动钳内侧排放阀排放左前和右前制动钳,直至制动钳内流出的液体清澈无气泡。
注无需通过外侧排放阀排放制动钳。
- 通过内侧排放阀冲洗左前制动钳,直至气泡明显减少。
- 通过内侧排放阀冲洗右前制动钳,直至气泡明显减少。
- 通过内侧排放阀排放左前制动钳。相关详情请参阅制动液排气/冲洗 (Maintenance)。
- 通过内侧排放阀排放右前制动钳。相关详情请参阅制动液排气/冲洗 (Maintenance)。
- 确保执行制动器刚度测试。相关详情请参阅制动液排气/冲洗 (Maintenance)。
- Exit Service Mode. See 维护模式.
- Move the RH front seat to its original position.
-
进行道路测试,期间进行多次急刹,确保制动踏板触感及制动性能正常。
注将试驾校正代码 00040100 作为一项单独的工项添加至“服务工单”中。