2025-12-03
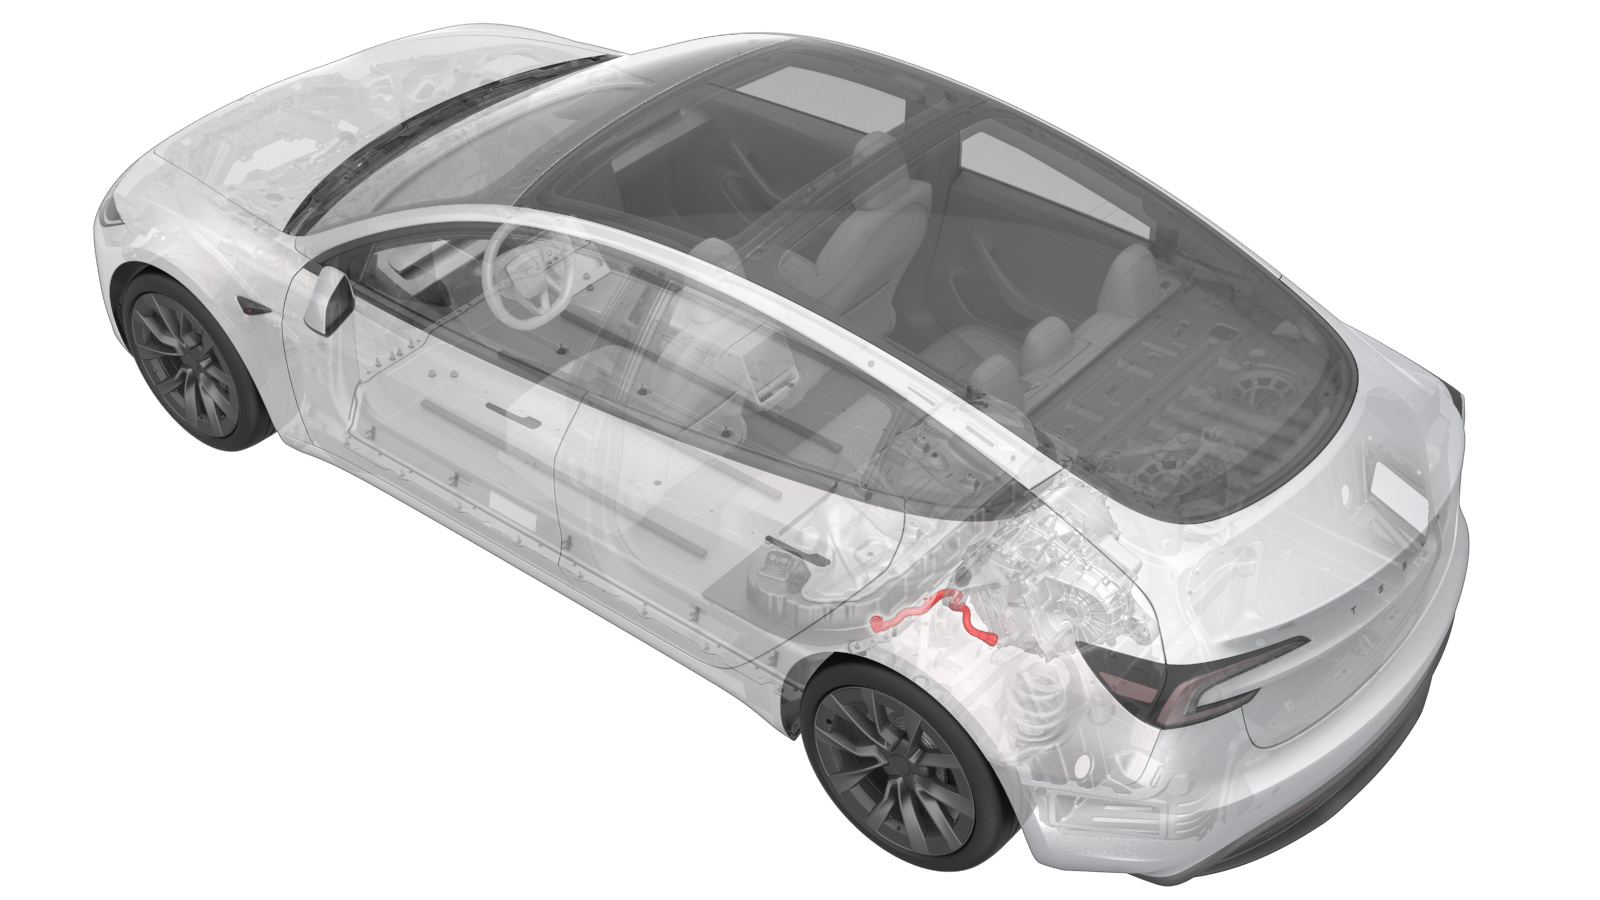
管道(动力总成),后驱动单元逆变器入口 ((拆卸和更换))
 校正代码
1830020032
FRT
0.42
注意:除非本程序中另有明确规定,否则上述校正代码和 FRT 反映的是执行本程序(包括关联程序)所需的所有工作。除非明确要求,否则请勿堆叠校正代码。
注意:请参阅平均维修工时,深入了解 FRT 及其创建方式。要提供有关 FRT 值的反馈,请发送电子邮件至ServiceManualFeedback@tesla.com。
注意:请参阅 人员保护,确保在执行以下程序时穿戴适当的个人防护装备 (PPE)。
注意:请参阅人体工程学注意事项查看安全健康的作业规程。
拆卸
- Raise and support the vehicle. See 举升车辆 - 双柱举升机.
- Remove the rear underhood apron. See 后裙板总成 ((拆卸和更换)).
- Disconnect the LV power. See 低压电池 - 锂离子(断开和连接).
- Remove the rear aero shield panel. See 后流线型护板 ((拆卸和更换)).
- Remove the rear skid plate. See 高压电池总成后防滑板 ((拆卸和更换)).
- Position a coolant drain container underneath the LH rear of the HV battery.
-
Release the clip, disconnect the rear drive unit inverter inlet hose from the HV battery, and then immediately plug both fittings.
-
Release the clip, disconnect the rear drive unit inverter inlet hose from the rear drive unit inverter, and then immediately plug both fittings.
-
Release the clip that attaches the rear drive unit inverter inlet hose to the rear drive unit HV harness.
-
Remove the rear drive unit inverter inlet hose down and out from between the rear subframe and the HV battery.
安装
-
Install the rear drive unit inverter inlet hose in and up between the rear subframe and the HV battery.
-
Fasten the clip that attaches the rear drive unit inverter inlet hose to rear drive unit HV harness.
-
Remove the plugs from the fittings, immediately connect the rear drive unit inverter inlet hose to the rear drive unit inverter, fasten the clip, and then perform a Push-Pull-Push check of the fitting.
-
Remove the plugs from the fittings, immediately connect the rear drive unit inverter inlet hose to the HV battery, fasten the clip, and then perform a Push-Pull-Push check of the fitting.
- Remove the coolant drain collector from under the vehicle.
- Install the HV battery rear skid plate. See 高压电池总成后防滑板 ((拆卸和更换)).
- Install the rear shield panel. See 后流线型护板 ((拆卸和更换)).
- Connect LV power. See 低压电池 - 锂离子(断开和连接).
-
Remove the coolant bottle cap, and then fill the coolant to the proper level.
注Ensure that the coolant level is at the "Max" line.
- Connect the vehicle to a laptop with Toolbox. See Toolbox(连接和断开).
-
In Toolbox, click Actions/Autodiag, type "Purge" into the search field, click TEST_VCFRONT_X_THERMAL-COOLANT-AIR-PURGE, click Run, and allow the routine to complete.
注Make sure vehicle is not in Drive, shifting the vehicle into Drive will stop this routine. The test will last approximately 10 mins. The test will vary speeds from 3500-6500 RPM (idle speed = ~1500 RPM) and actuate the valve between series and parallel. If speed hovers at 7000 RPM, it indicates the pump is air locked, perform the vacuum fill again. Continue to add coolant and purge until the coolant level reaches between the NOM and MAX Lines on the bottle.
-
Inspect the coolant level and top off as necessary, and then install the coolant bottle cap.
注Ensure that the coolant level is at the "Max" line.
- Install the rear underhood apron. See 后裙板总成 ((拆卸和更换)).
- Remove the vehicle from the 2 post lift. See 举升车辆 - 双柱举升机.