2025-09-11
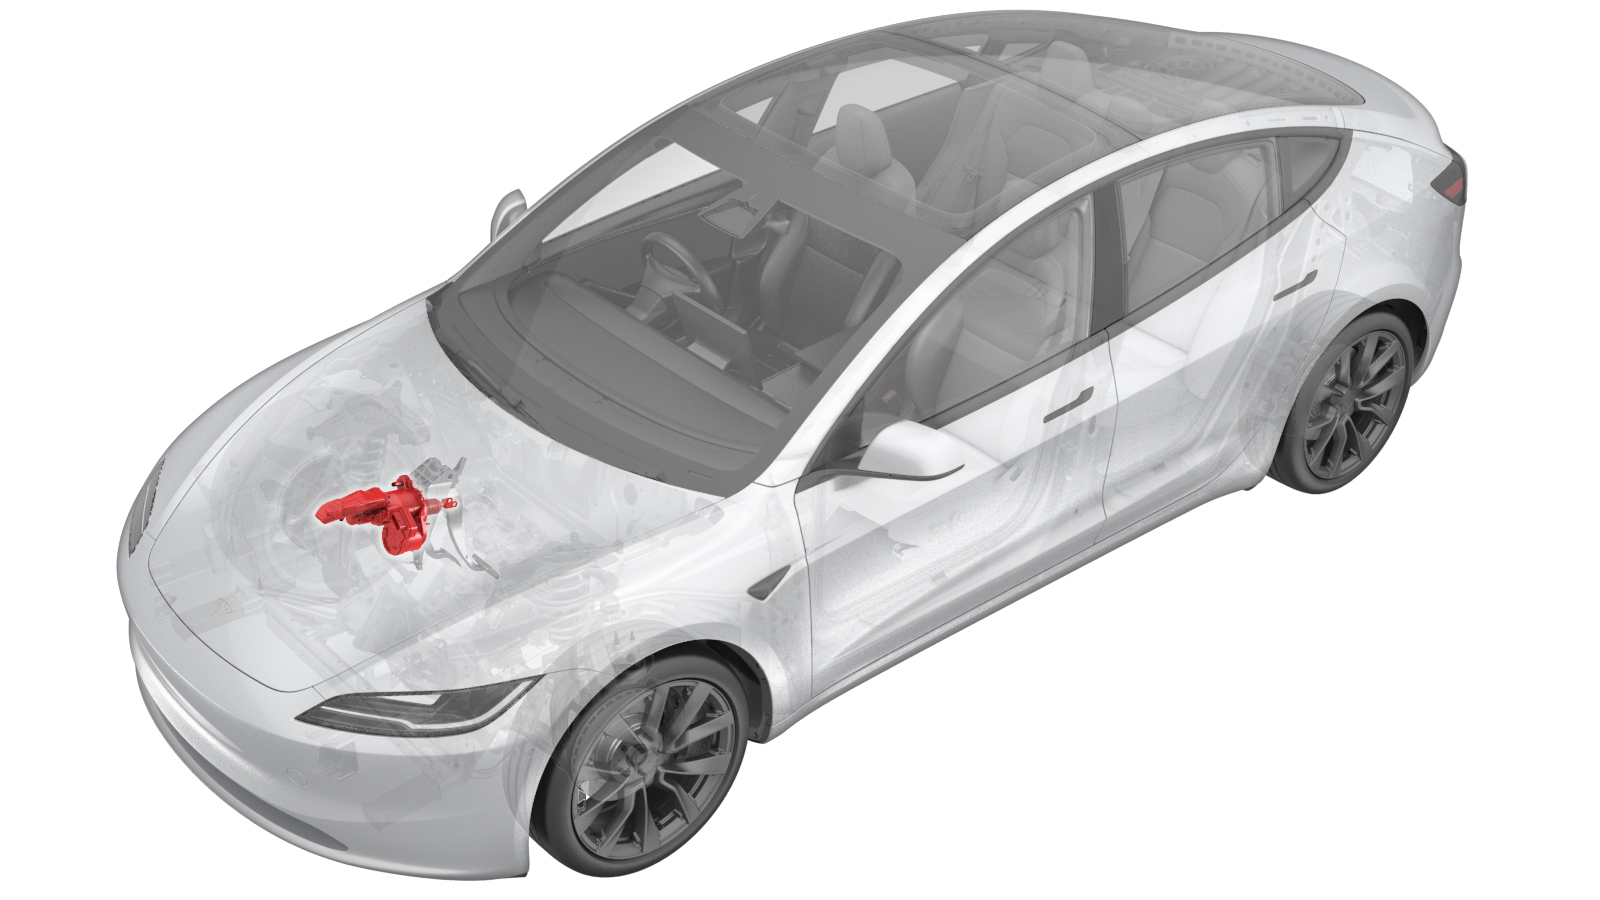
Assembly - Brake Booster and Master Cylinder (RHD) (Remove and Replace)
 교정 코드
3320010032
FRT
1.86
메모: 절차에서 명시적으로 언급하지 않는 한 위 교정 코드 및 FRT는 연결된 절차를 포함하여 이 절차를 수행하는 데 필요한 모든 작업을 반영합니다. 명시적으로 지시하지 않는 한 교정 코드를 누적하지 마십시오.
참고: FRT와 그 생성 방법에 대한 자세한 내용은 표준 정비 작업시간을 참조하십시오. FRT 값에 대한 피드백을 제공하려면 ServiceManualFeedback@tesla.com으로 이메일을 보내십시오.
참고: 아래 절차를 수행할 때 개인 보호의 내용을 참조하여 적절한 PPE를 착용했는지 확인하십시오.
참고: 안전하고 건강한 작업 사례는 인체공학적 주의 사항의 내용을 참조하십시오.
- 2025-06-26: Modified brake bleeding method to bleed through inner valves only.
- 2024-06-17: Added step to perform test drive and add correction code 00040100 as a separate activity to the Service Visit.
| 설명 | 토크 값 | 권장 공구 | 재사용/교체 | 참고 |
|---|---|---|---|---|
| 전면 및 후면 브레이크 라인을 브레이크 부스터에 고정하는 너트(2개) |
 16 Nm (11.8 lbs-ft) |
|
재사용 | |
| 부스터를 벌크헤드에 고정하는 너트(4개) |
 16.5 Nm (12.2 lbs-ft) |
|
교체 | 1111541-00-A |
탈거
- Open the RH front door and lower the RH front window.
- Move the RH front seat backward.
- Disconnect the LV battery power. See LV Power (Disconnect and Connect).
- Remove the wiper module. See Wiper Module (RHD) (Remove and Replace).
-
Disconnect the connector under the brake fluid reservoir.
-
Disconnect the connectors (x2) from the brake booster assembly.
참고Pull the red tabs to disengage the locks, then press and hold the black tabs to release the connectors.
-
Disconnect the harness connectors (x2) from the brake booster assembly.
- Place absorbent material underneath the brake booster and the reservoir area, clean the area around the brake fluid reservoir, and then remove the brake reservoir cap.
- Remove the fluid from the brake fluid reservoir by using a brake fluid syringe.
-
Remove the nuts (x2) that attach the forward and rear brake lines to the brake booster.
TIp다음 공구를 사용하는 것이 좋습니다.
- 12mm 12pt 콤비네이션 렌치
- ¼인치~3/8인치 어댑터
- 12mm 3/8인치 드라이버 플레어 너트 크로우풋 소켓
- 래칫/토크 렌치
-
Remove the clevis pin. See Clevis Pin - Brake Pedal (Remove and Replace).
참고It is not necessary for RHD vehicles to remove the footwell duct when removing the clevis clip.
-
Remove and discard the nuts (x4) that attach the booster to the bulkhead.
TIp다음 공구를 사용하는 것이 좋습니다.
- 래칫/토크 렌치
- 13mm 12 포인트 딥소켓
- 6인치 익스텐션
-
Remove the brake booster assembly from the vehicle.
장착
-
Position the brake booster assembly into the vehicle for installation.
-
Install the new nuts (x4) (1111541-00-A) that attach the booster to the bulkhead.
 16.5 Nm (12.2 lbs-ft)TIp다음 공구를 사용하는 것이 좋습니다.
- 래칫/토크 렌치
- 13mm 12 포인트 딥소켓
- 6인치 익스텐션
- Install the clevis pin. See Clevis Pin - Brake Pedal (Remove and Replace).
-
Install the nuts (x2) that attach the forward and rear brake lines to the brake booster.
 16 Nm (11.8 lbs-ft)TIp다음 공구를 사용하는 것이 좋습니다.
- 12mm 12pt 콤비네이션 렌치
- ¼인치~3/8인치 어댑터
- 12mm 3/8인치 드라이버 플레어 너트 크로우풋 소켓
- 래칫/토크 렌치
- Remove absorbent material from underneath the brake booster and reservoir area.
-
Connect the harness connectors (x2) to the brake booster assembly.
-
Connect the connectors (x2) to the brake booster assembly, and engage the locking tabs.
-
Connect the connector under the brake fluid reservoir.
- Install the wiper module. See Wiper Module (RHD) (Remove and Replace).
- Connect the LV battery power. See LV Power (Disconnect and Connect).
- Reinstall the vehicle firmware. See 소프트웨어 재설치 - 터치스크린.
- Remove all the four wheels. See 휠 어셈블리(탈거 및 장착).
-
기포가 없는 깨끗한 오일이 캘리퍼에서 나올 때까지 브레이크 캘리퍼 내측 블리딩 밸브를 통해 LH 및 RH 전면 브레이크 캘리퍼를 블리딩합니다.
참고외측 블리딩 밸브를 통해 브레이크 캘리퍼를 블리딩할 필요는 없습니다.
- 기포가 현저히 줄어들 때까지 내측 블리딩 밸브를 사용하여 LH 전면 캘리퍼를 블리딩합니다.
- 기포가 현저히 줄어들 때까지 내측 블리딩 밸브를 사용하여 RH 전면 캘리퍼를 블리딩합니다.
- 내측 블리딩 밸브를 사용하여 LH 전면 캘리퍼를 블리딩합니다. 자세한 사항은 Brake Fluid Bleed/Flush (Maintenance)의 내용을 참조하십시오.
- 내측 블리딩 밸브를 사용하여 RH 전면 캘리퍼를 블리딩합니다. 자세한 사항은 Brake Fluid Bleed/Flush (Maintenance)의 내용을 참조하십시오.
- 브레이크 강성 테스트를 수행해야 합니다. 자세한 사항은 Brake Fluid Bleed/Flush (Maintenance)의 내용을 참조하십시오.
- Exit Service Mode. See 정비 모드.
- Move the RH front seat to its original position.
-
도로 테스트 중 여러 번 급정지해 보면서 페달의 느낌과 브레이크 성능이 적합한지 확인하십시오.
참고서비스 방문에 시험 주행 교정 코드 00040100을 별도 활동으로 추가합니다.