2025-06-27
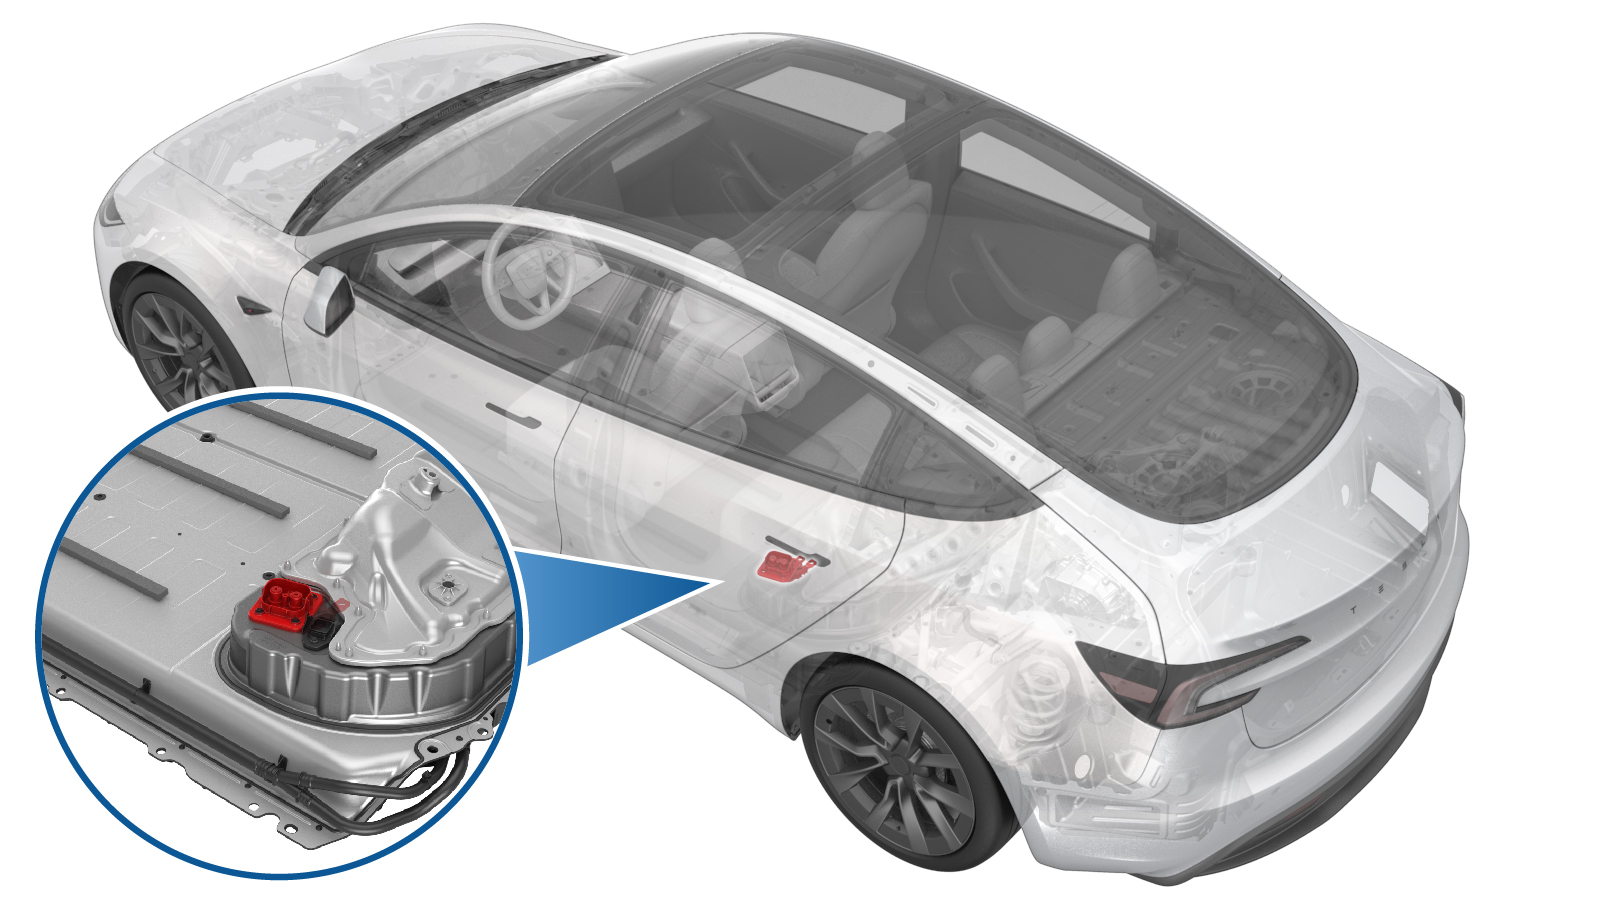
Header - Busbar DC Input (Remove and Replace)
 교정 코드
1630010292
FRT
1.26
메모: 절차에서 명시적으로 언급하지 않는 한 위 교정 코드 및 FRT는 연결된 절차를 포함하여 이 절차를 수행하는 데 필요한 모든 작업을 반영합니다. 명시적으로 지시하지 않는 한 교정 코드를 누적하지 마십시오.
참고: FRT와 그 생성 방법에 대한 자세한 내용은 표준 정비 작업시간을 참조하십시오. FRT 값에 대한 피드백을 제공하려면 ServiceManualFeedback@tesla.com으로 이메일을 보내십시오.
참고: 아래 절차를 수행할 때 개인 보호의 내용을 참조하여 적절한 PPE를 착용했는지 확인하십시오.
참고: 안전하고 건강한 작업 사례는 인체공학적 주의 사항의 내용을 참조하십시오.
- 2025-06-04: Added instruction to zero adjust the Hioki resistance meter prior to measurement, added max. resistance value and updated torque values.
탈거
- Remove the ancillary bay cover. See Ancillary Bay Cover (Remove and Replace).
- Inspect ancillary bay for any missing insulators and install the new insulators if necessary.
-
Remove bolt (X1) securing pyro disconnect to ancillary bay, and the remove the pyro from ancillary bay.
TIp다음 공구를 사용하는 것이 좋습니다.
- 4인치 익스텐션
- 13mm 소켓
-
Install pyro disconnect dummy.
-
Disconnect megaharness connector from DC input assembly
-
Remove insulator for DC input assembly to both fastcharge busbar inlet side
-
Remove bolt (X1) securing negative fastcharge busbar inlet side and negative DC input assembly busbar.
TIp다음 공구를 사용하는 것이 좋습니다.
- 4인치 익스텐션
- 13mm 소켓
-
Remove bolt securing positive fastcharge busbar inlet side and positive DC input assembly busbar.
TIp다음 공구를 사용하는 것이 좋습니다.
- 4인치 익스텐션
- 13mm 소켓
-
Remove bolts securing busbar DC input assembly to ancillary bay.
TIp다음 공구를 사용하는 것이 좋습니다.
- 4인치 익스텐션
- 13mm 소켓
-
Remove Busbar DC input assembly from ancillary bay.
장착
-
Install Busbar DC input assembly to ancillary bay.
경고이 절차에 포함되어 있는 비디오는 보충 목적의 개요로만 제공됩니다. 구성품의 손상 및/또는 신체 상해를 방지하려면 절차에 나열된 모든 단계를 따르십시오.
-
Install the bolts (x4) securing busbar DC input assembly to ancillary bay.
 10 Nm (7.4 lbs-ft)TIp다음 공구를 사용하는 것이 좋습니다.
- 4인치 익스텐션
-
Install and torque bolt securing negative fastcharge busbar inlet and negative DC input link to 15 Nm, loosen 180 degrees, and then torque to 5 Nm + 60 degrees.
TIp다음 공구를 사용하는 것이 좋습니다.
- 4인치 익스텐션
- 13mm 소켓
-
Install and torque bolt securing positive fastcharge busbar inlet and positive DC input link to 15 Nm, loosen 180 degrees, and then torque to 5 Nm + 60 degrees.
TIp다음 공구를 사용하는 것이 좋습니다.
- 4인치 익스텐션
- 13mm 소켓
- Perform zero adjust to Hioki meter. See 저항계(영점 조정).
-
Perform Hioki resistance test at both HV joints of DC input assembly busbar.
참고Resistance must be 60 𝜇Ω or less. Test from negative fastcharge busbar to negative DC input busbar and positive fastcharge busbar to positive DC input busbar.
-
Install insulator for DC input assembly to both fast charge busbars inlet side.
-
Connect megaharness connector to DC input assembly.
-
Remove pyro disconnect dummy.
- Install the ancillary bay cover. See Ancillary Bay Cover (Remove and Replace).