2023-12-05
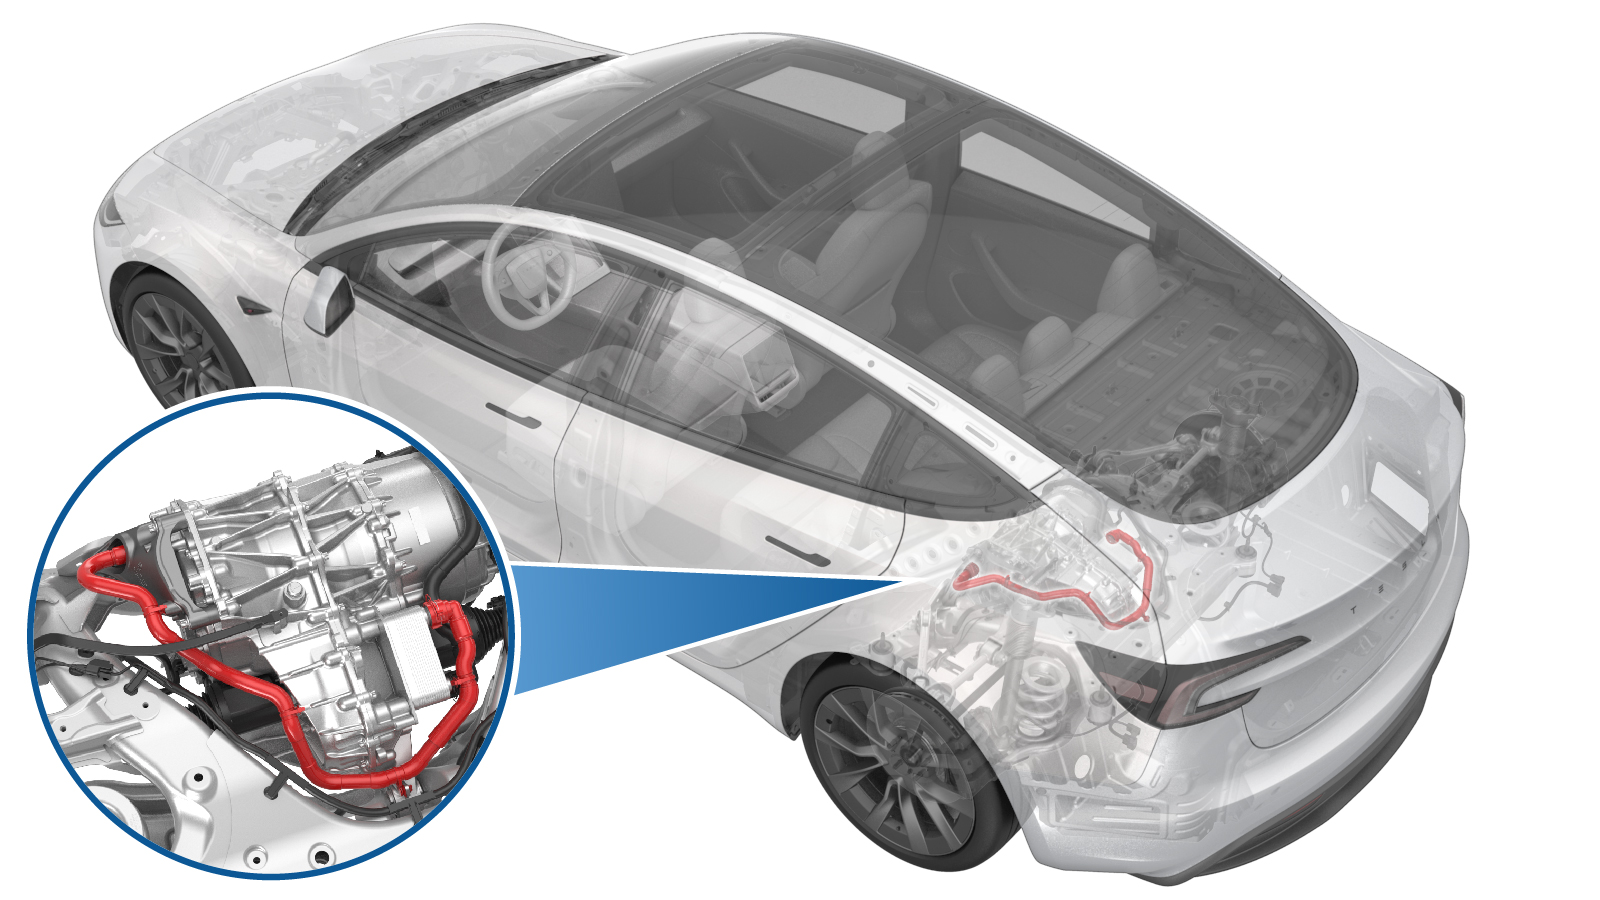
Hose - Rear Drive Unit to Oil Coller (Remove and Replace)
 교정 코드
1830020022
FRT
1.98
바고: 절차에서 명시적으로 언급하지 않는 한 위 교정 코드 및 FRT는 연결된 절차를 포함하여 이 절차를 수행하는 데 필요한 모든 작업을 반영합니다. 명시적으로 지시하지 않는 한 교정 코드를 누적하지 마십시오.
참고: FRT와 그 생성 방법에 대한 자세한 내용은 표준 정비 작업시간을 참조하십시오. FRT 값에 대한 피드백을 제공하려면 ServiceManualFeedback@tesla.com으로 이메일을 보내십시오.
참고: 아래 절차를 수행할 때 개인 보호의 내용을 참조하여 적절한 PPE를 착용했는지 확인하십시오.
참고: 안전하고 건강한 작업 사례는 인체공학적 주의 사항의 내용을 참조하십시오.
탈거
- Remove the rear subframe assembly. See Subframe Assembly - Rear (Remove and Replace).
-
Partially lower the rear subframe and drive unit assembly.
-
Tilt the subframe fixture
forward.
참고Adjust the powertrain lift and tilt it forward in order to access motor mount fasteners.
-
Release the rear drive unit inverter
to oil cooler hose.
참고1x hose clip, Image zoomed in for clarity.
-
Release the rear drive unit inverter
coolant hose from heat exchanger.
참고Use a foldable funnel as required.
-
Release clips (x4) that attach the
rear drive unit inverter to oil cooler hose and remove the hose.
장착
-
Position and secure the clips (x4)
that secure the rear drive unit inverter to coolant hose.
-
Secure the rear drive unit inverter to
oil cooler hose onto the heat exchanger.
참고Clean excess coolant from the area. Perform a push-pull-push test to make sure the hose is fully engaged.
-
Secure the inverter to cooler hose to
inverter.
참고Perform a push-pull-push test to make sure the hose is fully engaged.
-
Tilt the subframe fixture backwards to
original position.
-
Raise the partially lowered
subframe.
경고Use caution to not damage components while raising the subframe.
- Install the rear subframe assembly. See Subframe Assembly - Rear (Remove and Replace).