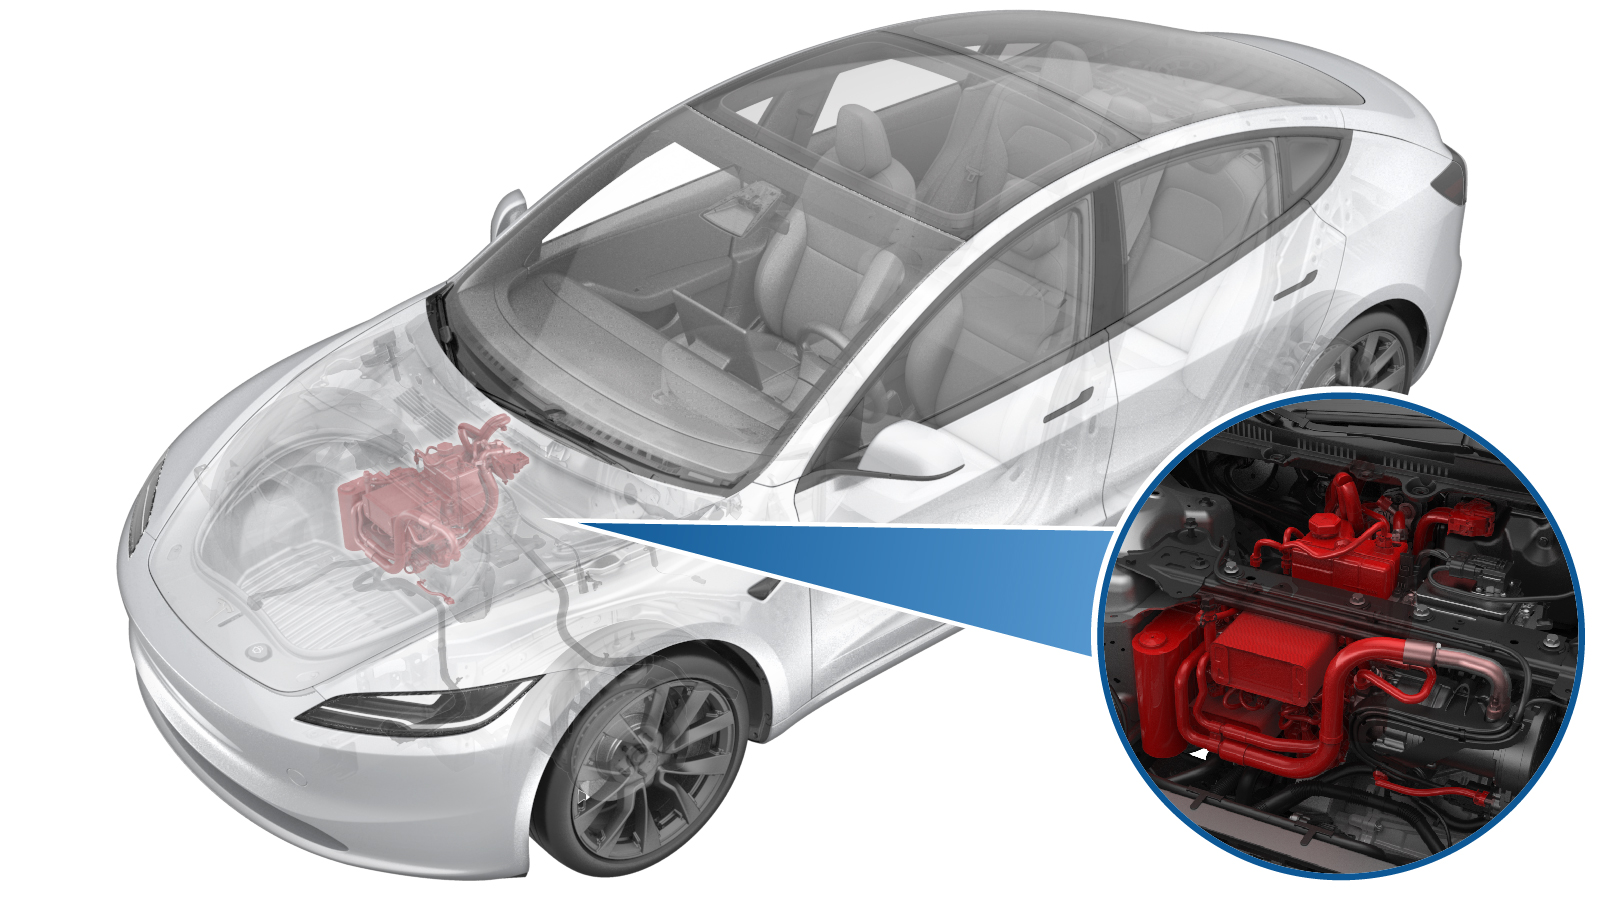
2024-11-18
Diagnosis: Detecting Refrigerant Leaks (Add Refrigerant Part if Needed) (Test/Adjust)
 교정 코드
18200200
FRT
0.60
메모: 절차에서 명시적으로 언급하지 않는 한 위 교정 코드 및 FRT는 연결된 절차를 포함하여 이 절차를 수행하는 데 필요한 모든 작업을 반영합니다. 명시적으로 지시하지 않는 한 교정 코드를 누적하지 마십시오.
참고: FRT와 그 생성 방법에 대한 자세한 내용은 표준 정비 작업시간을 참조하십시오. FRT 값에 대한 피드백을 제공하려면 ServiceManualFeedback@tesla.com으로 이메일을 보내십시오.
참고: 아래 절차를 수행할 때 개인 보호의 내용을 참조하여 적절한 PPE를 착용했는지 확인하십시오.
참고: 안전하고 건강한 작업 사례는 인체공학적 주의 사항의 내용을 참조하십시오.
필요 장비:
- 1711245-00-A Snap On Ecotechnics Dual Gas AC Machine
- 1501412-00-A Mastercool R1234YF Oil Injector
- 1076971-02-A Torque Wrench ¼ in Dr. +Angle
- 1060071-00-A Torque Wrench ¼ in Dr Hexagon
참고
이 절차에서는 A/C 냉매(회수 및 재충전) 절차가 수행되어야 합니다. 서비스 방문에 자동으로 추가되지 않은 경우 서비스 방문에 교정 코드 18200102를 별도 활동으로 추가합니다.
절차
- Set up the A/C machine.
- Remove the underhood storage unit. See Underhood Storage Unit (Remove and Replace).
- Unlock the vehicle gateway. See 게이트웨이 잠금 해제.
- On the touchscreen, touch and select Run to start the "Start Thermal Fill Drain (Refrigerant Only)" routine.
- Recover the A/C refrigerant. See A/C Refrigerant (Recovery and Recharge) (Restore).
- Perform the vacuum leak test and refill A/C refrigerant. See A/C Refrigerant (Recovery and Recharge) (Restore).
-
Add 5 ml UV dye.
참고Add the dye with the refrigerant and oil.
-
Remove the A/C hoses from the
vehicle.
- On the touchscreen, touch and select Run to start the routine.
-
Touch and select Run to start the routine.
참고Make sure the routine is passed, then touch Close to close it.
-
Touch and select Run to start the routine.
참고Make sure the routine is passed, then touch Close to close it.
- Exit Service Mode through UI. See 정비 모드.
-
Set the temperature to LO on both
driver and passenger HVAC controls and set the A/C system to AUTO.
- Run the A/C system for 10 minutes to allow the dye to circulate.
-
Use UV light and the UV inspection kit
to check for A/C refrigerant leaks near the HVAC end of the Supermanifold to HVAC A/C
line.
참고If an A/C refrigerant leak is found, replace the A/C line from supermanifold to HVAC. See Assembly - A/C Line - Supermanifold to HVAC (Remove and Replace).
-
Use UV light and the UV inspection kit
to check for A/C refrigerant leaks at the A/C low and high pressure port.
참고If an A/C refrigerant leak is found, replace the A/C line from supermanifold to HVAC. See Assembly - A/C Line - Supermanifold to HVAC (Remove and Replace).
-
Use UV light and the UV inspection kit
to check for A/C refrigerant leaks at the supermanifold area.
참고If an A/C refrigerant leak is found, replace the defective component.
-
Use UV light and the UV inspection kit
to check for A/C refrigerant leaks on the A/C compressor discharge and suction lines
area.
참고If an A/C refrigerant leak is found, replace the supermanifold to compressor A.C line. See Assembly - A/C Line - Supermanifold to Compressor (Remove and Replace).
-
Use UV light and the UV inspection kit to check for A/C refrigerant leaks on the
supermanifold.
참고If an A/C refrigerant leak is found, replace the defective component.
- Remove the front aero shield. See Panel - Aero Shield - Front (Remove and Replace)
-
Use UV light and the UV inspection kit to check for A/C refrigerant leaks near the
Supermanifold end of the Supermanifold to HVAC A/C line.
참고If an A/C refrigerant leak is found, replace the A/C line from supermanifold to HVAC. See Assembly - A/C Line - Supermanifold to HVAC (Remove and Replace).
- Install the front aero shield. See Panel - Aero Shield - Front (Remove and Replace)
-
Install the caps (x2) back onto the
A/C ports.
- Install the underhood storage unit. See Underhood Storage Unit (Remove and Replace).