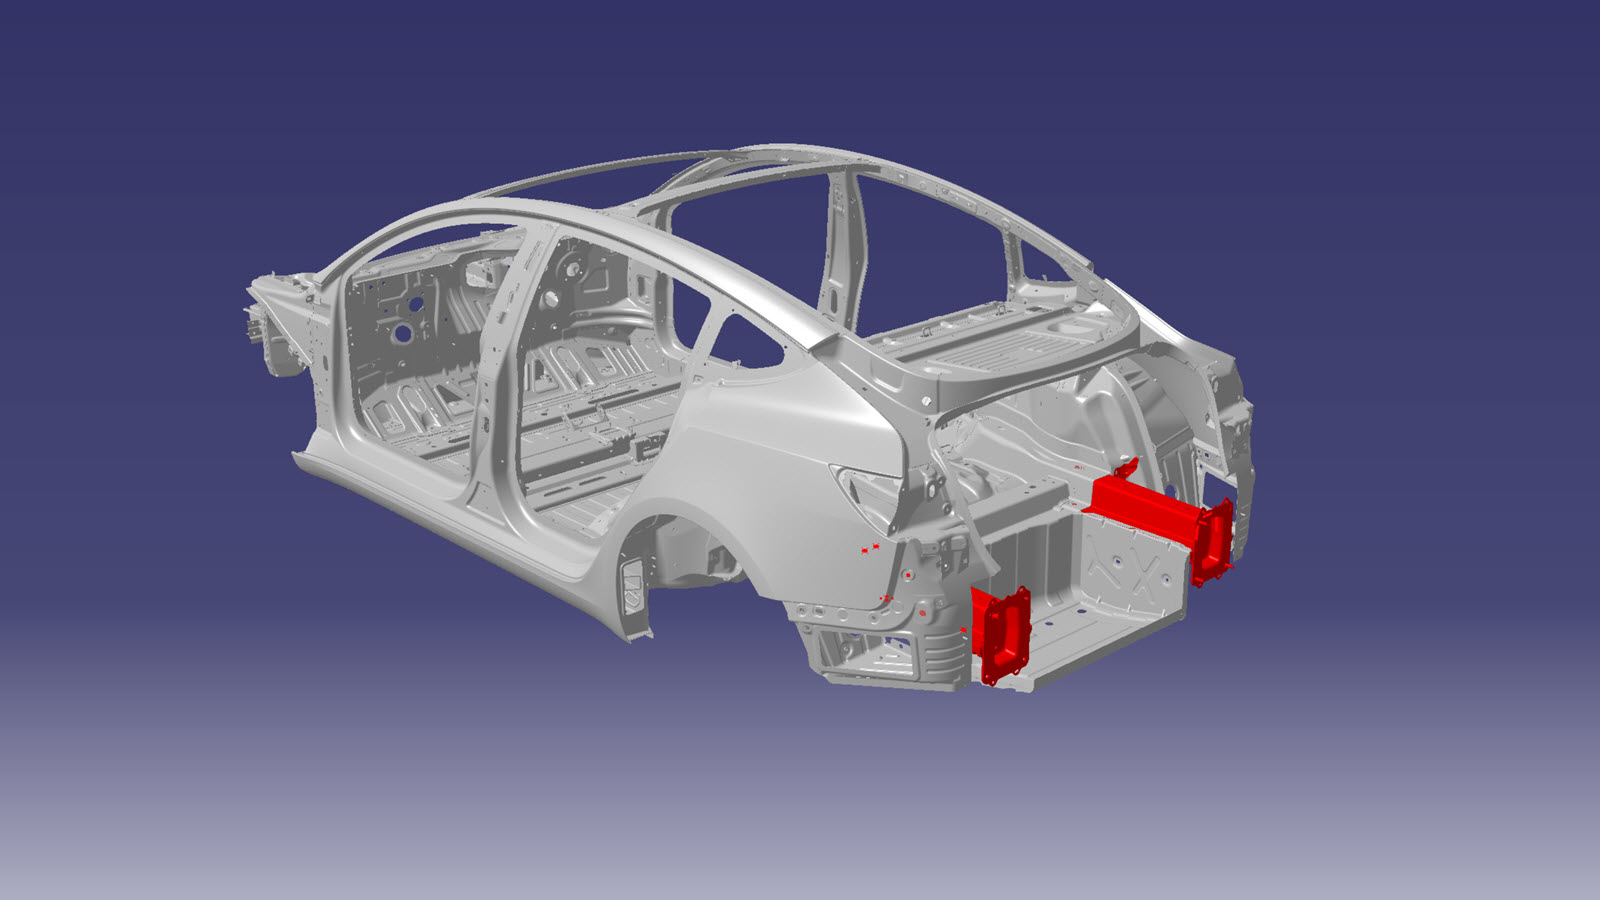
Rear Frame Rail Assembly
 Correction code:
10101812602
10100140102
NOTE:
Unless explicitly stated in the procedure, the above
correction code includes all Collision Repair work required
to perform this procedure, including the linked Collision
Repair procedures. Do not stack Collision Repair
correction codes unless explicitly told to do
so. Add any associated mechanical procedures
needed to perform this procedure.
Repair Information
- The Rear Rail Upper Assembly and Rear Rail Lower Assembly might come with studs installed. If these components come with studs installed, remove the studs at the appropriate step in this procedure.
- Review all collision repair general practices and safety documentation and wear the appropriate PPE (Personal Protective Equipment) before beginning this procedure.
- Properly mount the vehicle on a frame bench when performing this procedure.
Parts List
| Quantity | Description | Image / Notes |
|---|---|---|
| 1 | ASSEMBLY - REAR RAIL UPPER (Rear Rail Upper Assembly) | |
| 1 | PANEL - REAR RAIL LOWER REINFORCEMENT (Rear Rail Lower Reinforcement) | |
| 1 | RAIL-REAR LOWER (Rear Rail Lower) | |
| 1 | ASSEMBLY - REAR RAIL GLOVE - LOWER (Rear Rail Glove - Lower) |
This component fits both left-hand and right-hand rails. |
| 1 | BRACKET - REAR RAIL TO BUMPER PLATE (Rear Frame Rail End Plate) | |
| 42 | High Strength Structural Rivet, 6.5 mm | |
| LH: 1 RH: 2 |
Structural Bulb Rivet, 6.5 mm | |
| 12 | Structural Rivet, 6.5 mm Medium | |
| 8 | Bolt , M6 1.0x12 | Tesla part number 1008770-00-A. |
| 8 | Nut , M6 1.0x14 | Tesla part number 1016227-00-A. |
| 2 | Bolt, hex-head, M8 1.25x23.5 | Tesla part number 1063260-00-C. |
When ordering parts, refer to the Parts Catalog and enter the VIN of the vehicle being repaired to find the correct parts (and the part numbers) for the vehicle. Alternatively, use the search function in the Parts Catalog to find a specific part for the vehicle.
Repair Procedure
-
Remove the Rear Body Panel.
-
Remove the Rear Rail to Lower Quarter Extension.
-
Remove the Trunk Floor Assembly (Complete).
-
Cut the original component at the indicated locations.
Cut Line
-
Remove the original component.
or BoltsNoteRemove and discard the bolts.or Factory SPRsNoteThe Frame Rail Inner Reinforcement (highlighted in red) must be removed to allow access to other factory SPRs.NoteThe factory SPRs circled in red are hidden behind the crossmember and must be ground down from inside the Frame Rail using a belt sander. When grinding the SPRs, do not knock out the SPRs entirely from the joint in order to keep some mechanical connection to the inboard bulkhead. These rivets are not replaced when installing the new Rear Rail Upper.
or Factory Spot Welds
-
Remove the remaining section
of the Rear Rail Lower Assembly that protrudes from the Rear Node.
NoteKeep the remaining piece of the Rear Rail Lower Assembly to use as a template in a later step.
-
Prepare for installation.
NoteUse the remaining portion of the original Rear Rail Lower Reinforcement (removed in an earlier step) as a template to mark holes for bolts in the new component.NoteA red X indicates a location where a factory-installed fastener is not being replaced.or High Strength Structural Rivets, 6.5 mm
- A = 40 mm
- B = 26 mm
- C = 64 mm
- D = 147 mm
- E = 46 mm
- H = 38 mm
- I = 10 mm
- J = 36 mm
- K = 31 mm
or Structural Bulb Rivets, 6.5 mmNoteIn all cases, these structural bulb rivets are installed to secure the Rear Rail Upper Bracket to the RH Rear Frame Rail Assembly. For the LH Rear Frame Rail Assembly, these structural bulb rivets are installed only on vehicles that also have a Rear Rail Upper bracket.- F = 12 mm
- G = 10 mm
or Structural Rivets, 6.5 mm Medium
or Bolts
- Apply structural adhesive to the mating surfaces on the vehicle and the new component or components.
-
Install the new component or components.
NotePut the new Rear Rail Lower Reinforcement into position and install the new bolts (Tesla part number 1008770-00-A) and nuts (Tesla part number 1016227-00-A), and torque them to 13 Nm.NoteWhen installing the Rear Rail Upper Assembly and the Rear Rail Lower Assembly, structural bulb rivets are installed in the flanges of both assemblies to secure them together. Install the structural bulb rivets in an alternating pattern: 1 from the Rear Rail Upper Assembly downward and then 1 from the Rear Rail Lower Assembly upward.NoteTemporarily install the new bolts and nuts in the holes not being used for frame bench fixture bolts, but do not torque them fully at this time.
Torque the hex-head bolts, Tesla part number 1063260-00-C, to 24 Nm.
-
Install the Trunk Floor Assembly (Complete).
-
Install the new Rear Rail to Lower Quarter Extension.
-
Install the new Rear Body Panel.
- Perform any necessary post-repair operations.