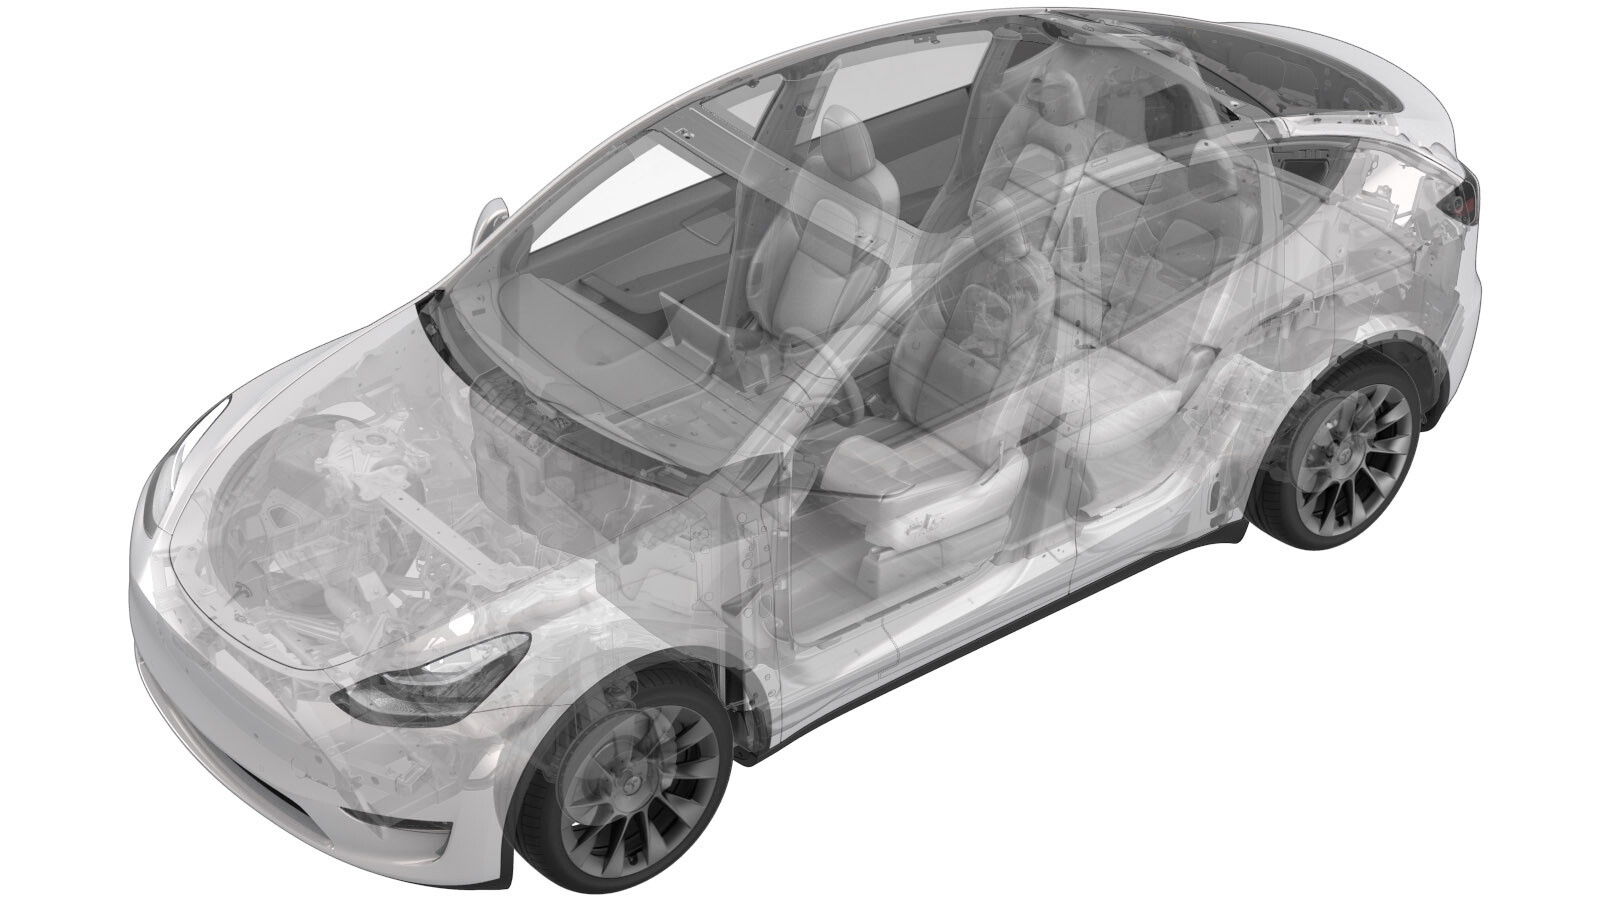
04/06/2024 21:10:08

传动装置 - 排放 - LH(拆卸和更换)

校正代码 18102212 2.25 注意:除非本程序中另有明确规定,否则上述校正代码和 FRT 反映的是执行本程序(包括关联程序)所需的所有工作。除非明确要求,否则请勿堆叠校正代码。注意:请参阅平均维修工时,深入了解 FRT 及其创建方式。要提供有关 FRT 值的反馈,请发送电子邮件至LaborTimeFeedback@tesla.com注意:请参阅人员保护,确保在执行以下程序时穿戴适当的个人防护装备 (PPE)。

Warning IconA warning icon, calling your attention to a possibly risky situation
警告
尽管此程序已经过验证,但仍是一个草案。可能没有警告和注意事项。请遵守安全要求,处理或靠近高压系统和部件时,请谨慎操作。请将校正修理内容及反馈发送至ServiceDevelopment@teslamotors.com
  1. 拆卸前备箱储物单元。请参阅 前备箱挡板 - 后部(拆卸和更换)
  2. 断开 12V 电源。请参阅 12V/低压电源(断开和连接)
  3. 从横梁上拆下仪表板支架。请参阅 仪表板支架(拆卸和安装)
  4. 拆卸将驾驶位风管固定到横梁的螺钉
    Informational PurposesAn informational icon, calling your attention
    2 个螺钉,T20,2.3 Nm
  5. 将驾驶位风管从 HVAC 总成上拆下
  6. 松开车身靠近 RH 横梁支架处的仪表板线束夹
    Informational PurposesAn informational icon, calling your attention
    1 个线束夹
  7. 松开横梁上的仪表板线束夹
    Informational PurposesAn informational icon, calling your attention
    1 个线束夹
  8. 松开横梁右侧的夹子
    Informational PurposesAn informational icon, calling your attention
    1 个线束夹
  9. 松开车身 A 柱 RH 下部的夹子
    Informational PurposesAn informational icon, calling your attention
    1 个线束夹
  10. 松开车身 A 柱 LH 上部的顶蓬线束夹
    Informational PurposesAn informational icon, calling your attention
    1 个线束夹
  11. 松开 A 柱 LH 下部的顶蓬线束夹
    Informational PurposesAn informational icon, calling your attention
    2 个卡子
  12. 拆下 LH 触摸屏支架
    Informational PurposesAn informational icon, calling your attention
    2 个螺栓,T30,12 Nm
  13. 拆下 RH 触摸屏支架
    Informational PurposesAn informational icon, calling your attention
    2 个螺栓,T30,12 Nm
  14. 从暖通空调总成上拆下排放器导管适配器
    Informational PurposesAn informational icon, calling your attention
    4 个卡子
  15. 拆下将上部转向柱固定到横梁的螺母
    Informational PurposesAn informational icon, calling your attention
    2 个螺母,13 毫米,15 Nm
  16. 拧下将下部转向柱固定到横梁的螺母,然后小心拆下转向柱
    Informational PurposesAn informational icon, calling your attention
    2 个螺母,13 毫米,15 Nm
  17. 拆卸将横梁固定到隔板左侧的螺栓
    Informational PurposesAn informational icon, calling your attention
    2 个螺栓,13 毫米,25 Nm
  18. 拆下将毡毯固定到 LH 横梁支架的夹子
    Informational PurposesAn informational icon, calling your attention
    1 个卡子
  19. 拆下将 LH 横梁支架固定到横梁的螺栓
    Informational PurposesAn informational icon, calling your attention
    1 个螺栓,13 毫米,25 Nm
  20. 拧下将 LH 横梁支架固定到车身的螺母,然后拆下 LH 横梁支架
    Informational PurposesAn informational icon, calling your attention
    1 个螺母,13 毫米,25 Nm;略微向车辆 LH 侧拉 LH 毡毯;拆卸期间,记下横梁支架的朝向
  21. 拆下将毡毯固定到 RH 横梁支架的夹子
    Informational PurposesAn informational icon, calling your attention
    1 个卡子
  22. 拆下将 RH 横梁支架固定到横梁的螺栓
    Informational PurposesAn informational icon, calling your attention
    1 个螺栓,13 毫米,25 Nm
  23. 拧下将 RH 横梁支架固定到车身的螺母,然后拆下 RH 横梁支架
    Informational PurposesAn informational icon, calling your attention
    1 个螺母,13 毫米,25 Nm;略微向车辆 RH 侧拉 RH 毡毯;拆卸期间,记下横梁支架的朝向
  24. 拆下将横梁固定到暖通空调总成的螺栓
    Informational PurposesAn informational icon, calling your attention
    4 个螺栓,10 毫米,5.5 Nm
  25. 在暖通空调总成 LH 上方,拆下将横梁固定到暖通空调总成的螺栓
    Informational PurposesAn informational icon, calling your attention
    1 个螺栓。10 毫米,5.5 Nm
  26. 拆下将横梁固定到上部整流罩的螺栓
    Informational PurposesAn informational icon, calling your attention
    1 个螺栓,13 毫米,25 Nm
  27. 拆下将横梁固定到车身 LH 侧的螺栓
    Informational PurposesAn informational icon, calling your attention
    2 个螺栓,15 毫米,29 Nm
  28. 拆下将横梁固定到车身 RH 侧的螺栓
    Informational PurposesAn informational icon, calling your attention
    2 个螺栓,15 毫米,29 Nm
  29. 拉出并抬起横梁的左侧,露出左侧排放传动装置
  30. 断开 LH 排气执行机构连接器
    Informational PurposesAn informational icon, calling your attention
    1 个连接器
  31. 拆下固定 LH 排气执行机构的螺栓,然后从暖通空调总成上拆下排气执行机构
    Informational PurposesAn informational icon, calling your attention
    2 个螺栓,6 毫米,2.3 Nm
  32. 将 LH 排气执行机构放置到暖通空调总成上
    Informational PurposesAn informational icon, calling your attention
    确保其处于正确位置
  33. 安装将 LH 排气执行机构固定到暖通空调总成的螺栓
    Informational PurposesAn informational icon, calling your attention
    2 个螺栓,6 毫米,2.3 Nm
  34. 连接 LH 排气执行机构连接器
    Informational PurposesAn informational icon, calling your attention
    1 个连接器
  35. 将横梁放置到车上
    Informational PurposesAn informational icon, calling your attention
    确保位置准确
  36. 预装将横梁固定到车身 RH 侧的螺栓
    Informational PurposesAn informational icon, calling your attention
    2 个螺栓,15 毫米,29 Nm;后续步骤中紧固
  37. 预装将横梁固定到车身 LH 侧的螺栓
    Informational PurposesAn informational icon, calling your attention
    2 个螺栓,15 毫米,29 Nm;后续步骤中紧固
  38. 预装将横梁固定到上部整流罩的螺栓
    Informational PurposesAn informational icon, calling your attention
    1 个螺栓,13 毫米,25 Nm
  39. 在暖通空调总成上部 LH 侧预装将横梁固定到暖通空调总成的螺栓
    Informational PurposesAn informational icon, calling your attention
    1 个螺栓,10 毫米,5.5 Nm
  40. 在暖通空调总成前部预装将横梁固定到暖通空调总成的螺栓
    Informational PurposesAn informational icon, calling your attention
    4 个螺栓,10 毫米,5.5 Nm
  41. 安装 RH 横梁支架,预装将 RH 横梁支架固定到车身的螺母
    Informational PurposesAn informational icon, calling your attention
    1 个螺母,13 毫米,25 Nm
  42. 预装将 RH 横梁支架固定到横梁的螺栓
    Informational PurposesAn informational icon, calling your attention
    1 个螺栓,13 毫米,25 Nm
  43. 安装 LH 横梁支架,然后预装将 LH 横梁支架固定到车身的螺母
    Informational PurposesAn informational icon, calling your attention
    1 个螺母,13 毫米,25 Nm
  44. 预装将 LH 横梁支架固定到横梁的螺栓
    Informational PurposesAn informational icon, calling your attention
    1 个螺栓,13 毫米,25 Nm
  45. 安装将横梁固定到隔板左侧的螺栓
    Informational PurposesAn informational icon, calling your attention
    2 个螺栓,13 毫米,25 Nm
  46. 拧紧将 LH 横梁支架固定到横梁的螺栓
    Informational PurposesAn informational icon, calling your attention
    1 个螺栓,13 毫米,25 Nm
  47. 紧固将左侧横梁支架固定到车身的螺母
    Informational PurposesAn informational icon, calling your attention
    1 个螺母,13 毫米,25 Nm;略微朝车辆 LH 侧拉 LH 毡毯
  48. 安装将毡毯固定到 LH 横梁支架的夹子
    Informational PurposesAn informational icon, calling your attention
    1 个卡子
  49. 拧紧将 RH 横梁支架固定到横梁的螺栓
    Informational PurposesAn informational icon, calling your attention
    1 个螺栓,13 毫米,25 Nm
  50. 拧紧将 RH 横梁固定到车身的螺母
    Informational PurposesAn informational icon, calling your attention
    1 个螺母,13 毫米,25 Nm
  51. 安装将毡毯固定到 RH 横梁支架的夹子
    Informational PurposesAn informational icon, calling your attention
    1 个卡子
  52. 拧紧将横梁固定到暖通空调总成的螺栓
    Informational PurposesAn informational icon, calling your attention
    4 个螺栓,10 毫米,5.5 Nm
  53. 拧紧将横梁固定到暖通空调总成的螺栓
    Informational PurposesAn informational icon, calling your attention
    1 个螺栓,10 毫米,5.5 Nm
  54. 拧紧将横梁固定到上部整流罩的螺栓
    Informational PurposesAn informational icon, calling your attention
    1 个螺栓,13 毫米,25 Nm
  55. 拧紧将横梁固定到车身 LH 侧的螺栓
    Informational PurposesAn informational icon, calling your attention
    2 个螺栓,15 毫米,29 Nm
  56. 拧紧将横梁固定到车身 RH 侧的螺栓
    Informational PurposesAn informational icon, calling your attention
    2 个螺栓,15 毫米,29 Nm
  57. 安装将下部转向柱固定到横梁的螺母
    Informational PurposesAn informational icon, calling your attention
    2 个螺母,13 毫米,15 Nm
  58. 安装将上部转向柱固定到横梁的螺母
    Informational PurposesAn informational icon, calling your attention
    2 个螺母,13 毫米,15 Nm
  59. 将排放器导管适配器安装到暖通空调总成
    Informational PurposesAn informational icon, calling your attention
    4 个卡子
  60. 安装 RH 触摸屏支架
    Informational PurposesAn informational icon, calling your attention
    2 个螺栓,T30,12 Nm
  61. 安装 LH 触摸屏支架
    Informational PurposesAn informational icon, calling your attention
    2 个螺栓,T30,12 Nm
  62. 在 A 柱 LH 上部安装顶蓬线束夹
    Informational PurposesAn informational icon, calling your attention
    1 个卡子
  63. 在 A 柱 LH 下部安装顶蓬线束夹
    Informational PurposesAn informational icon, calling your attention
    2 个卡子
  64. 在 A 柱 RH 下部安装夹子
    Informational PurposesAn informational icon, calling your attention
    1 个卡子
  65. 安装横梁右侧的卡子
    Informational PurposesAn informational icon, calling your attention
    1 个卡子
  66. 将仪表板线束夹安装到横梁上
    Informational PurposesAn informational icon, calling your attention
    1 个卡子
  67. 在车身靠近 RH 横梁支架处安装仪表板线束夹
    Informational PurposesAn informational icon, calling your attention
    1 个卡子
  68. 将驾驶位风管安装到 HVAC 总成
  69. 安装将驾驶位风管固定到横梁的螺钉
    Informational PurposesAn informational icon, calling your attention
    2 个螺钉,T20,2.3 Nm
  70. 将仪表板支架安装到横梁上。请参阅 仪表板支架(拆卸和安装)
  71. 连接 12V 电源。请参阅 12V/低压电源(断开和连接)
  72. 使用 Toolbox 3.0 与车辆相连
  73. 选择 “Actions/Autodiag”,然后搜索 “HVAC”
  74. 选择 “TEST-SELF_VCRIGHT_X_HVAC-PERFORMANCESearch for routine in ToolboxThermal / Actions - Test HVAC PerformanceThermal / Actions - Test HVAC Performance”,点击 “Run”,然后等待例行程序完成。
    Informational PurposesAn informational icon, calling your attention
    完成后,选择窗口右上角的 “X” 关闭
  75. 从以太网端口上拔下高速数据线缆,以断开 Toolbox 3.0 与车辆的连接
  76. 安装前备箱储物单元。请参阅 前备箱挡板 - 后部(拆卸和更换)