2025-03-23
线束 - 交流滤波器 - 高压电池(非结构化电池组)(拆卸和更换)
 校正代码
16305322 2.88
注意:除非本程序中另有明确规定,否则上述校正代码和 FRT 反映的是执行本程序(包括关联程序)所需的所有工作。除非明确要求,否则请勿堆叠校正代码。
注意:请参阅平均维修工时,深入了解 FRT 及其创建方式。要提供有关 FRT 值的反馈,请发送电子邮件至 ServiceManualFeedback@tesla.com。。
注意:请参阅人员保护,确保在执行以下程序时穿戴适当的个人防护装备 (PPE)。请参阅人体工程学注意事项查看安全健康的作业规程。
- 2025-03-21: Updated resistance measurement information at the AC filter harness assembly.
拆卸
- Remove the ancillary bay cover. See 盖板 - 高压电池仓(拆卸和更换).
- Install the HV battery insulators. See 绝缘子 - 高压电池(安装和拆卸).
- Remove the HV battery skid plate. See 滑板 - 高压电池 - 后部(拆卸和更换).
- Drain the ancillary bay coolant. See 高压电池仓冷却液(排放和重新加注).
- Remove the pyrotechnic battery disconnect. See 烟火电池断接开关(拆卸和更换).
- Remove the DC input assembly from the ancillary bay. See 直流输入总成 - 高压电池(母排类型)(拆卸和更换).
-
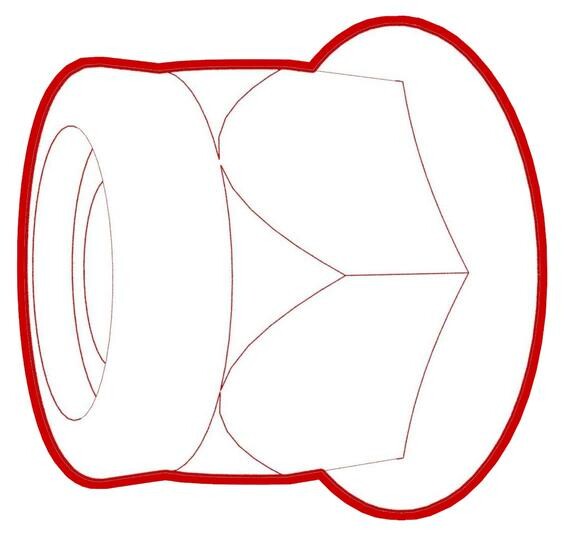
Remove the bolts (x2) and nut that secure the fast charge assembly to the
ancillary bay.
 5.5 Nm (4.1 lbs-ft)
 8 Nm (5.9 lbs-ft)
 -
Remove the negative AC inlet terminal cover.
注3x clips.
-
Remove and discard the bolt that secures the negative AC inlet terminal to the
negative inlet fast charge busbar.
 4.4 Nm (3.2 lbs-ft)
 -
Remove the positive AC inlet terminal cover.
注3x clips.
-
Remove and discard the bolt that secures the positive AC inlet terminal to the
positive inlet fast charge busbar.
 4.4 Nm (3.2 lbs-ft)
 -
Remove the clip that secures the AC filter harness to the fast charge assembly.
- Remove the AC filter harness.
安装
-
Install the clip that secures the AC filter harness to the fast charge
assembly.
-
Install the bolt that secures the positive AC inlet terminal to the positive inlet
fast charge busbar.
 4.4 Nm (3.2 lbs-ft)
 -
Install the bolt that secures the negative AC inlet terminal to the negative inlet
fast charge busbar.
 4.4 Nm (3.2 lbs-ft)
 -
Measure the resistance at the points indicated on the AC filter harness assembly.
Measured resistance should be 150 𝜇Ω or less.
- Negative AC inlet terminal and negative inlet side fast charge busbar
- Positive AC inlet terminal and positive inlet side fast charge busbar
-
Install the negative AC inlet terminal cover.
注3x clips.
-
Install the positive AC inlet terminal cover.
注3x clips.
- Position the fast charge assembly onto the ancillary bay for installation.
-
Install the bolts (x2) and nut that secure the fast charge assembly to the
ancillary bay.
 5.5 Nm (4.1 lbs-ft)
 8 Nm (5.9 lbs-ft)
 - Install the DC input assembly to the ancillary bay. See 直流输入总成 - 高压电池(母排类型)(拆卸和更换).
- Perform an ancillary bay coolant leak test. See 高压电池仓冷却液泄漏测试.
- Install the HV battery skid plate. See 滑板 - 高压电池 - 后部(拆卸和更换).
-
Connect the 12V auxiliary battery
negative terminal only.
 6 Nm (4.4 lbs-ft)警告DO NOT reconnect the first responder loop at this time.警告Do not follow the procedure to connect 12V power at this time.
 - Connect a 12V charger to the 12V auxiliary battery terminals.
- Refill the coolant to the MAX line.
- Connect a laptop with Toolbox to the vehicle.
- In Toolbox, type "vcfront" into the search field.
-
Click the "play" button next to
TEST-RESET_VCFRONTvia Toolbox: (link)via Service Mode Plus:
- Low Voltage ➜ Power Distribution ➜ Reset VCFRONT
- Mid Voltage ➜ Power Distribution ➜ Reset VCFRONT
-
Click the "play" button next to
TEST_VCFRONT_X_THERMAL-COOLANT-AIR-PURGEvia Toolbox: (link)via Service Mode:
- Thermal ➜ Actions ➜ Coolant Purge Stop or Coolant Purge Start
- Thermal ➜ Coolant System ➜ Coolant Purge Start
- Drive Inverter ➜ Front Drive Inverter Replacement ➜ Coolant Air Purge
- Drive Inverter ➜ Rear Drive Inverter Replacement ➜ Coolant Air Purge
- Drive Inverter ➜ Rear Left Drive Inverter Replacement ➜ Coolant Air Purge
- Drive Inverter ➜ Rear Right Drive Inverter Replacement ➜ Coolant Air Purge
- Drive Unit ➜ Front Drive Unit Replacement ➜ Coolant Air Purge
- Drive Unit ➜ Rear Drive Unit Replacement ➜ Coolant Air Purge
注Make sure the vehicle is not in Drive.注The test will last for approximately 10 minutes. Monitor and keep the superbottle topped off while the test is running. 在“维护模式增强版”中(请参阅维护模式增强版),可通过CAN Viewer子菜单监测冷却液泵速度。 If pump speeds stay above 6900 rpm, there is still air entrapped in the system; run a cooling system vacuum refill. - Refill the coolant to the MAX line.
- Install the coolant bottle cap.
- Power off the vehicle from the touchscreen.
- Remove the 12V charger from the 12V auxiliary battery terminals.
- Disconnect the 12V auxiliary battery negative terminal.
- Put on PPE including the HV insulating gloves and leather over gloves.
- Install the pyrotechnic battery disconnect.. See 烟火电池断接开关(拆卸和更换).
- Remove the HV battery insulators. See 绝缘子 - 高压电池(安装和拆卸).
- Install the ancillary bay cover. See 盖板 - 高压电池仓(拆卸和更换).