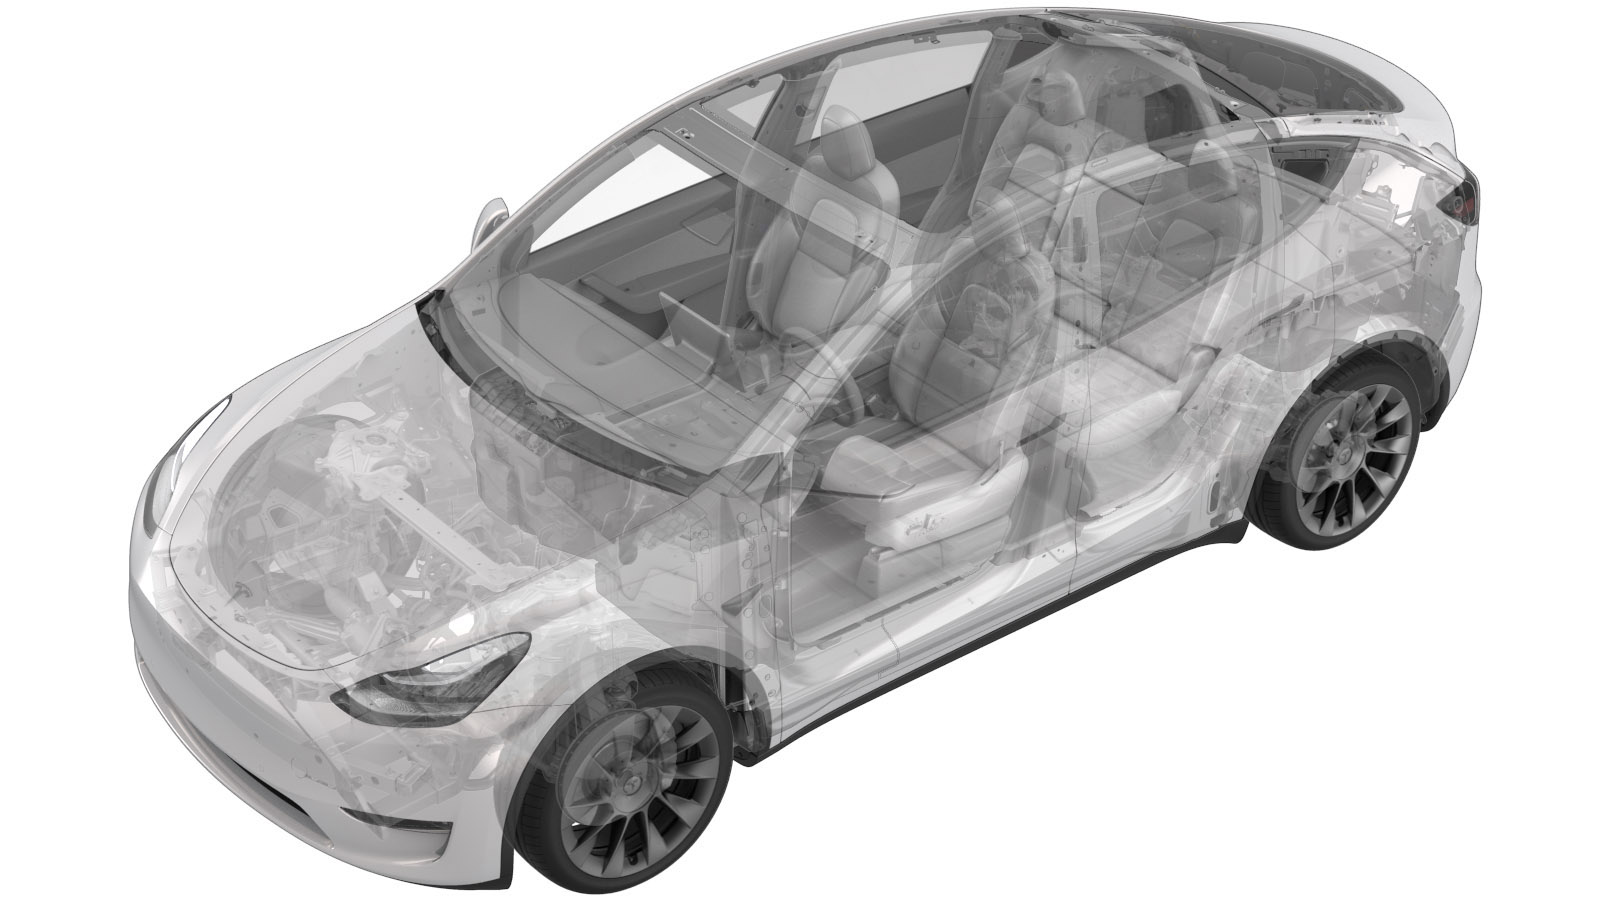
2025-11-22
球头 - 后 - 上 - 后转向节 - 左(拆卸和更换) ((拆卸和更换))
 校正代码
31031812
0.60
注意:除非本程序中另有明确规定,否则上述校正代码和 FRT 反映的是执行本程序(包括关联程序)所需的所有工作。除非明确要求,否则请勿堆叠校正代码。
注意:请参阅平均维修工时,深入了解 FRT 及其创建方式。要提供有关 FRT 值的反馈,请发送电子邮件至ServiceManualFeedback@tesla.com。
注意:请参阅 人员保护,确保在执行以下程序时穿戴适当的个人防护装备 (PPE)。
注意:请参阅人体工程学注意事项查看安全健康的作业规程。
- 2025-10-09: Added caution for tool usage.
- 2025-08-13: Added part numbers for required chemicals.
- 2025-06-04: Added references to sub-procedures.
- 2025-02-20: Added note to use region specific Loctite.
警告
本程序为“草案”。虽已通过验证,但可能仍有“警告”和“注意”事项缺失。请遵守安全要求,处理或靠近高压系统和部件时,请谨慎操作。
重要: This procedure requires the availability of 1044454-00-B - RR SUS CABJ and 2130203-00-A - M3/Y Knuckle Ball Joint Replacement Tool. If either part is unavailable, replace the entire knuckle. Refer to 万向节 - 悬架 - 后 - LH(拆卸和更换).
- 1044454-00-B - RR SUS CABJ
- 2130203-00-A - M3/Y Knuckle Ball Joint Replacement Tool
- 1025334-00-A - Loctite 680 (North America)
- 2164041-00-A - Loctite 638 (EMEA)
- Release the Electronic Parking Brake. See 驻车制动 - 钳 - 后 - LH(释放)
- Remove the LH rear wheel. See 轮毂总成(拆卸和安装)
-
Inspect LH Rear Upper Knuckle Ball Joint for red markings.
注If the red markings are present on opposite sides (180 degrees), do not replace the Knuckle Ball Joint. The knuckle assembly must be replaced. See 万向节 - 悬架 - 后 - LH(拆卸和更换).
-
Remove LH rear brake caliper from LH rear knuckle and hang from body
注2x bolts, E18, 83 Nm, Discard bolts after removal, This step is only required if vehicle is equipped with Non Performance brakes
-
Release LH rear upper aft link from knuckle
注1x bolt, 1x nut, 21mm, 134 Nm
-
Install knuckle ball joint replacement tool on LH Rear Upper Knuckle Ball Joint for removal
注Utilize the combination of cups for removal, A - Bushings Receiver, B - Bushings Pusher, E - Washer MY Ensure cups sit flush to ball joint and knuckle surface, A to E has a key, Install E with the smaller recess radios on top, Ball joint will only press out towards rear of vehicle, Apply lubricant to threaded rod if dry
-
Press out LH Rear Upper Knuckle Ball Joint
警告Do not use an impact tool or other power tool on the ball joint replacement tool. To prevent damage to the ball joint replacement tool, only use hand tools.注Ball joint should press out with minimal resistance, If met with high resistance inspect for misalignment of tool cups, Utilize windows in receiving cup to monitor progress, Knuckle shown out of vehicle for clarity
-
Remove Rear Upper Knuckle Ball Joint from knuckle ball joint replacement tool
- Put on protection gloves
-
Clean LH Rear knuckle
注Clean surface area where Rear Upper Knuckle Ball Joint is installed into the knuckle from any debris and oxidation, allow 1 minute dry time
-
Degrease LH Rear Upper Knuckle Ball Joint
注Clean contact area of Rear Upper Knuckle Ball Joint and allow 1 minute dry time
-
Apply Loctite on LH Rear Upper Knuckle Ball Joint
注Use the region specific Loctite. For EMEA: Loctite 638. For North America: Loctite 680注Take care not to apply loctite on the rubber seals警告Allow 30 minutes curing time for Loctite. Continue this procedure, but do not drive the vehicle during the 30 minute curing time.
-
Position new LH Rear Upper Knuckle Ball Joint to knuckle
注Ensure ball joint is sitting concentric to the bore, installation is performed from the rear side of the knuckle and ball joint has only 1 orientation of the installation, discard Nitrile Gloves
-
Install knuckle ball joint replacement tool on LH Rear Upper Knuckle Ball Joint for Install
注Utilize the combination of cups for Install, A - Bushings Receiver, B - Bushings Pusher, E - Washer MY Ensure cups sit flush to ball joint and knuckle surface, A to E has a key, Install E with the smaller recess radios on top
-
Press LH Rear Upper Knuckle Ball Joint in
警告Do not use an impact tool or other power tool on the ball joint replacement tool. To prevent damage to the ball joint replacement tool, only use hand tools.注Ball joint could be pressed in with some resistance, If met with extreme high resistance inspect for misalignment of tool cups, Utilize notch in installation cup to monitor progress, When nearing end of bore the installation cup may need to be re-aligned to meet machined surface, Verify full installation
-
Remove knuckle ball joint replacement tool from LH Rear Upper Knuckle Ball Joint
-
Clean any excessive Loctite from LH Rear Upper Knuckle
注Allow 1 minute dry time
-
Mark the LH Rear Upper Knuckle Ball Joint with red paint pen.
注Machined surface should be near flush with ball joint. Markings must be on opposite sides (180 degrees).
-
Position LH rear upper aft link to knuckle
注1x bolt, 1x nut, 21mm, 134 Nm, Torque at later step
-
Torque bolt securing LH rear upper aft link to knuckle
注1x bolt, 21mm, 134 Nm, Mark with paint pen
-
Install LH rear brake caliper onto LH rear knuckle
注2x bolt, E18, 83 Nm, Install new bolts, Remove the S-hook from vehicle
- Install the LH rear wheel. See 轮毂总成(拆卸和安装)
-
To disable EPB Service Mode, shift the vehicle into Park.
警告Take the 30 minute curing time for Loctite into account before proceeding with the next steps.
- 请参阅“定位要求”表,以确定是否需要 EPAS 定位检查 (EC) 或四轮定位检查 (AC)。如果已执行,请将定位检查/调整校正代码作为一项单独的工项添加到服务工单。请参阅 定位要求 - 悬架。