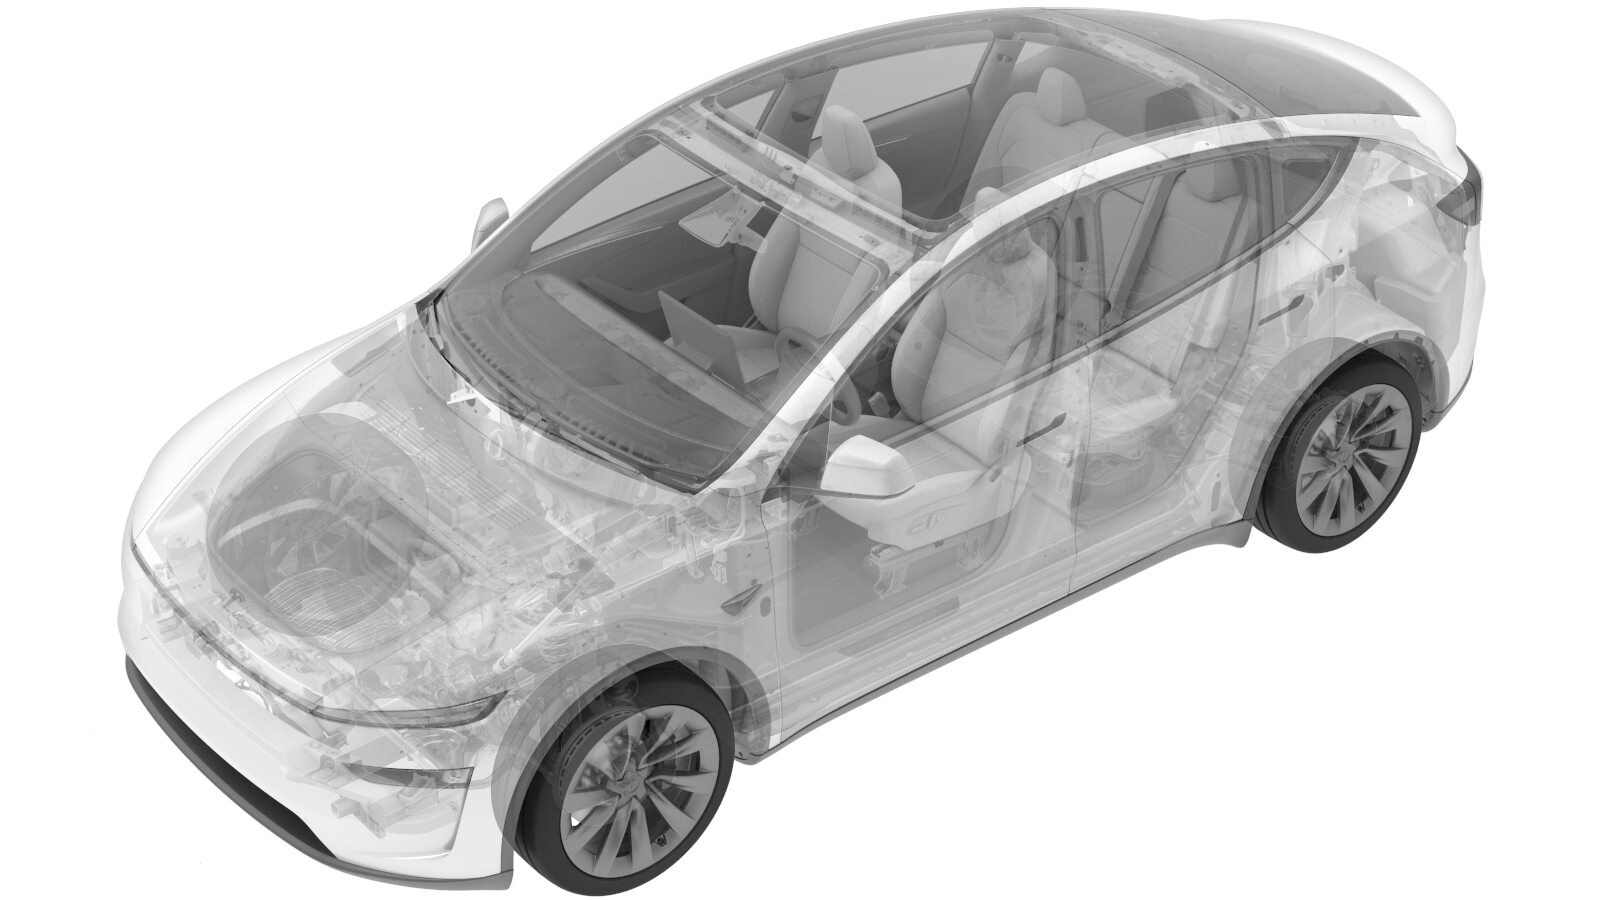
Ancillary Bay - AC Filter Harness- 3PH (Remove and Replace)
 교정 코드
1630011402
FRT
0.85
바고: 절차에서 명시적으로 언급하지 않는 한 위 교정 코드 및 FRT는 연결된 절차를 포함하여 이 절차를 수행하는 데 필요한 모든 작업을 반영합니다. 명시적으로 지시하지 않는 한 교정 코드를 누적하지 마십시오.
참고: FRT와 그 생성 방법에 대한 자세한 내용은 표준 정비 작업시간을 참조하십시오. FRT 값에 대한 피드백을 제공하려면 ServiceManualFeedback@tesla.com으로 이메일을 보내십시오.
참고: 아래 절차를 수행할 때 개인 보호의 내용을 참조하여 적절한 PPE를 착용했는지 확인하십시오.
참고: 안전하고 건강한 작업 사례는 인체공학적 주의 사항의 내용을 참조하십시오.
- 1057602-00-A 래칫, 1/4" Sq Dr, HV 절연
- 1057606-00-A Skt, 1/4" Sq Dr, 13mm, HV 절연
- 1131071-00-A 더미 차단 장치, 점화식, 안전
- 1108272-00-B Cap, Logic Conn, Inv, 3DU
- 1076927-00-A Resistance meter, microohm, Hioki RM 3548
- 1076927-00-A Resistance meter, microohm, Hioki RM 3548
모든 필수 인증 교육을 완료한 기술자만 이 절차를 수행할 수 있습니다. Tesla는 타사 서비스 제공업체 기술자가 이 절차를 수행하기 전에 동등한 교육을 받을 것을 권장합니다. Tesla 기술자 요구 사항에 대한 자세한 내용이나 타사 기술자에 대한 분야별 설명은 HV Certification Requirements를 참조하십시오. 고전압 케이블, 버스바 또는 피팅을 다룰 때에는 항상 적합한 개인 보호 장비(PPE)와 클래스 0(1000V)의 최소 정격을 갖는 절연 HV 장갑을 착용해야 합니다. 추가 안전 정보는 기술 노트 TN-15-92-003고압 인식 주의 사항
을 참조하십시오.
토크 규격
| 설명 | 토크 값 | 권장 공구 | 재사용/교체 | 참고 |
|---|---|---|---|---|
| 버스바 AC 입력 어셈블리를 보조 베이에 고정하는 볼트 |
 10 Nm (7.4 lbs-ft) |
|
교체 |
탈거
-
Remove the ancillary bay cover. See
Cover - Ancillary Bay (Remove and Replace).
경고이 절차의 남은 단계를 진행하면서 HV 절연 장갑 및 가죽 장갑 보호구를 착용해야 합니다. 별도로 명시하지 않은 경우 장갑 또는 보호구를 벗지 마십시오.
- Remove the pyrotechnic battery disconnect. See Pyro Disconnect - HV Battery (Remove and Replace).
-
Disconnect AC harness connector from PCS.
참고Release the locking tab by pulling upward, may need plastic trim tool to help lift the connector upward.
-
Remove AC filter harness from FC contactor cover.
-
Disconnect AC filter harness connector.
-
Disconnect mega harness connector from DC input assembly.
-
Disconnect AC chargeport inlet harness from HV header.
참고Release red locking tab and rotate lever arm to release.
-
Remove the bolts securing the busbar AC input assembly to ancillary bay.
TIp다음 공구를 사용하는 것이 좋습니다.
- 10mm 소켓
- 코드리스 래칫/임팩트 드라이버
-
Release 3PH AC Filter Harness from 3PH 4P Header.
-
Remove the 3PH AC Filter harness from the vehicle.
참고Harness must be removed through the ancillary bay, PCS connector does not fit through the header hole.
장착
-
Clean surface between the 3PH 4P Header and the ancillary bay with IPA.
-
Route 3PH AC Filter Harness from the ancillary bay up through HV battery.
-
Install 3PH AC Filter harness to the 3PH 4P Header.
-
Install the bolts securing the Busbar
AC input assembly to ancillary bay.
 10 Nm (7.4 lbs-ft)TIp다음 공구를 사용하는 것이 좋습니다.
- 10mm 소켓
- 코드리스 래칫/임팩트 드라이버
-
Connect 3PH chargeport inlet harness to HV header.
-
Connect mega harness connector to DC input assembly.
-
Install AC filter harness to FC contactor cover.
-
Connect AC filter harness connector.
-
Connect PCS to fastcharge contactor HV harness connector.
참고Push connector downward then push the locking tab downward to install connector, make sure the connector is fully seated.
-
Remove pyro disconnect dummy.
- Measure the voltage across the pyrotechninc battery disconnect mount points, and then install the pyrotechnic battery disconnect. See Pyro Disconnect - HV Battery (Remove and Replace).
-
Install the ancillary bay cover. See
Cover - Ancillary Bay (Remove and Replace).
참고Before installing the ancillary bay cover, inspect the ancillary bay cover seal and confirm there is no visual damage. If the seal is torn and/or delaminated, replace the ancillary bay cover.