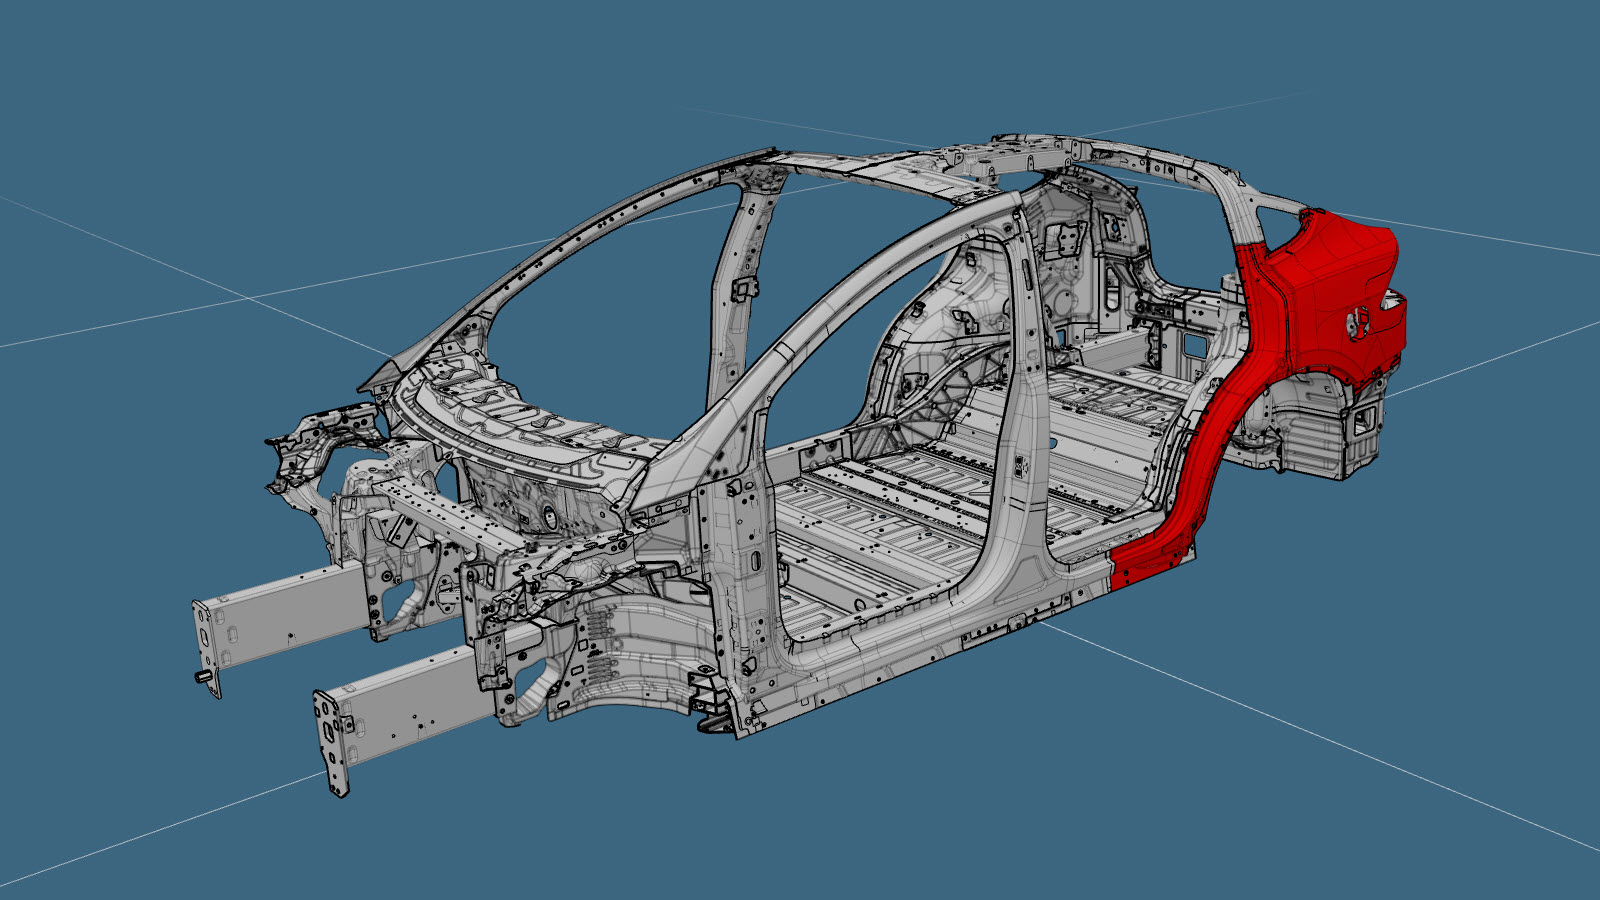
Quarter Outer Skin With C-Pillar Lower Extension (Vehicles Built for China)
 Correction code:
10100139402
10100139502
NOTE:
Unless explicitly stated in the procedure, the above
correction code includes all Collision Repair work required
to perform this procedure, including the linked Collision
Repair procedures. Do not stack Collision Repair
correction codes unless explicitly told to do
so. Add any associated mechanical procedures
needed to perform this procedure.
Repair Information
- Review all collision repair general practices and safety documentation and wear the appropriate PPE (Personal Protective Equipment) before beginning this procedure.
- This procedure can be completed without using a frame bench.
Parts List
| Quantity | Description | Image / Notes |
|---|---|---|
| 1 | ASSEMBLY - REAR QUARTER OUTER COMPLETE GB CHARGE PORT (Quarter Outer Complete) | |
| 12 | Structural Bulb Rivet, 6.5 mm | |
| 23 | Countersunk Rivet, 4.8 mm Short | |
| 1 | Countersunk Rivet, 4.8 mm Long | |
| 14 | Flow Form Rivet S08 | |
| 9 | Flow Form Rivet S18 | |
| 6 | Flow Form Rivet S28 | |
| 3 | Flow Form Rivet S38 |
When ordering parts, refer to the Parts Catalog and enter the VIN of the vehicle being repaired to find the correct parts (and the part numbers) for the vehicle. Alternatively, use the search function in the Parts Catalog to find a specific part for the vehicle.
Repair Procedure
-
Remove the following components from the service part to make the new
component.
- 1 - C-Pillar Reinforcement
- 2 - Rear Quarter Outer Upper Extension
- 3 - Rear Lamp Lower Housing
- 4 - Lamp Housing Assembly
- 5 - Rear Quarter Outer Lower
-
Remove the original component.
or Factory Spot Welds
or Drill through factory spot weldsNoteWhen drilling out spot welds, use a drill bit that creates a hole correctly sized for the fastener that will replace the spot weld.or Factory laser welds
-
Prepare for installation.
NoteA red X indicates a location where a factory-installed fastener is not being replaced.
or Structural Bulb Rivets, 6.5 mm
or Countersunk Rivets, 4.8 mm Short
- Apply structural adhesive to the mating surfaces on the vehicle and the new component or components.
- Install the new component or components.
-
Fill the gap between the
Quarter Outer panel and the Quarter Outer Lower panel (indicated in red)
with urethane.
- Once the urethane has cured, use seam sealer to completely fill the seam.
- Perform any necessary post-repair operations.