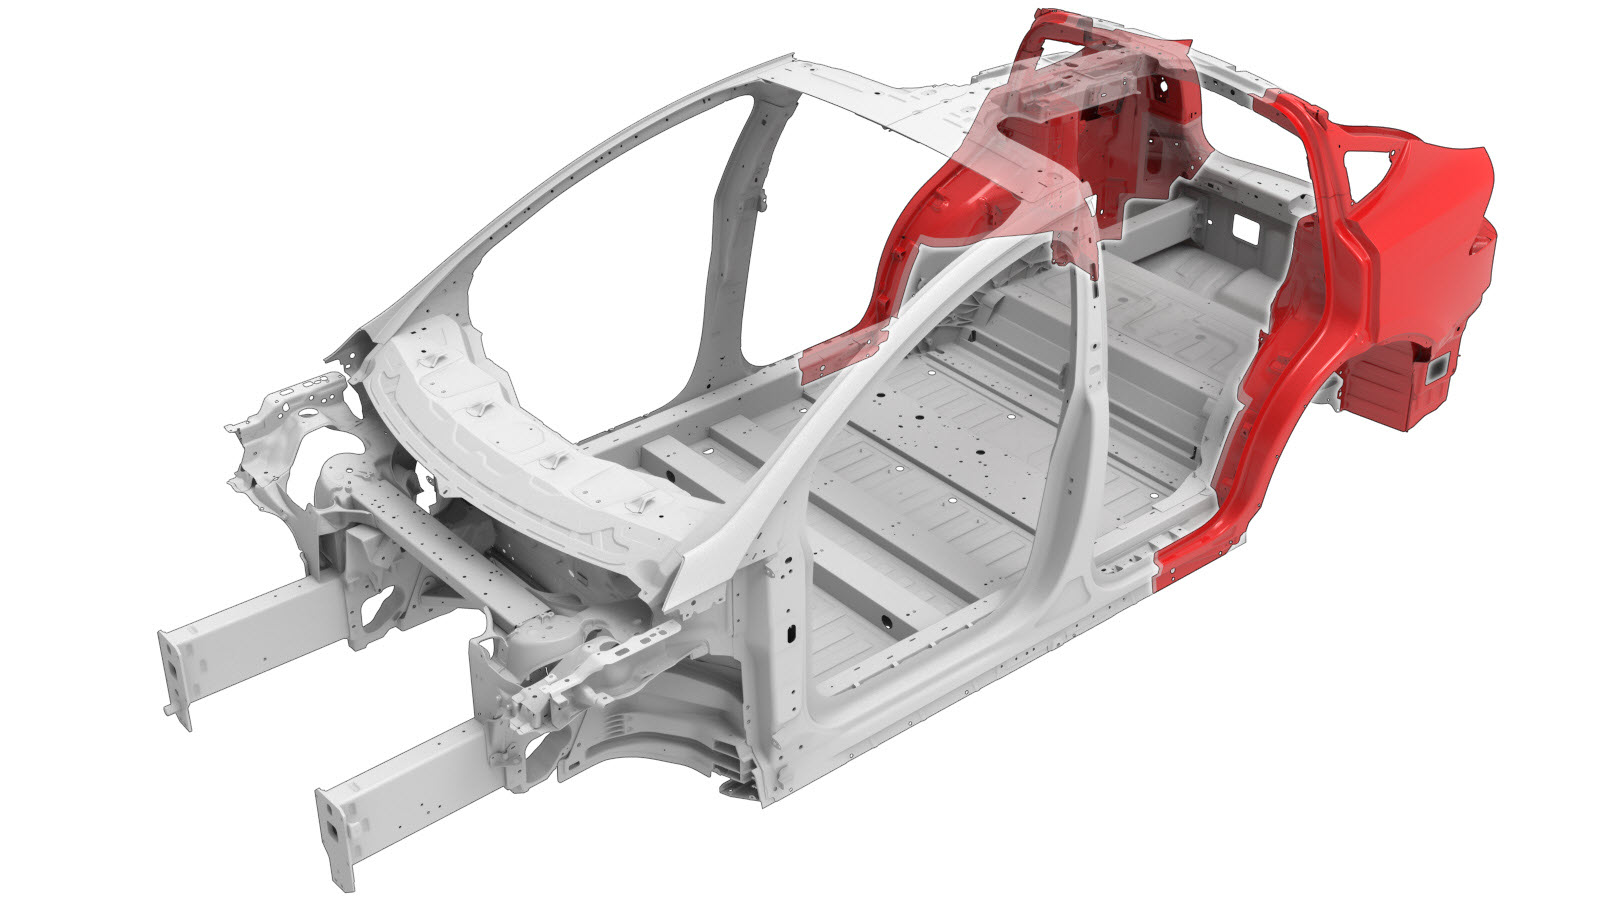
Quarter Complete Assembly
 Correction code:
10101913502
10101913602
NOTE:
Unless explicitly stated in the procedure, the above
correction code includes all Collision Repair work required
to perform this procedure, including the linked Collision
Repair procedures. Do not stack Collision Repair
correction codes unless explicitly told to do
so. Add any associated mechanical procedures
needed to perform this procedure.
Repair Information
- Review all collision repair general practices and safety documentation and wear the appropriate PPE (Personal Protective Equipment) before beginning this procedure.
- Properly mount the vehicle on a frame bench when performing this procedure.
Parts List
| Quantity | Description | Image / Notes |
|---|---|---|
| 1 | MX ASY-RR QTR COMP (Quarter Complete Assembly) | |
| 1 | ASY - RR PARCEL SHELF BRKT (Parcel Shelf Bracket – LH) |
Note Required only for vehicles
built through October 17, 2016. |
| 1 | ASY - RR PARCEL SHELF BRKT RH (Parcel Shelf Bracket – RH) |
Note Required only for vehicles
built through October 17, 2016. |
| 2 | High Strength Structural Rivet, 6.5 mm | |
| 27 (LH component) or 26 (RH component) | Structural Bulb Rivet, 6.5 mm | |
| 1 | Countersunk Rivet, 4.8 mm Long | |
| 2 | Countersunk Rivet, 4.8 mm Short | |
| 8 | Flow Form Rivet S18 | |
| 3 | Flow Form Rivet S28 | |
| 6 | Flow Form Rivet S38 | |
| 4 | Bolt, hex-head , M8-1.25X27 | Tesla part number 1621820-00-A. |
| 7 | Bolt, hex-head , PF, M8X16, STL[98] ZNNI BLK | Tesla part number 1008833-01-A. |
| 7 | Nut , HF M8X1.25 10-ZNAL-W | Tesla part number 2007088. |
When ordering parts, refer to the Parts Catalog and enter the VIN of the vehicle being repaired to find the correct parts (and the part numbers) for the vehicle. Alternatively, use the search function in the Parts Catalog to find a specific part for the vehicle.
Repair Procedure
-
Remove the Rear Node Outer Reinforcement.
-
Remove the original component.
or Factory Spot Weldsor Drill through factory spot weldsNoteWhen drilling out spot welds, use a drill bit that creates a hole correctly sized for the fastener that will replace the spot weld.
-
Vehicles built through
October 17, 2016 only: Retrofit the Parcel Shelf Bracket (LH) and the
Parcel Shelf Bracket (RH).
NoteInstall the replacement parcel shelf brackets 16 mm. inboard of the original component location.
-
Prepare for installation.
NoteA red X indicates a location where a factory-installed fastener is not being replaced.
or High Strength Structural Rivets, 6.5 mm
or Structural Bulb Rivets, 6.5 mm- A = 51 mm.
- B = 15 mm.
or Countersunk Rivets, 4.8 mm Short
- Apply structural adhesive to the mating surfaces on the vehicle and the new component or components.
-
Install the new component or components.
Torque the nuts and bolts to 25 Nm.
-
Install the Rear Node Outer Reinforcement.
-
Install the fastener as indicated.
-
Fill the gap between the Quarter Outer panel and the Quarter Outer Lower
panel (indicated in red) with urethane.
- Once the urethane has cured, use seam sealer to completely fill the seam.
- Perform any necessary post-repair operations.